 Why You Can Trust CNET
 How to change your showerhead
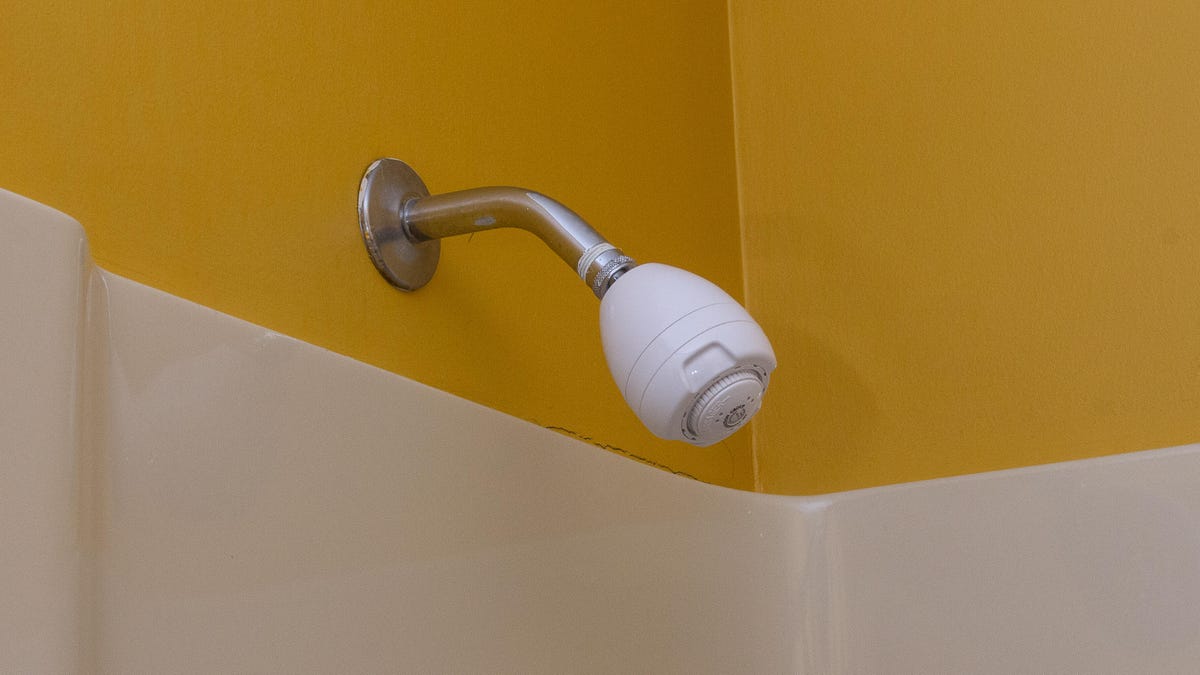
Changing out your showerhead is an easy way to make your morning routine more enjoyable. Here's the right way to do it.


Americans are fairly average when it comes to hygiene. About 70% of the population in the United States bathes at least once per day.
That's still a ton of time bathing, so it makes sense that you might want to ensure that experience is as effective and enjoyable as possible. One of the easiest ways to do that is with a new showerhead. Basic single-spray, no-feature showerheads get the job done, but there's also a world of choice if you're interested in something more. Upgrading to a new fixed showerhead, hand-held or combo unit can greatly improve your shower time. Here's how to install a new one right the first time.
What's the best showerhead for me?
There are three basic types of showerheads: fixed, handheld and combo. Which one will work best for you really depends on what you're looking for in your shower experience. My colleague Andrew Gebhart took a look at some popular models to find the best showerheads available right now (the High Sierra Classic Plus is his current favorite), but there are a few general categories to consider.
Fixed showerheads can range from basic single-spray units to much more elaborate multisetting units, ceiling units, rain showerheads and sometimes sliding bar units. Showers with a fixed showerhead usually use these for the main water supply in the shower. Take a close look at the available settings, there can be huge differences here. A soft rain showerhead is worlds apart from a single spray unit with a high water velocity.
Handheld units have become much more popular in recent years. These units have a hose attached to the main water supply pipe. They can be removed and, as the name suggests, held in your hand for maximum versatility. Handhelds are usually packaged with multiple spray settings.
Combination setups are commonly seen as a fixed single-spray unit paired with a handheld sprayer, although it really can be any combination of two or more units. Combo setups can offer the pinnacle of luxury for your shower experience.
First things first
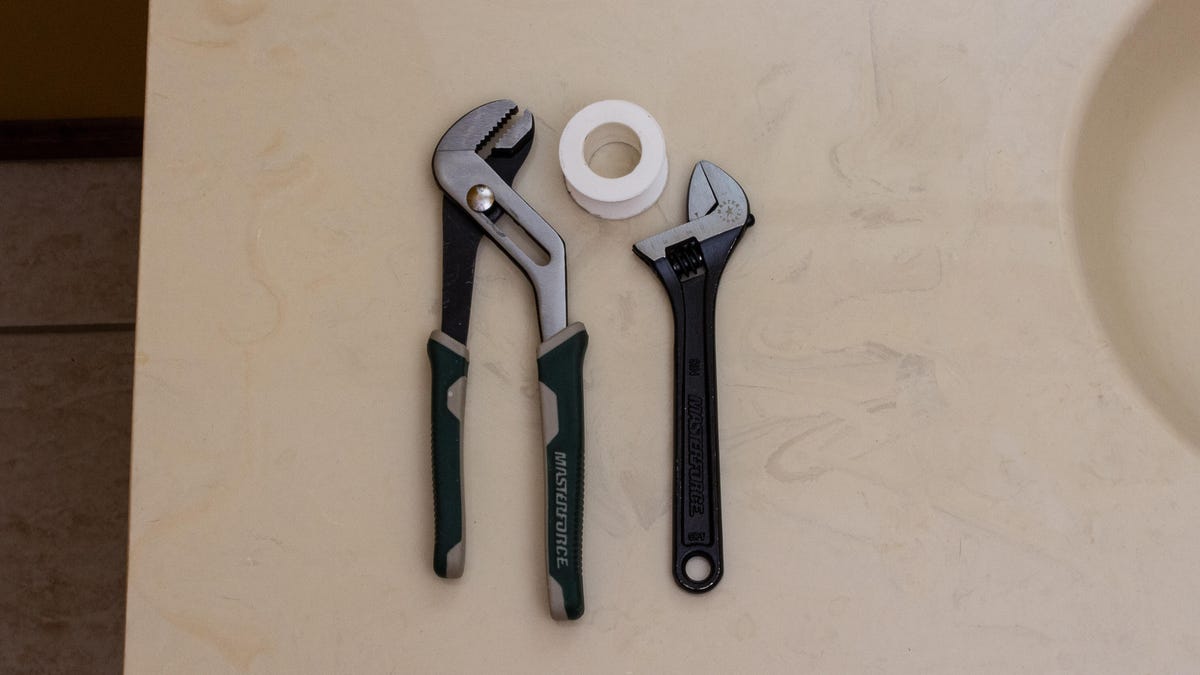
The tools you need will vary greatly depending on the specific units you're removing and installing. For this example, I'll walk through removing a simple fixed unit and replacing it with a handheld sprayer. I used an adjustable wrench, adjustable pliers and Teflon (plumber's) tape. You can also use a pipe wrench if that's all you have.
First, make sure the water is off. It should be easy enough to tell. Position yourself directly in front of the showerhead you plan to remove. Are you getting wet? Shut the water off, dummy! Otherwise, let's take that sucker off.
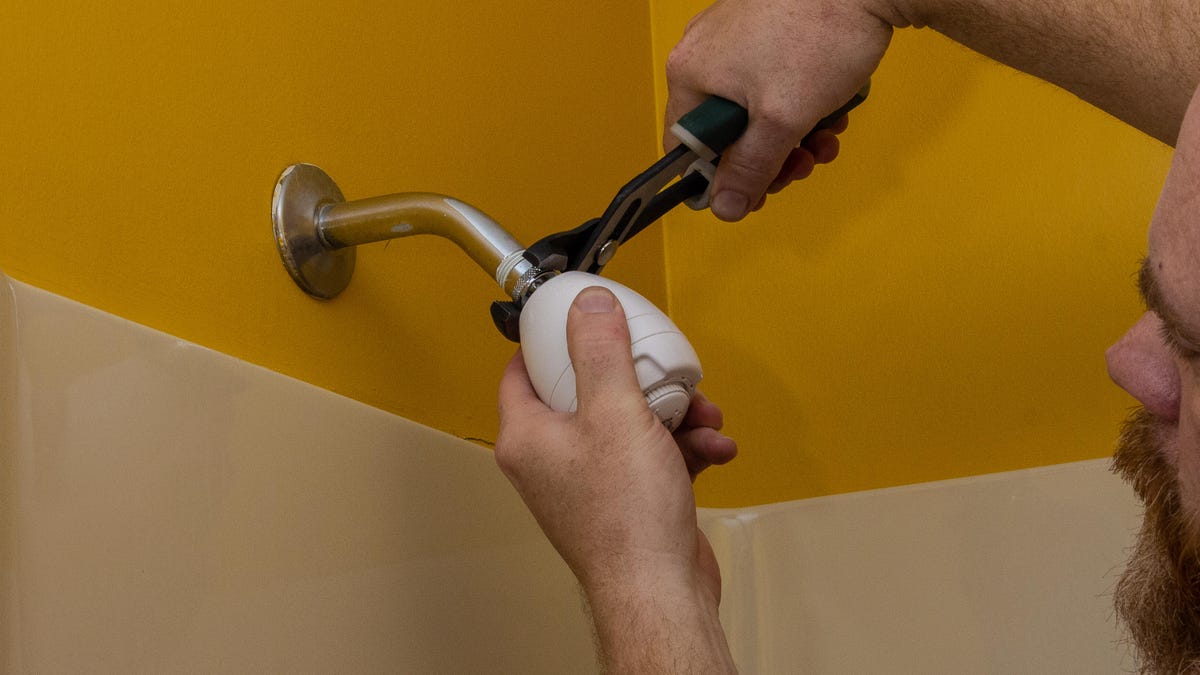
If the attaching nut is extra large, or maybe it has handle-like protrusions, you may be able to unscrew it by hand. If not, you likely either have a smooth round surface, or a mostly round surface with a couple of straight cuts on either side. For that kind of nut, you'll want to use an adjustable wrench.
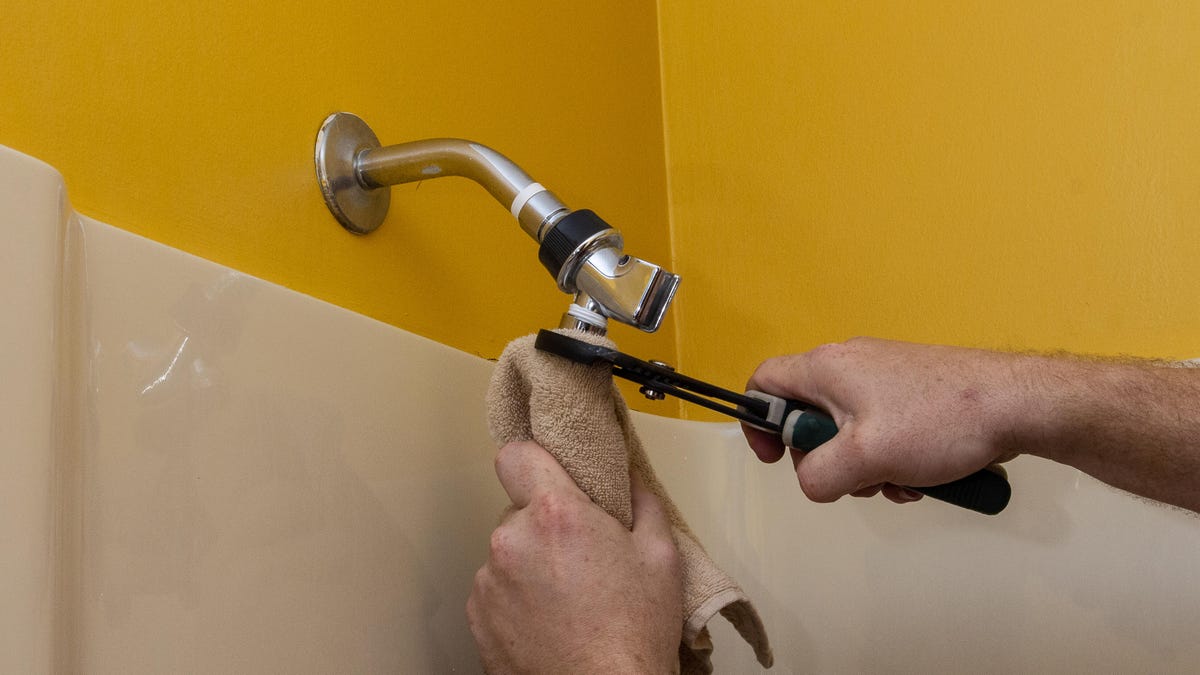
As you can see here, my existing showerhead connection is mostly smooth, but it does have a bit of a diamond-cut etched strip. That is to help the pliers grip the otherwise smooth surface. If you are concerned about scarring the surface of either unit, take a small cloth or towel and wrap it around the connecting nut before you loosen or tighten it.
These are threaded normally, so just grab it and turn counterclockwise until you can remove it by hand easily. Once it's removed, check the existing threads on your supply pipe. Make sure it is clean and free of debris.
Always use protection
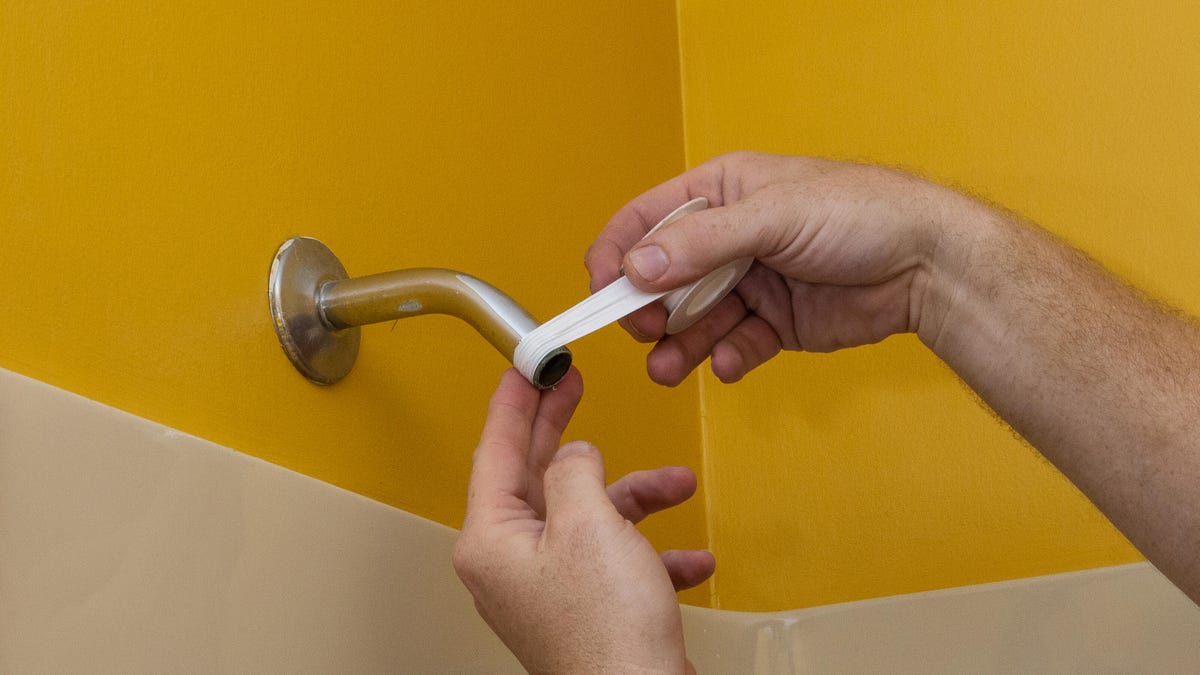
I'm a big fan of using Teflon tape on any exposed threads. It's not uncommon to experience leaks sooner or later when you're connecting metal threads to each other. The Teflon tape acts as an additional buffer against that.
Regardless of what you may hear, there is a right way and a wrong way to apply the tape. Always apply the tape in the same direction the female threads (attached to the showerhead) screw on. In most cases, this is clockwise. So lay your tape across the threads and go around clockwise. This prevents the threads from unraveling the tape as you tighten them. Even though you may end up with some threads exposed, the best practice is to make sure they're all covered in Teflon tape. And once again, remember, tape ALL the threads your new showerhead will use.

After taping, you're ready to install the new showerhead. This step will also vary depending on exactly what you're installing, so check the instructions provided by your manufacturer. For this unit, I needed to connect the sprayer dock to the main supply pipe, attach the hose to the spray wand as well as the sprayer dock.
After taping all the exposed male threads, I connected the sprayer dock to the main supply pipe, then the hose to the dock, and finally, the hose to the sprayer wand. The connecting nut on my sprayer dock is smooth and round, with a cutout on either side, allowing for the use of an adjustable wrench. Both connecting nuts of the hose had a smooth finish, so I did use a cloth with my adjustable pliers to tighten these down.
Afterparty
Once you've installed your showerhead, you will want to make sure there are no leaks before you put the tools away. Turn the water on and look for any dripping water from the areas where you had to connect two pieces. These should all have Teflon tape, and as such, probably won't be leaking. But if you do find a leak, turn the water off and start by trying to tighten that joint. Retest, and if you still have a leak, completely reconnect that joint, making sure to remove the old tape and apply new before putting everything back together.

Adding a wand like this one can make it easier to wash kids and pets. If your current shower isn't working as well as you'd like it to, you might consider cleaning your showerhead first before you spring for a whole new one. If you're ready to make a purchase, though, we have you covered there as well.