DIY Pipe Shelves: Stylish, Affordable and Ultra-Easy to Build
These custom shelves will save you money while maximizing storage space. Here's how to build them.


- Shortlisted for British Photography Awards 2022, Commended in Landscape Photographer of the Year 2022
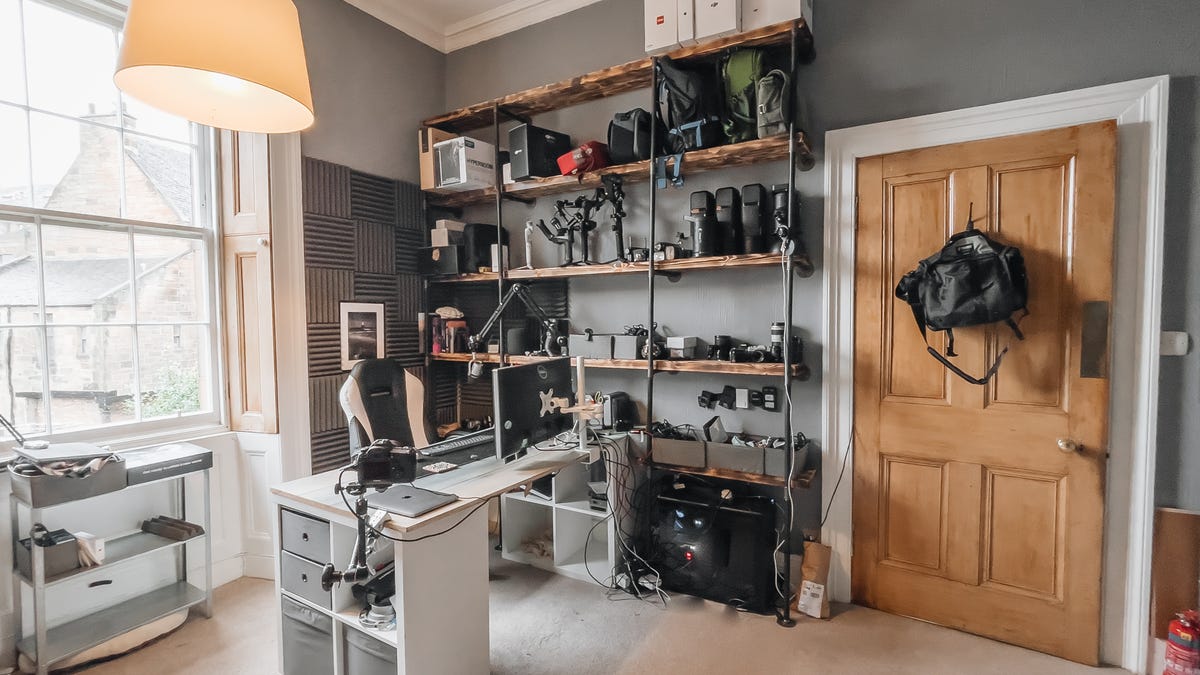
The finished DIY shelving system, installed in my office. It's incredibly helpful to have so much vertical storage space.
Large custom-made shelving can be extremely expensive, especially if you hire a carpenter to make bespoke units that fit your space. But by using pipes you can create a storage system that fits perfectly into any space and doesn't require expert fitting or years of DIY skills to put together. By using commonly available screw-fit pipes and precut timber boards, you can easily make shelves any size you want or fit them into awkward positions, often at a lower cost than commissioning custom-built units.
You can create floor-standing shelves or wall-mounted shelves, shelves that reach up to your ceiling, or shelves that stretch the whole of your wall, turning that lovely spare room into a beautiful library.
The great thing is, it's not even that difficult to do. The pipework screws together and the wooden boards sit on top, so there's very little to go wrong. I'm a total novice with DIY -- I've managed to change a lightbulb, but I've never tackled anything like this -- and when I bought my first home, I knew that a big shelving system was exactly what I needed.
Here, then, is my guide on how to build your own custom DIY pipe shelves. (For more, check out how to make custom poster hangers for just $1 and organization ideas for smaller spaces.)
Read more: Best Office Chairs for 2022
Why do you need custom shelves?
I'm a professional photographer and product reviewer for CNET. That means I have a lot of equipment. Like, a lot of equipment. I work from home and needed my office space to function as a photography studio, so I needed a storage solution that was also an easy-access workspace.
A custom-designed shelving system let me create something that fully suited my needs. But it's not just photographers who'd need it; these shelves would make for a wonderful library wall, or for displaying lots of collectibles. The industrial look can work great in your bedroom, an office or running along the wall of your living room, proudly displaying photos of your family, lovely plants and your collection of Friends VHS tapes from the '90s that you can't bear to get rid of.
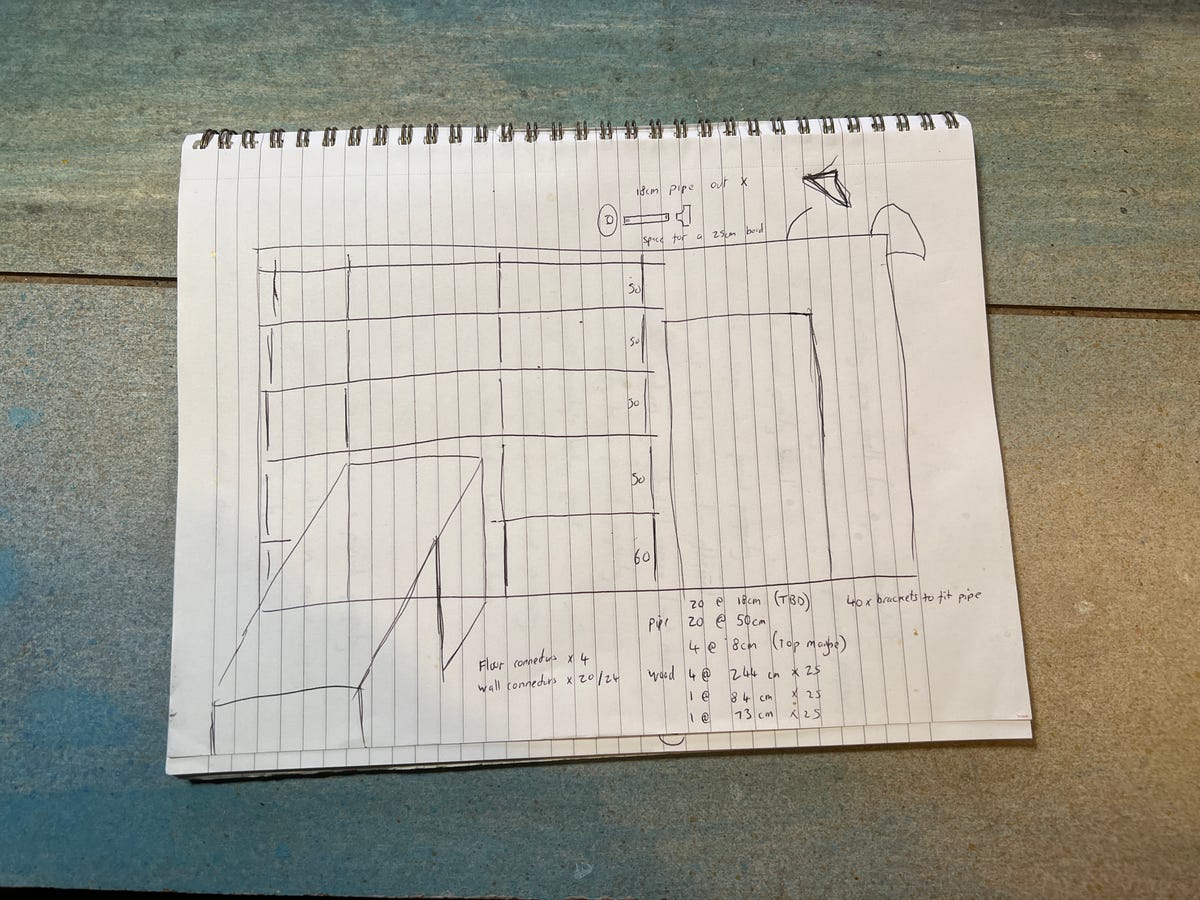
This is what counted as a shelving "plan" for me.
How to design your shelves
Take a look at your space and really consider what it is you need from your shelves. For me, I needed lots of room for storage, but I also needed a clutter-free workspace. So I wanted to keep the floor clear by maximizing the vertical storage space, building my shelves high and taking advantage of my 13-foot ceilings.
I wanted to incorporate my desk, so I sketched a design that would go around it, with room for my computer tower to fit snugly beneath. With five tiers, each stretching over 8 feet in length, I'd have enough room for all my photography equipment and plenty of space for whatever products I'm testing, leaving the rest of the room free to work in.
Consider how your shelves can fit in your space -- perhaps there's a sloping roof and you can build your shelves to fit beneath the slope. Or maybe fit your shelves in the alcoves either side of a chimney breast. My advice is to sketch out some ideas, no matter how roughly, and see what you think will work best in the space you have. The modular nature of pipe shelves means it's not difficult to fit them in even the most awkward spaces.
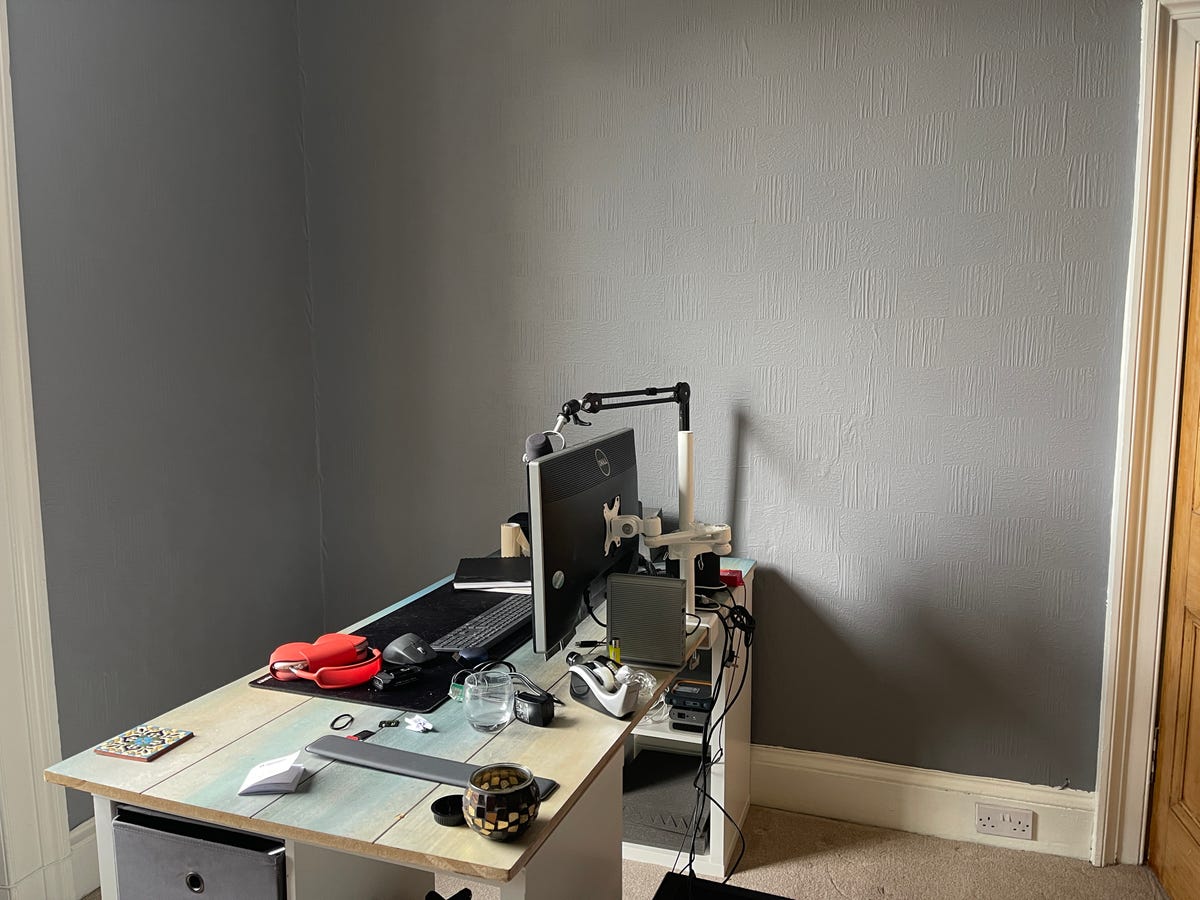
The empty wall offered a lot of space to fill with the custom shelving. I have a lot of stuff to store.
Think as well about how many tiers of shelves you'll need. If it's fitting in a small space, can you really squeeze four tiers in, or will three layers give you more room between each shelf to store taller objects? If it's for a bookshelf, find your tallest book and make sure you're leaving enough space for it to slide in.
Read more: Best Standing Desks of 2022
Measuring and buying shelf components
Once you've settled on your design, it's time to measure up. Your specific measurements will depend entirely on the space and the number of shelves you want. For me, I wanted five levels, going up to about 10 feet in height. That meant I needed gaps of roughly two feet between each shelf.
I say "roughly" as my design allowed for some errors, at least on the vertical measurements. I knew there'd be at least two feet of space above the top shelf, so an inch or two difference when measuring upward didn't matter. That's good, as when I measured the pipes between the shelves, I neglected to include the T-shaped connectors. There were five of these on each vertical support, which added about six inches to the total height.
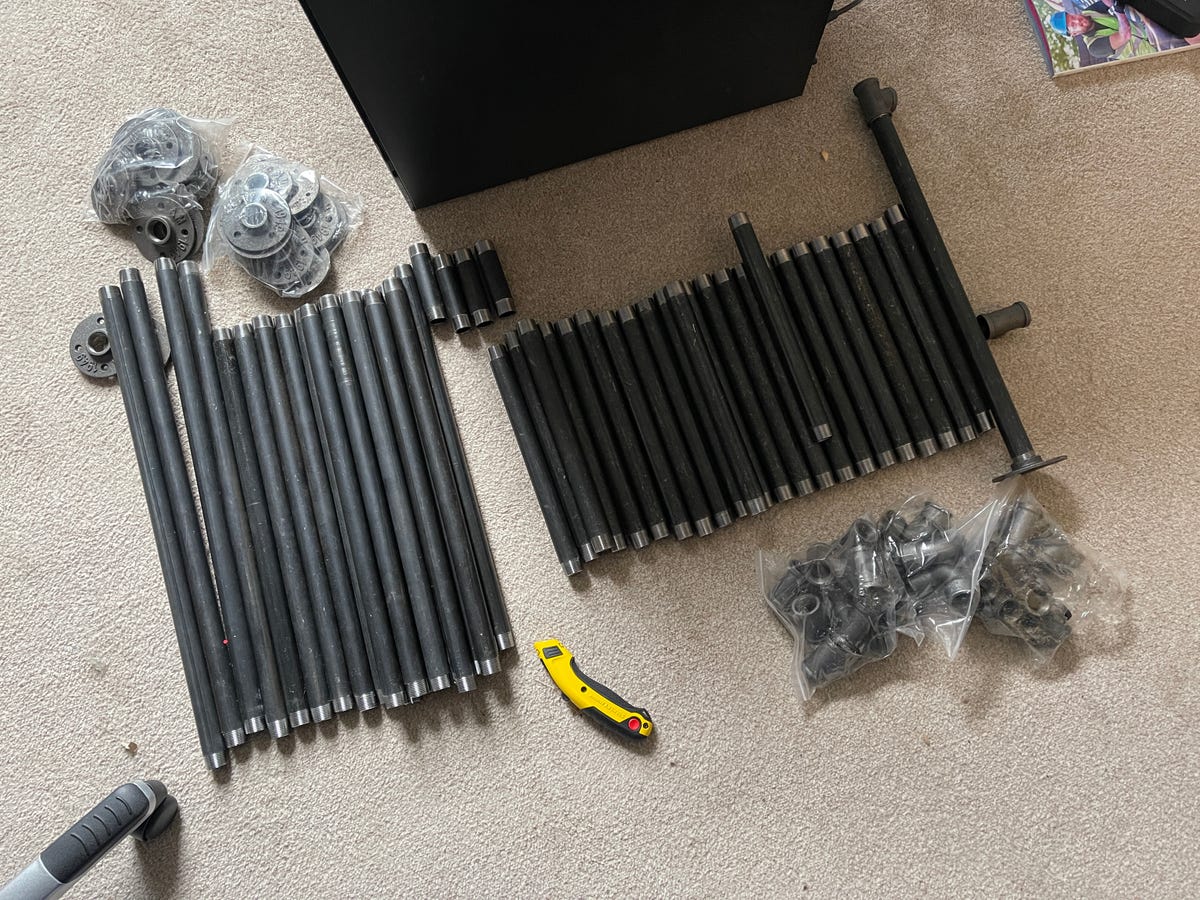
Some of the pipework and fittings.
If I were building the shelves to fit perfectly between the floor and the ceiling, then my shelves wouldn't have fit. As it was, they simply reached slightly higher than planned, which wasn't a problem. As long as each of your vertical supports are the same height, that's what matters. If you're measuring for a specific space then make sure you find out exactly how much length your connectors will add so you know the exact height of your shelves when assembled.
Your retailer should be able to help with this. Most big hardware stores will likely sell pipework and fittings that will be suitable, but an increasing number of specialist plumbing companies sell pipes specifically for building furniture. These have often been given an aged look -- or other more visually appealing aesthetic -- that will look great.
My shelves would stand on the floor but I also mounted them against the wall. For each upright support, I required five longer pipes (the pipes standing vertically between each level), five shorter pipes (connecting between the wall and the vertical pipes, the length being two inches longer than the wooden boards I'd ordered). I then needed five T-shaped connectors and six wall plates (five to attach to the wall, one to act as a 'foot' for the pipes to stand on the floor).
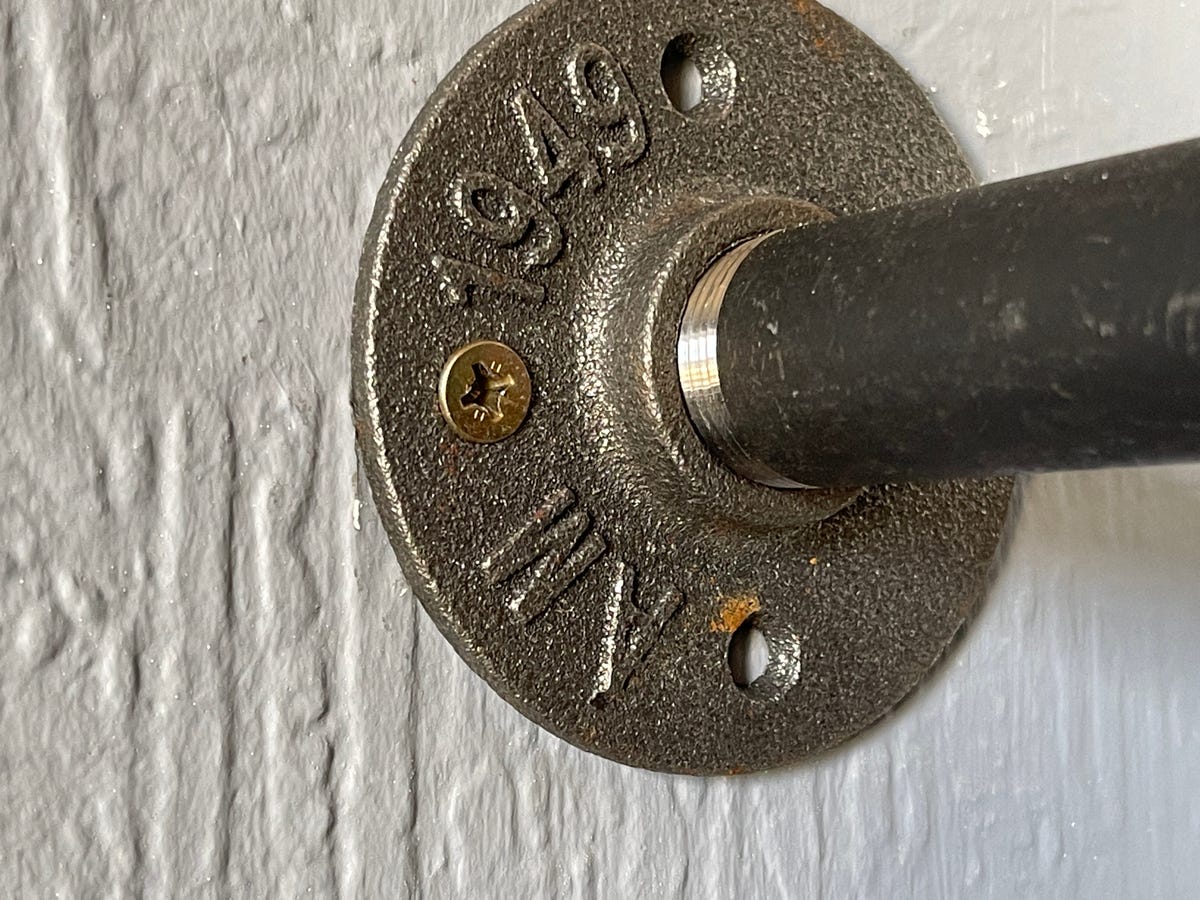
The shelves attach to the wall using these iron 'feet'. Because there are 20 of these, the weight is spread across the whole wall, rather than putting too much weight on a single mounting point.
I had four uprights, so ordered four lots of all of the above. Each pipe had been screw threaded to allow it to simply screw into the fittings. I used 3/4-inch steel pipe, which provides more than enough strength to support the shelves. My retailer also provided reclaimed oak timber in various forms so I also ordered that, cut to size, treated and scorched to give a beautiful aesthetic. Oak can be quite expensive however, and you can get similar results with pine or even plywood. Check with your local lumber yard and see what they can offer.
Building DIY pipe shelves
Once your components have arrived it's time to get building. Start by making a cup of tea and putting on a good playlist. Then make sure your work area is clear and you've got the space you need to build and install.
I started by connecting the pipework to build each upright support. It took some doing and I ended up having to put a lot more effort into screwing everything together than I imagined. Once done, I stood the vertical pipe on the floor and leaned it against the wall in the position it would be, using a spirit level to check it was in line both vertically and horizontally. I marked the position of the screw holes using a pen and then laid the pipe back down. Repeat for all four upright supports.
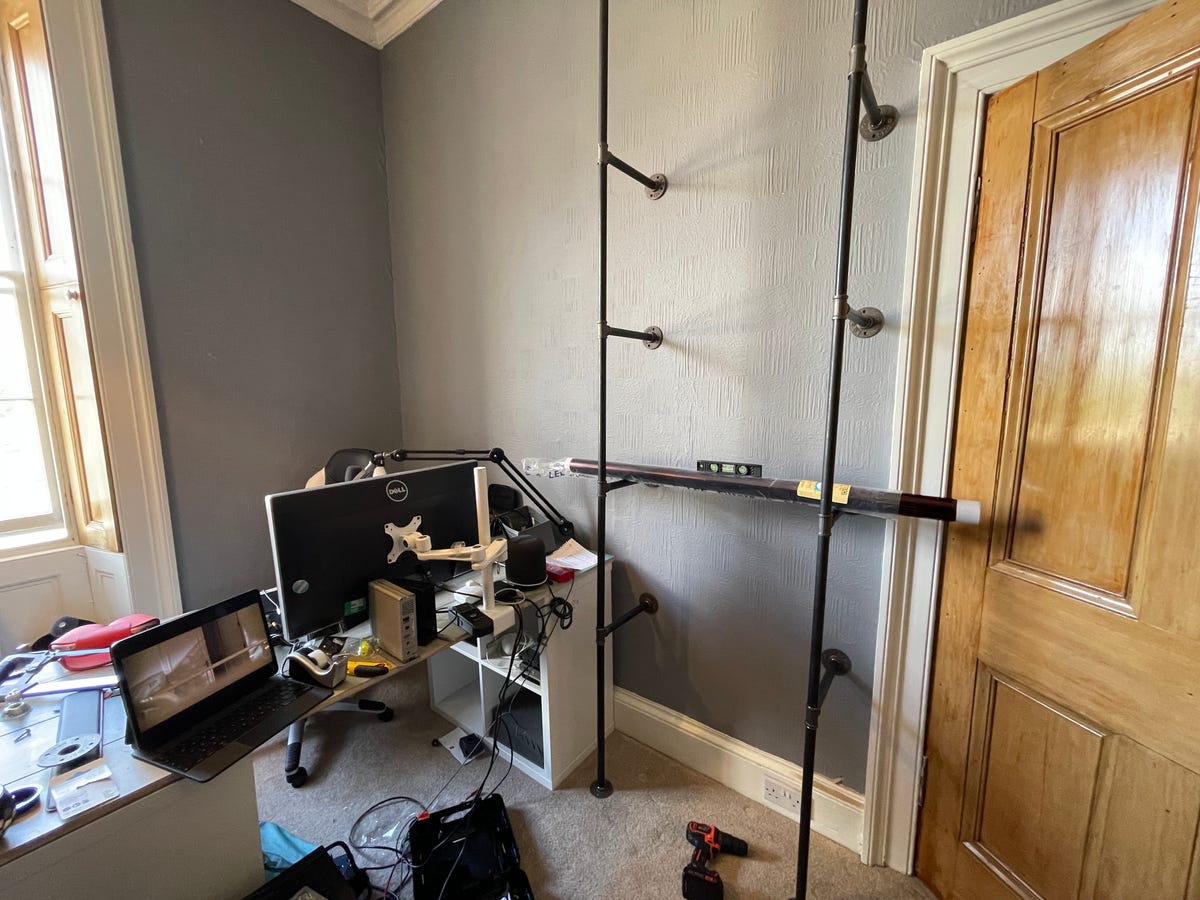
As I installed each vertical strut, I used a spirit level to check it was exactly vertical and used a temporary 'shelf' (in this case, a roll of paper) to allow me to check that the real shelves would also be perfectly level.
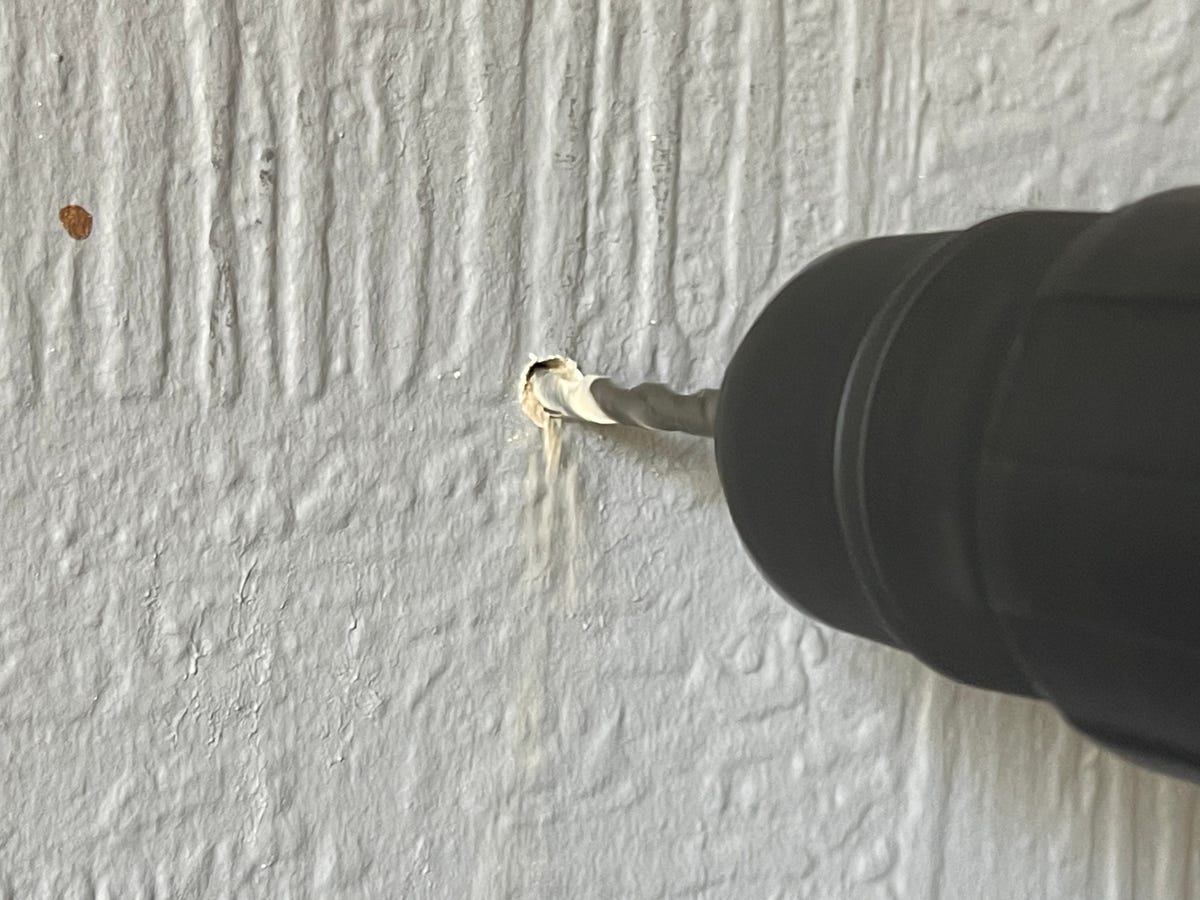
I used a stud and wire detector at each of the marks I'd make to check if it was safe to drill and then used a 7mm masonry drill bit and a hammer drill to drill around an inch deep. I then hammered in wall plugs to help further secure the screws. Some didn't go quite deep enough so I used wire cutters to trim them down.
When I finished drilling the holes, I held the pipes back up and shimmied them into the perfect position before screwing them into place using screws I'd already checked had wide enough heads to properly secure the mounting plates (the first lot I bought simply passed straight through the holes so would not be suitable).
I was nervous about whether my old walls would support the weight (my house was built in the 1860s) but it was the floor that would take most of the weight, with the rest being spread across 20 mounting plates on the wall. The more mounting points I used across the shelves, the more that weight would be spread out and easier for the wall to hold. A year on, they've not collapsed.
I used a multi-function stud, wire and pipe detector to make sure that wherever I drilled was safe and wouldn't cause any harm to either myself or my house. If you're in any doubt about safety, consult an expert.
Once the upright metalwork was in place I laid a roll of paper across and used a spirit level to check that it was completely level. The bubble sat in the middle, so I was all good. Then it was simply a case of sliding the timber boards onto the horizontal supports. The oak boards were almost 2 inches thick, so they're extremely heavy, but there's no flex in them so I wasn't concerned about them bending when I put things on them.
I secured them in place using simple metal brackets that wrapped around the pipes they sat on and screwed underneath the wood. Finally, I loaded up the shelves with my photography gear and took a step back to admire my work.
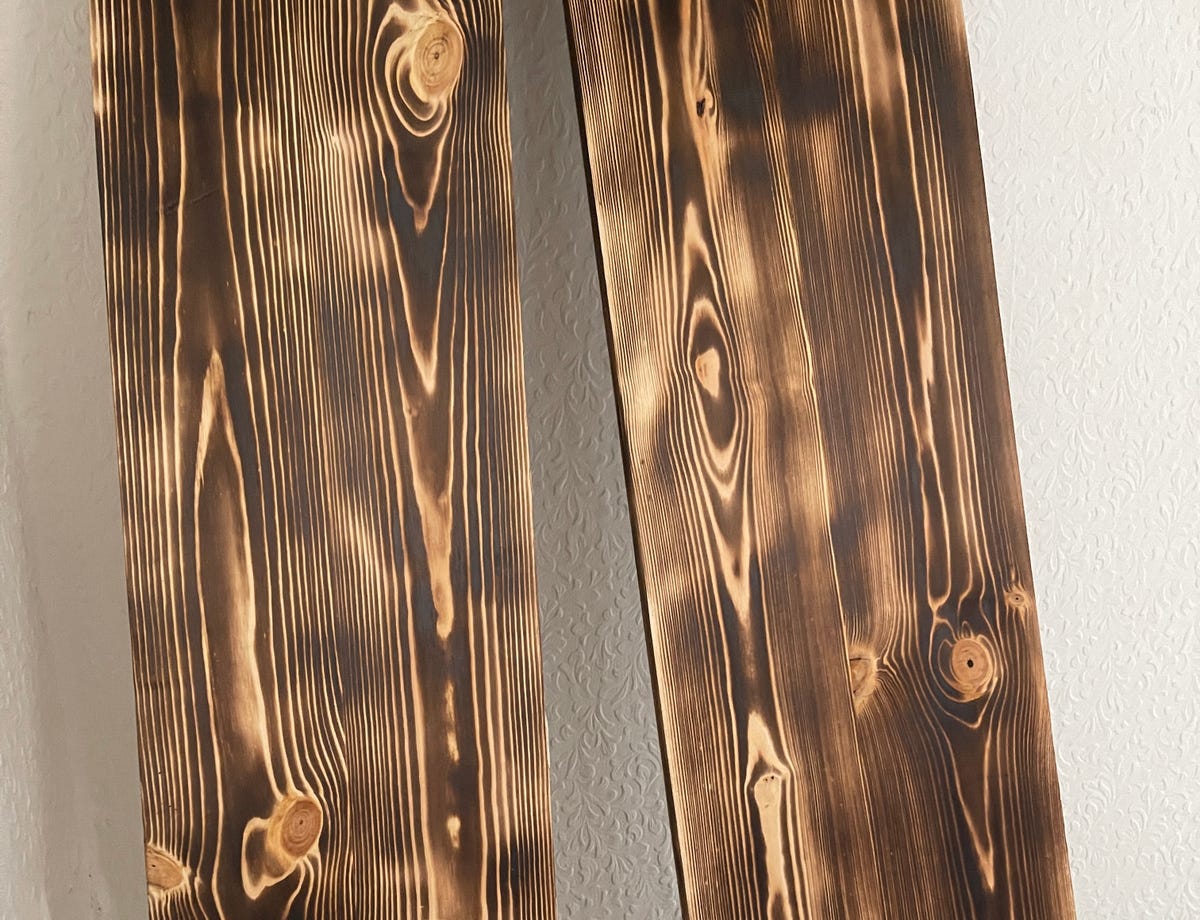
These gorgeous oak boards are actually reclaimed from old planks used by a scaffolding firm. They'd been stripped and aesthetically charred, and although cheaper wood is available, the overall look was exactly what I wanted.
Would I build these shelves again?
I was pleased with how straightforward the building process was once I had my plans in place. Having never done anything like this before, I was nervous about getting the measurements wrong or, even worse, managing to collapse the whole wall in the period property I'd just bought. Mercifully, everything seemed to work out pretty well and the shelves have been extremely useful so far.
That said, with a total bill of materials somewhere around the $1,000 mark, it wasn't a cheap process and with zero experience with projects like this, things could easily have gone wrong and that money would have been wasted. While getting a similar custom-designed shelving system installed by professional carpenters would have likely been a lot more expensive (potentially several times over), those risks would be much lower.
I'd absolutely do a similar build again though, even if it's just creating a single shelf or two in my bathroom or some small bookshelves for the bedroom. It's a straightforward process and the pride at having created from scratch a genuinely useful addition into the home is well worth the effort.
For more organization tips, check out the best way to organize a fridge and how to declutter your closet.