3D Printer Build Week: Day Two
Our first three steps done, Matt and I continue our attempt to build a working 3D printer from MakerGear's DIY kit.


Today was surprisingly easy, at least I think.
We started with four steps remaining in terms of hardware assembly. We still have to work out the software and then confirm the thing actually works, but in all we didn't encounter anything more difficult than what you might encounter while building your own PC.
I say I think because I have that familiar nagging doubt that comes with any DIY electronics project. Did we put that jumper in the right spot? Will the software work? How hard will it be to troubleshoot? All of those things will be revealed once we first power on, but for now, I can at least say that it looks right.


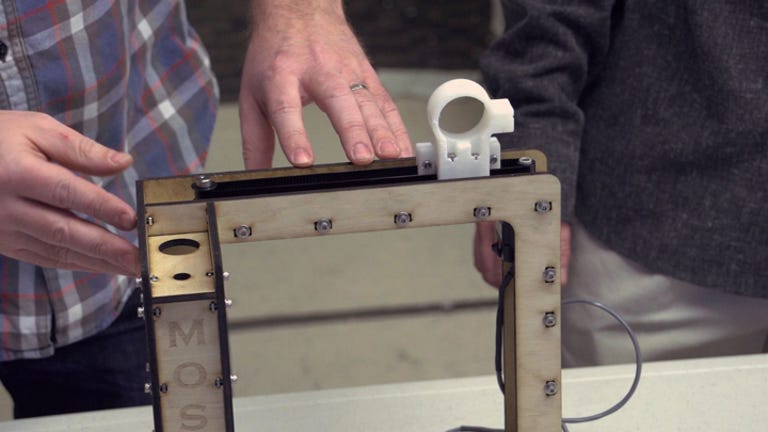
We started the day with four steps remaining: installing the Z-axis and its support rod assembly, installing the extruder head, attaching the build platform and its heating element, and finally mounting the circuit board and connecting the wires for the various motors, heating elements, and temperature sensors.
I won't belabor this post with the minutiae. For a step-by-step guide, I recommend the manual over at Make:Project. Our slideshow above also maps out the highlights.
Generally speaking, today's steps involved screwing in the various big hardware pieces either into the frame of the printer or in parts we installed earlier. Wiring the electronics was the other big part, which was about the same as connecting jumpers on a PC motherboard.

I found two parts particularly interesting.
First, I was surprised by how easy it was to level the build platform. I envisioned calipers, a level, and tedium. Instead, because of the springs mounted underneath the build platform, you simply need to adjust the three screws running through those springs. To check for level, you manually run the extruder head to the four platform corners and confirm that it's the same distance away from the platform at each position.
I still have some trepidation about this step. You obviously need a level build platform if you want your projects to come out right, and while we leveled the platform base, we added parts to the platform afterward, per the instructions. The binder clips in particular seem to muddy up the build area. I'm hoping for clarity once we get the software installed and run through calibration.

The binder clips are the second notable part. The clips, along with the zip ties anchoring the circuit board to the printer, are the two most obvious examples of the DIY spirit inhabiting this project. They also make perfect functional sense.
The clips let you remove the build surface for easy cleaning and project removal. The zip ties keep the circuit board mounting process simple. They're also low-cost parts, which is great for two components so apparently well-suited to their assigned tasks.
If HP and other mass market printer ever get involved in consumer 3D printing, the odds are high for soft-cornered product design and overpriced consumables. Any DIY elements will be smoothed over. You can almost hear 3D printer old-timers reminiscing about binder clips and zip ties.

With the main body of the printer assembled, tomorrow we're going to play with the software side of things, and hopefully get through troubleshooting, final calibration, and, with luck, choosing a project. We probably won't post video of those steps, but we will report back here with our progress. My goal is to leave the lab tomorrow night with a print in progress.
You can read Part One of our project here. The gist is that Matt Fitzgerald and I are building a Mosaic 3D printer from a kit provided by MakerGear, and reporting on our progress along the way. Our goal is to finish the week with a successfully printed 3D object.