How to organize your Windows Start menu
The good, old-fashioned Windows Start menu still has many fans. But keeping it organized can be a challenge. Here are a few tips for maintaining a neat and clean Start menu in Windows 7.


Microsoft introduced the Start screen in Windows 8, but Windows 7 users still rely on the classic Start menu. The Start menu certainly boasts certain advantages over the Start screen, but one major disadvantage is the way the folders and shortcuts for all your programs easily become disorganized. Why does that happen, and what can you do to fix it? Let's take a look.
Every program you install in Windows 7 creates its own Start menu folder or at least its own free-floating shortcut. Some programs nicely ask you where you want to install their shortcuts, but most just dump them haphazardly into their own folders. The more programs you install, the more crowded and cluttered the All Programs menu becomes, especially with folders, subfolders, and shortcuts for items you may not even need. In Windows 7, such a setup forces you to keep scrolling and scrolling and scrolling down the list of programs until you find the folder or shortcut you want.
So how can you manage your Start menu programs so they don't remain a disorganized clutter?
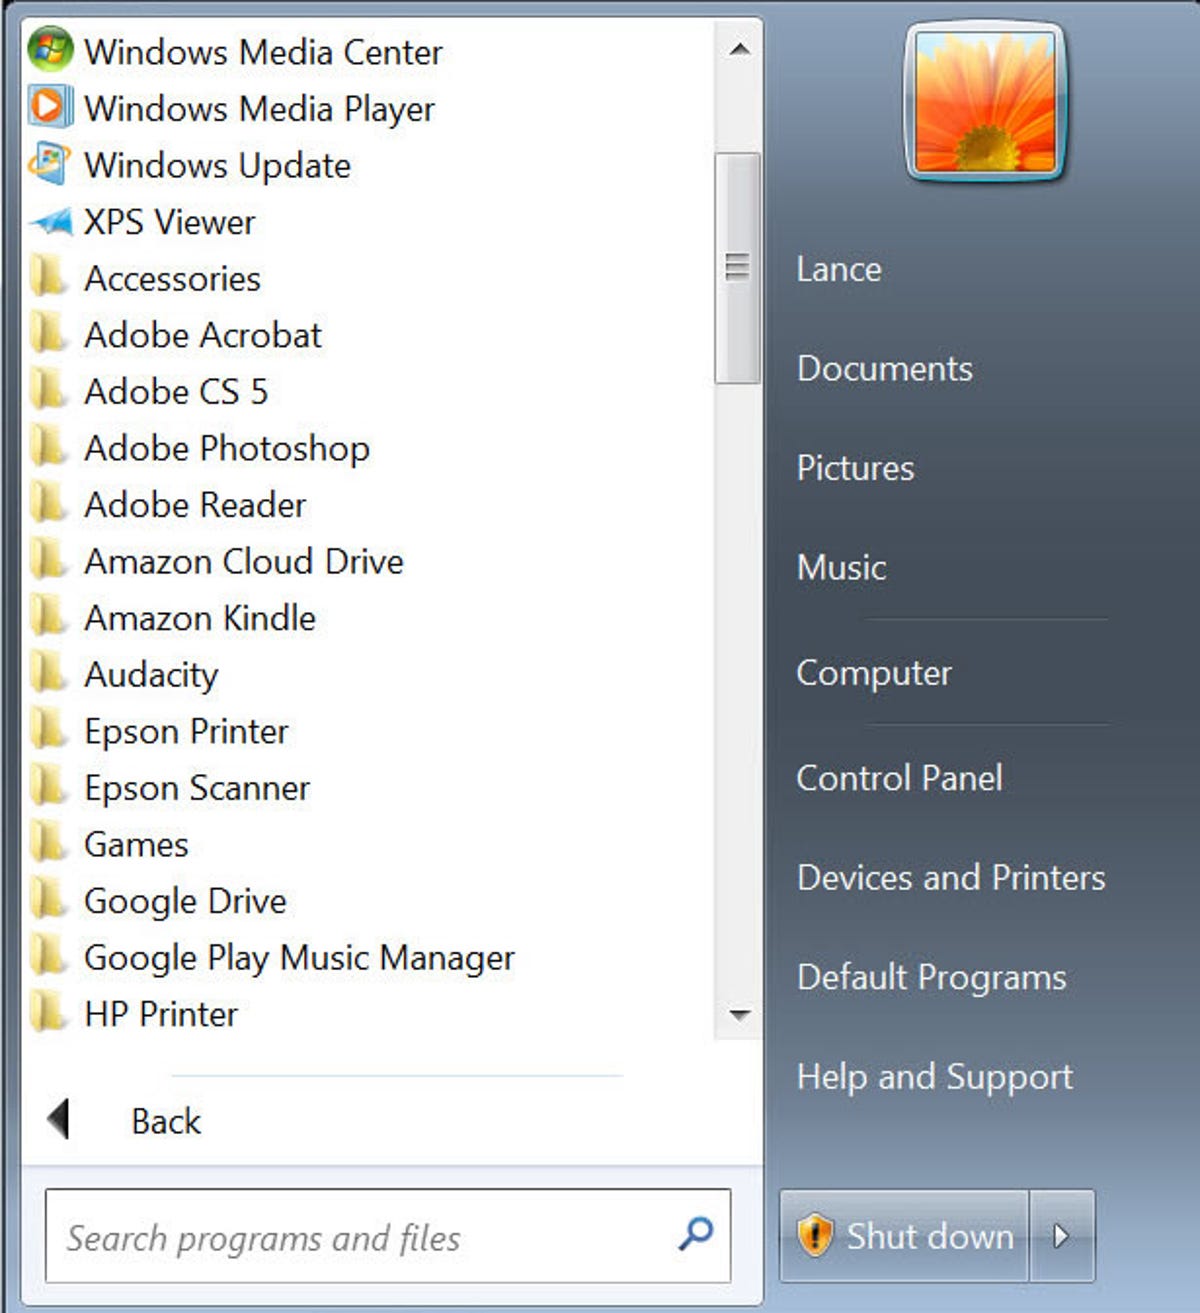
First, you can directly access the Start menu to delete, rename, and move individual shortcuts into different folders. To do this in Windows 7, click the Start orb and then click the All Programs setting to see all of your programs. Right-click a folder or shortcut that you wish to delete and select Delete from the pop-up menu. Confirm that you wish to delete the item. Right-click a folder or shortcut that you wish to rename and select Rename from the menu. Type the new name and then press Enter.
OK, now let's say you want to move a shortcut from one folder to another. There are two ways to do this. Right-click the shortcut you wish to move and select Cut from the menu. Right-click the folder to which you want to move the shortcut and click Paste. Alternatively, open both the source and destination folders and simply drag and drop the shortcut from one folder to the other. You'll see a horizontal bar when your cursor is in the right position. Simply release your mouse button at that point, and the shortcut lands in its new home.
Working directly in the Start menu is fine if all you need to do is delete, rename, or move shortcuts. But what if you want to create new folders in which to store certain shortcuts? For that you'll need to access your entire Start menu Programs area in Windows Explorer.
Again click on the Start orb. But this time, right-click on the All Programs setting. A small pop-up menu displays options for Open and Open All Users. The Open option leads you to shortcuts for programs installed only for you. The Open All Users option leads you to shortcuts for programs available to all users of the PC. Click the Open All Users option.
Windows Explorer pops up to display your Start menu, including your Programs folder. Open the Programs folder. You can now use the tools in Windows Explorer as well as the pop-up menu that appears when you right-click your mouse to manage your Start menu programs. You can create new folders, which is probably the best way to organize your programs. Instead of having individual folders for each program, create more general folders to house several programs.
For example, you may want to create a folder called Internet or Web Browsers and move the shortcuts for Internet Explorer, Firefox, and Chrome in there. You could create a folder called Entertainment and store shortcuts for iTunes, Windows Media Player, and other video and music players in there. And you could create a folder called Games and put all of your PC games there. The goal is to create a minimal number of essential folders so your entire programs list doesn't grow too big.
You may also have to organize the shortcuts for programs installed only for you. To do this, click on the Start orb, right-click on the All Programs setting, and click the Open option. I actually open both windows in Windows Explorer -- the one for programs installed just for my account and the one for programs installed for all users so that I can work with them both and keep the entire Start menu organized.
Finally, there is a software utility that can help you organize your Start menu programs. Known as Tidy Start Menu, this utility can suggest ways to organize your menu and take you through the process. Tidy Start Menu is available as both freeware and a more full-featured $20 edition. The website's link to the free version doesn't currently work, but I was able to find the free edition by searching on the Web for the filename TidyStartMenu_Setup_freeware.exe.
Keeping your Windows Start menu organized isn't an easy task, and it's one you'll have to do periodically. Microsoft is reviving the Start menu for the next major version of Windows, possibly Windows 9. Perhaps the company will also add an easier way of managing the menu. But for now, these tips and tricks should help you keep your Start menu relatively clean and uncluttered.