Learn how to erase an Android 3.0 Honeycomb tablet step-by-step.
Donald Bell
Donald Bell has spent more than five years as a CNET senior editor, reviewing everything from MP3 players to the first three generations of the Apple iPad. He currently devotes his time to producing How To content for CNET, as well as weekly episodes of CNET's Top 5 video series.
In this How To, we're going to show you the process for erasing and restoring an Android Honeycomb tablet. It's something you should probably do if you're returning a tablet back to a store, selling it, or gifting it to someone else.
Step 1: Make sure you've backed up anything important. Connect it to your computer over USB and drag over any photos or videos you may have taken, as well as any notes or documents you want to hang on to. If you're not around a computer, e-mail it to yourself.
2 of 6 Donald Bell/CNET
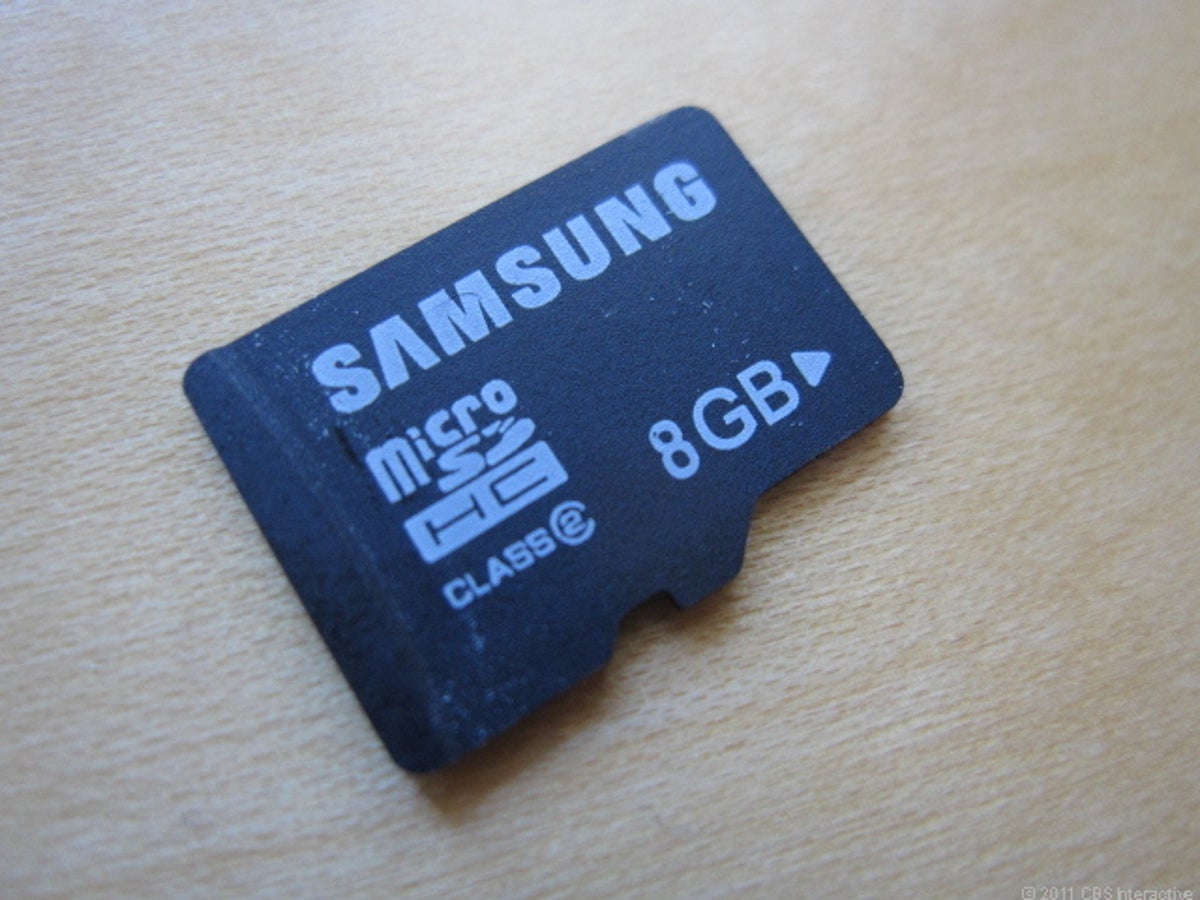
Memory card
Step 2: Remove any memory cards you may have inserted. If these cards are yours and you're not passing them along to the next owner, this is a good reminder to get them out of the tablet.
3 of 6 Google
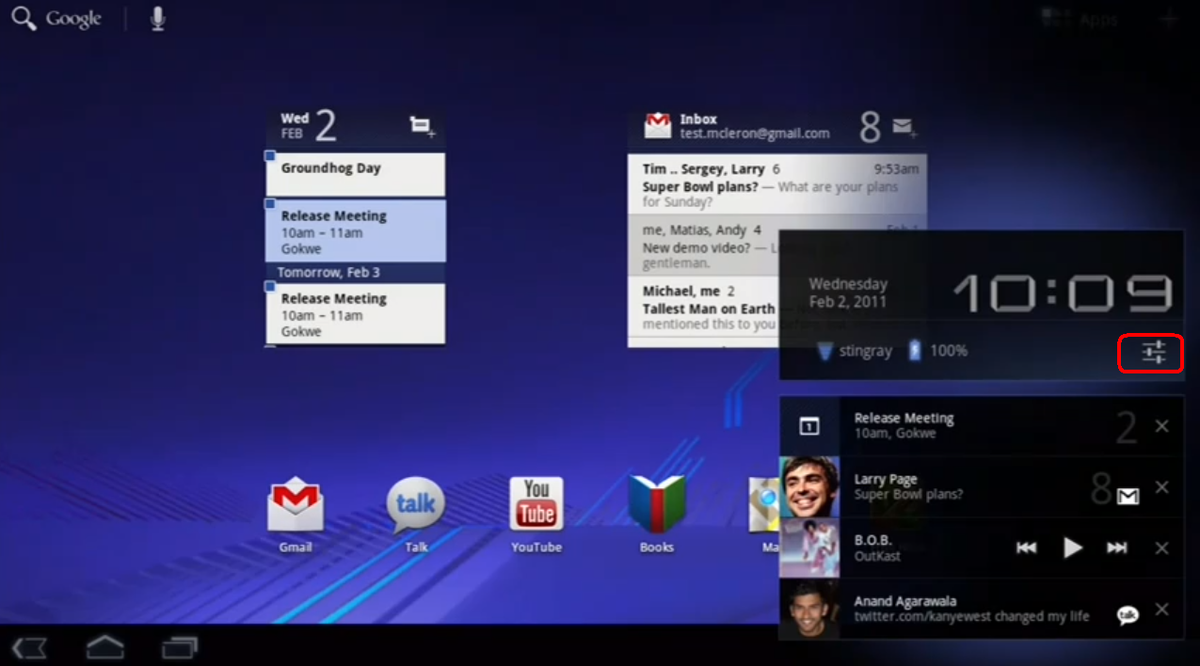
Honeycomb home screen setings
Step 3: We want to locate the Factory Data Reset option. So far, Android 3.0 is fairly consistent about where you'll find this. On Android 1.0 or 2.0 devices you'll have to do some hunting within the settings menu.
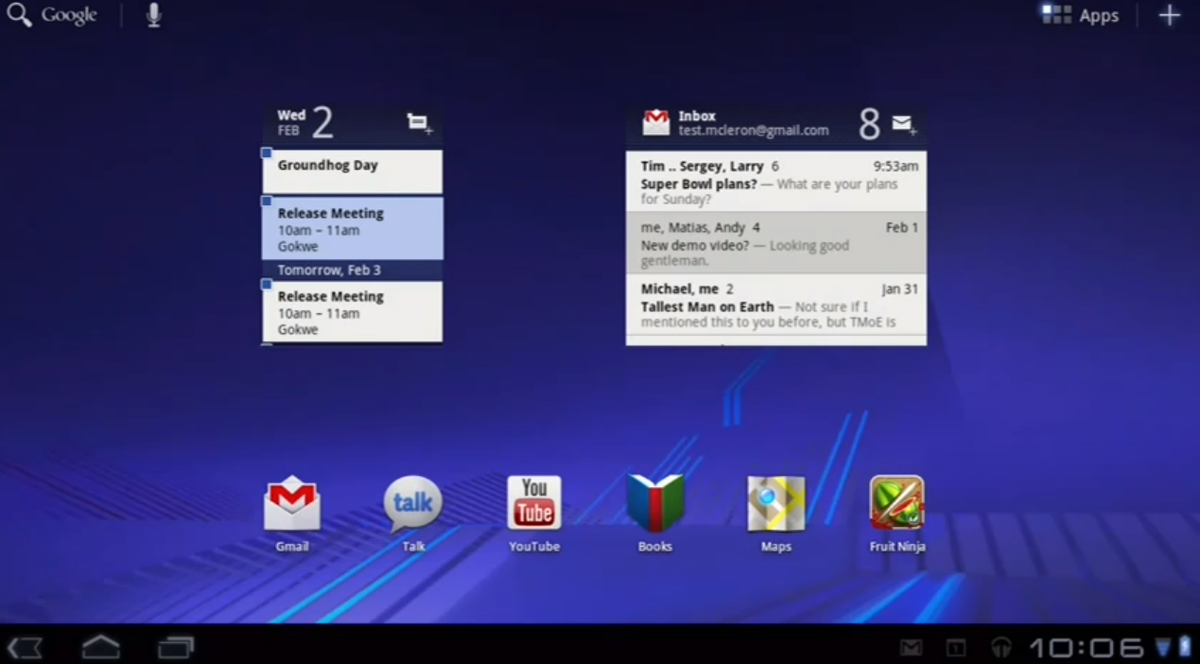
For Honeycomb, open the pane in the bottom right corner and expand to see all settings. Or, you can open your apps from the top right corner, and tap Settings from the All Apps tab.
4 of 6 CNET
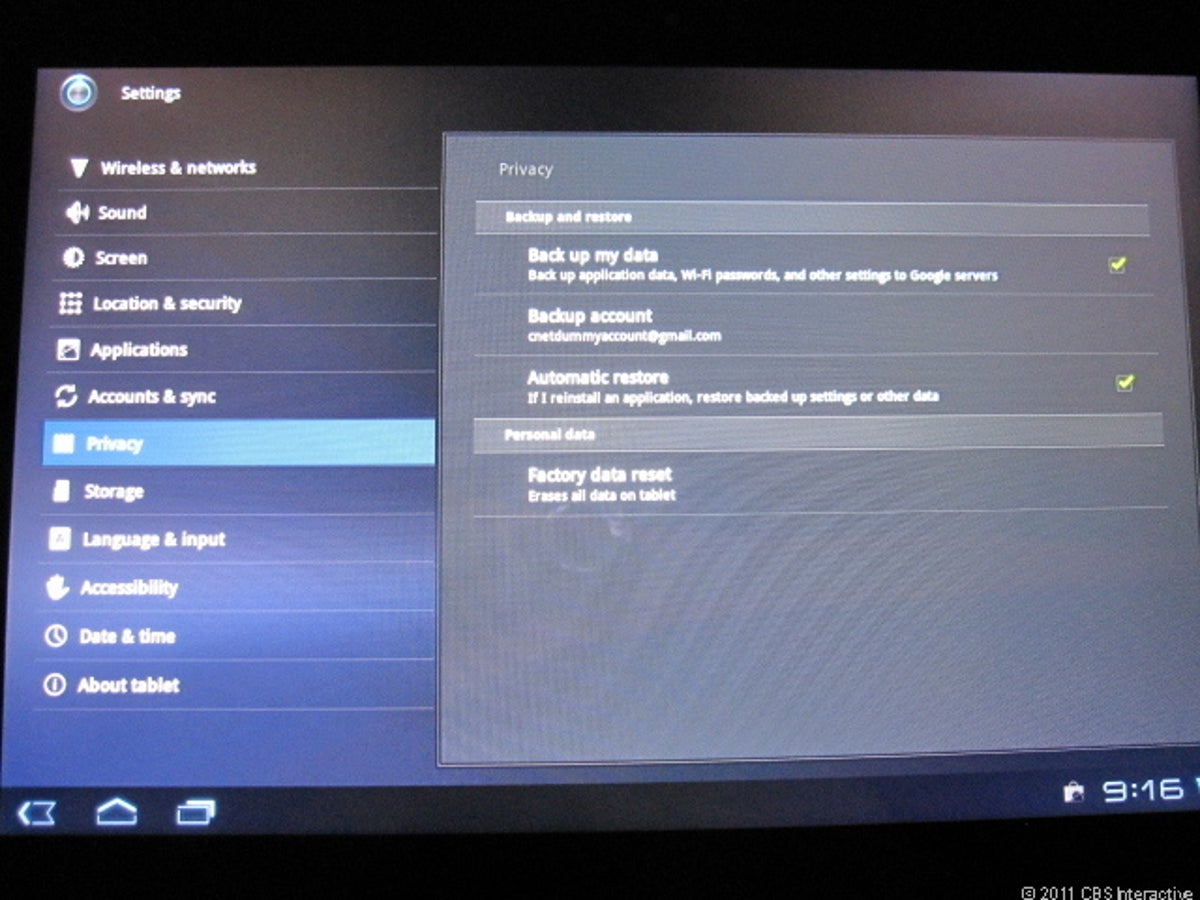
Honeycomb settings
Once in Settings, you'll find the reset option under the Privacy tab.
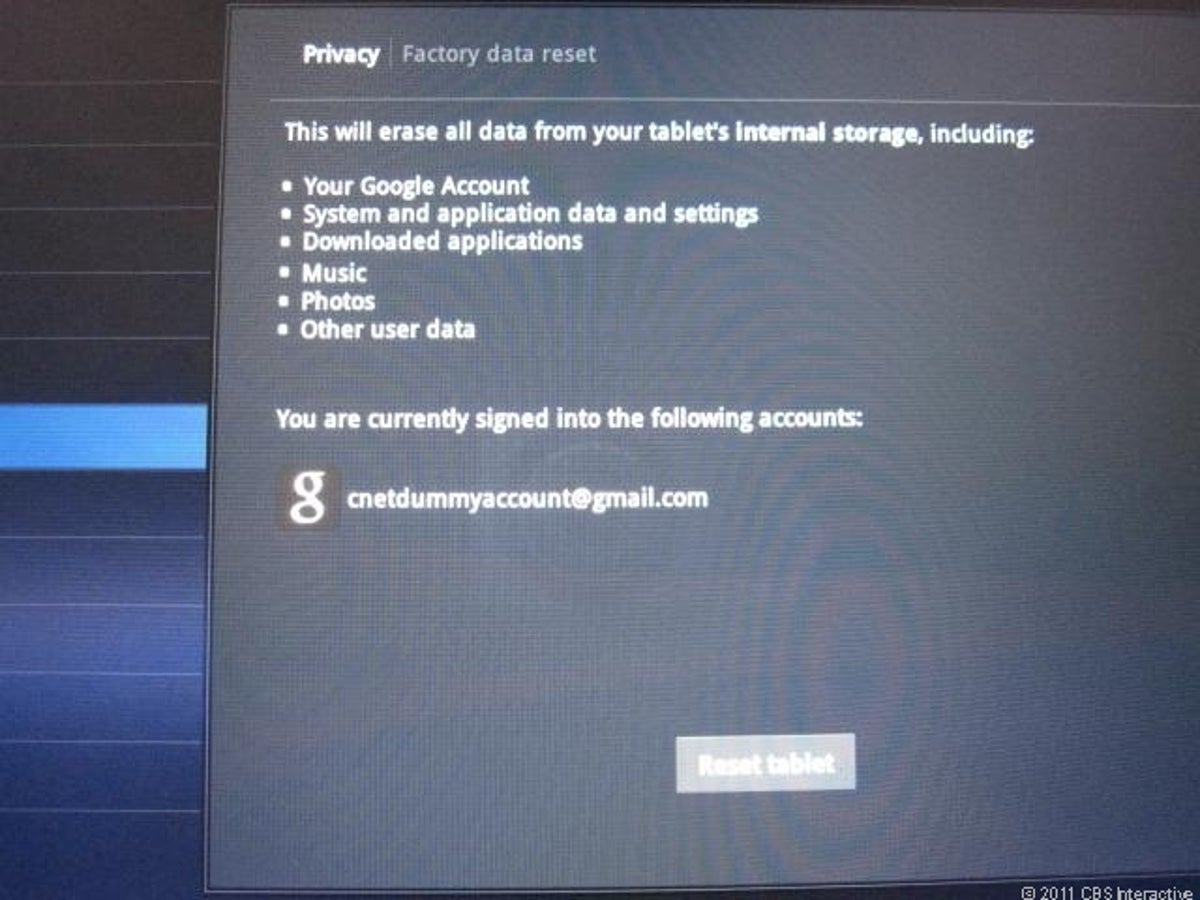
5 of 6 CNET
Honeycomb erase
Select the Factory Data Reset option and confirm that you want to erase all of the data on the device and restore the tablet to factory settings.
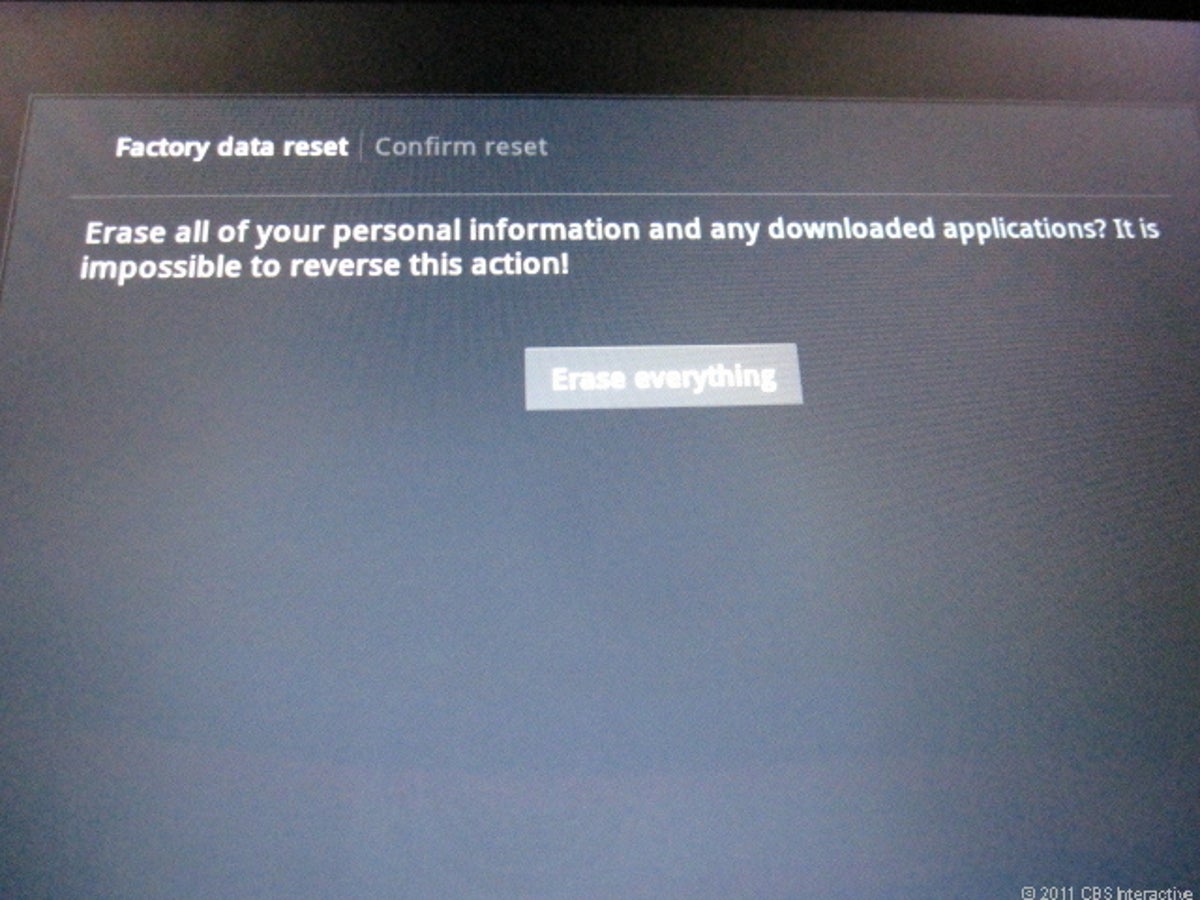
6 of 6 CNET
Honeycomb confirm
One last confirmation, just for good measure.
Once the tablet reboots, you should see the same setup screen that appeared when you first took the tablet from the box. Leave it blank, shut it down, and pack it up. Your job is done.