10 photography tips for beginners
Are you just starting out with photography? Here are our 10 top tips to ensure that you're producing amazing photos in no time.


Get up early
Are you just starting out with photography? Here are our 10 top tips to ensure that you're producing amazing photos in no time.
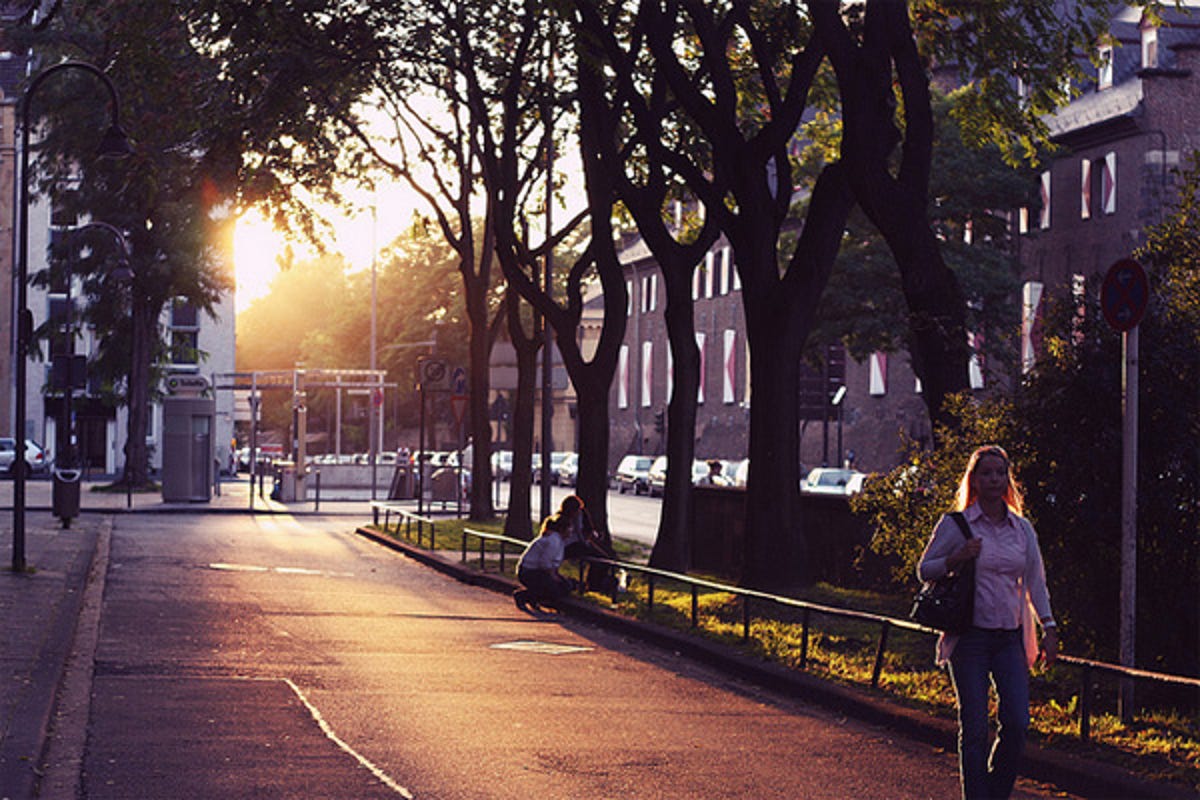
Sorry to be the bearer of bad news, night owls — if you want to capture the best natural light, set your alarm for the crack of dawn. Golden hour occurs during the first hour of sunrise and sunset every day, providing the most amazing light with the right positioning. Landscape photographers often swear by the principles of golden hour for ethereal effects and the most diffused, glowing light.
This handy site helps you calculate the exact time for golden hour wherever you are in the world. There are also apps you can install on your mobile device as a friendly daily reminder to keep your eye on the light.

The rule of thirds
All photographers think about composition, whether it's consciously or unconsciously. When you're starting out, abide by some of the simple rules to make your shots look even better. The key compositional tool is the rule of thirds. Look through your camera's viewfinder or camera screen, and imagine it is divided into thirds both horizontally and vertically. Alternatively, check your camera's manual because often, this overlay grid can be activated on the display for you.
To make the most visually interesting image, place the main subjects on the intersection points of these lines. It's a tried and tested rule used by generations of photographers.
Of course, once you master the basics, feel free to break the rules.

White balance is your friend
We've all been there. Trawling through photos that have an awkward blue or orange tinge across the image. Most of the time, this is because the photographer has incorrectly set their white balance in-camera, or the automatic mode has chosen the wrong setting for the lighting conditions.
The white balance setting in a digital camera is related to colour temperature. A high colour temperature (measured in Kelvins) creates a blue colour cast, while a low colour temperature creates an orange or red colour cast. Your light source (natural light, fluorescent lights, tungsten lights and so on) usually determines the colour temperature. If your camera is constantly producing images that have an unsightly colour cast, adjust the white balance until you find a setting that produces the most natural-looking image based on your lighting conditions.
To change the white balance to a custom reading in your digital camera, you'll need to do a bit of digging around in the menu system. Read your manual to find the exact location of this option, and then to set the white balance, go into the room or area you'll be taking photographs in and find a white object or surface (a sheet of white paper or even a white T-shirt will do), then let the camera take a reading.

Learn about exposure
You might be just a beginner right now, but later on down the track, once the photography bug bites, exposure is going to be a very important part of your skill set.
Exposure is the measure of light that reaches the image sensor in order to capture an image. There are three main elements that determine how either a camera (in automatic modes) or a photographer (in manual modes) determines exposure — ISO, aperture and shutter speed. To read up more on exposure, click through to our article, which explains it in full.

Stabilisation
One of the most common problems that beginner photographers face is camera shake. Most digital cameras and SLRs have some form of image stabilisation, but it can only go so far when shooting in low light. Usually, images turn out blurry when there is unwanted movement from either the photographer holding the camera or the subject itself. Plus, many compact cameras don't have a lens that can let in enough light.
You can compensate for this in a number of ways. Using the camera's built-in flash can be fine for some low light situations, such as quick happy snaps or portraits in dark rooms. An even more effective method is to think about investing in a tripod, which will give you more control in setting up your shot as well. Even if you only ever use automatic settings on your camera, a tripod will help stabilise the camera as the shutter stays open for longer to gather enough light for the final photo.

Post-processing
Don't just let your shots languish on a hard drive somewhere. Part of the fun of photography is manipulating and editing images post-capture. Whether that's a simple crop or a more drastic change, like turning a colour image into monochrome or black and white, post-processing opens up a whole world of other possibilities.
Here's how to manage your photography workflow in Adobe Lightroom, a popular image manipulation and cataloguing software.
Exposure compensation
There's that scary word again — exposure. Never fear, because exposure compensation is something you can adjust right now, without needing to know anything about exposure at all. When you are shooting in an automatic mode, the camera will determine the best settings to use in order to get a correctly exposed shot, not too light and not too dark. But sometimes, the camera can't see as well as the human eye, so this is where exposure compensation can come in.
This setting is usually found somewhere on your camera and looks like a +/- symbol or button. Adjusting the value to above or below the centre marking will make your shot appear brighter or darker, as necessary, and if you are using your camera screen to compose a photo, changing the exposure compensation value will automatically show you what the photo will look like once you press the shutter button.

Learn to love your mistakes
Taking the ideal photo can seem daunting at first. Every photographer, at some stage in their career or hobby, has taken some pretty bad shots, or photos haven't turned out the way they expected.
Rather than throwing in the towel when a photo doesn't look quite right, work out what went wrong and use that as a basis to keep improving. Sometimes, a simple technical mistake can be very easy to fix by looking in the manual or searching online. Other times, it might be a creative challenge for yourself to visualise a photo in a different way, and try to capture that moment on your camera.
Remember — don't give up.

Get rid of shutter lag
Shutter lag is that awkward moment in time between pressing the shutter button, the camera focusing and finally getting around to taking the shot. On some cameras, such as SLRs, this lag is hardly noticeable. Some compact cameras suffer from quite pronounced shutter lag, which means that often, you are likely to miss the exact moment you want to capture, while waiting for the camera to catch up.
Unless you want to buy a brand new camera, you can get around this on many cameras, to some extent, by half-pressing the shutter button. This will force the camera to pre-focus on your subject before you take the photo. Keep holding the button down halfway until you are ready to take the shot. Finally, press the button down completely. Shutter lag, be gone!

Back up
Hard drive crashed? Accidentally deleted your entire memory card without copying the photos over? We've all been there before.
If you're just starting out with photography, it's really important to set up a great backup system to ensure that your photos stand the test of time. There are so many ways to do this, but one of the easiest solutions is to automatically create a second copy of your photos on another hard drive or in cloud photo storage when you transfer photos from your memory card.
Wireless solutions like Eye-Fi and the Wi-Fi connectivity feature in some cameras can also help you streamline your backup workflow. Keen travellers will want to read up on the best ways to store photos while on the road.
More Galleries

My Favorite Shots From the Galaxy S24 Ultra's Camera
20 Photos
Honor's Magic V2 Foldable Is Lighter Than Samsung's Galaxy S24 Ultra
10 Photos
The Samsung Galaxy S24 and S24 Plus Looks Sweet in Aluminum
23 Photos
Samsung's Galaxy S24 Ultra Now Has a Titanium Design
23 Photos
I Took 600+ Photos With the iPhone 15 Pro and Pro Max. Look at My Favorites
34 Photos
