What to do when your ice maker stops making ice
Don't be so quick to make a service call when your ice maker stops working. Try these simple troubleshooting techniques and fixes first to save yourself money and frustration.


Having ice ready whenever you want or need it is a luxury we all take for granted, that is, until you reach to get some ice from the freezer and there is none.
Ice makers fail. It's an unfortunate reality of owning a refrigerator with an ice maker.
On the bright side, ice makers are also relatively simple machines that, for the most part, all operate the same way. And you may be able diagnose and repair a faulty ice maker yourself before forking over cash for an expensive service call.
Here's how to fix some common ice maker problems.
When ice is not ejecting
If you find ice inside the ice mold, it means your ice maker is receiving water and the problem likely isn't with the water supply. Instead, it's most likely a mechanical or electrical problem.
Cause: When moving things around in the freezer, it's not uncommon to accidentally nudge the control arm into the off position, which halts production of ice.
Fix: This is an easy fix. Locate the metal control arm and move it to the down or on position.
Cause: If the control arm is in the on (down) position and the mold is filled with ice, the problem likely lies with the motor, gearbox or electrical connection.
Fix: Start by making sure all electrical connections are properly seated. Slide the refrigerator out from the wall, turn off the water supply valve and disconnect it from power. Locate the quick release plug on the back wall inside the freezer. Unplug the connection it and reconnect it to ensure it's fully connected.
Manually remove any remaining ice from the mold by adding some water and letting it sit for a minute. The ice will begin to melt and should be easier to remove.
Restore power to the refrigerator and lift the control arm to the off position. Lower the control arm back down and wait for approximately 10 seconds for the solenoid to engage and fill the mold with water.
Wait three to four hours for the ice to freeze and see if the ice now ejects. If not, it's likely that you will need to replace the motor or gearbox.
When it's not making ice at all
If your ice maker isn't producing ice at all or is producing crescents or cubes that are smaller than usual, it's typically indicative of a clog somewhere along the supply line.
Cause: A common cause for a clog is frozen water in the line.
Fix: To repair a frozen line, slide the refrigerator and unplug it. Locate the shut-off valve, typically underneath the sink or behind the refrigerator. Turn the valve to the closed or off position. Fill a turkey baster with warm water and pour the water over the water line. Alternatively, you can defrost the water line with a hair dryer or by letting the refrigerator sit unplugged for upward of two hours.
Restore power to the refrigerator and listen for the water supply to fill the ice mold.
If the clog is anything but translucent, consult with a professional for help removing the clog.
Cause: There is also a possibility that the water filter for the ice maker is clogged.
Fix: Locate and replace the water filter. Filters for ice makers are typically located inside the refrigerator (to keep them from freezing).
When cubes are too big or small
Cause: If the ice crescents are too big or there is no clog and they're still too small, chances are, the ice maker just needs a little adjustment.
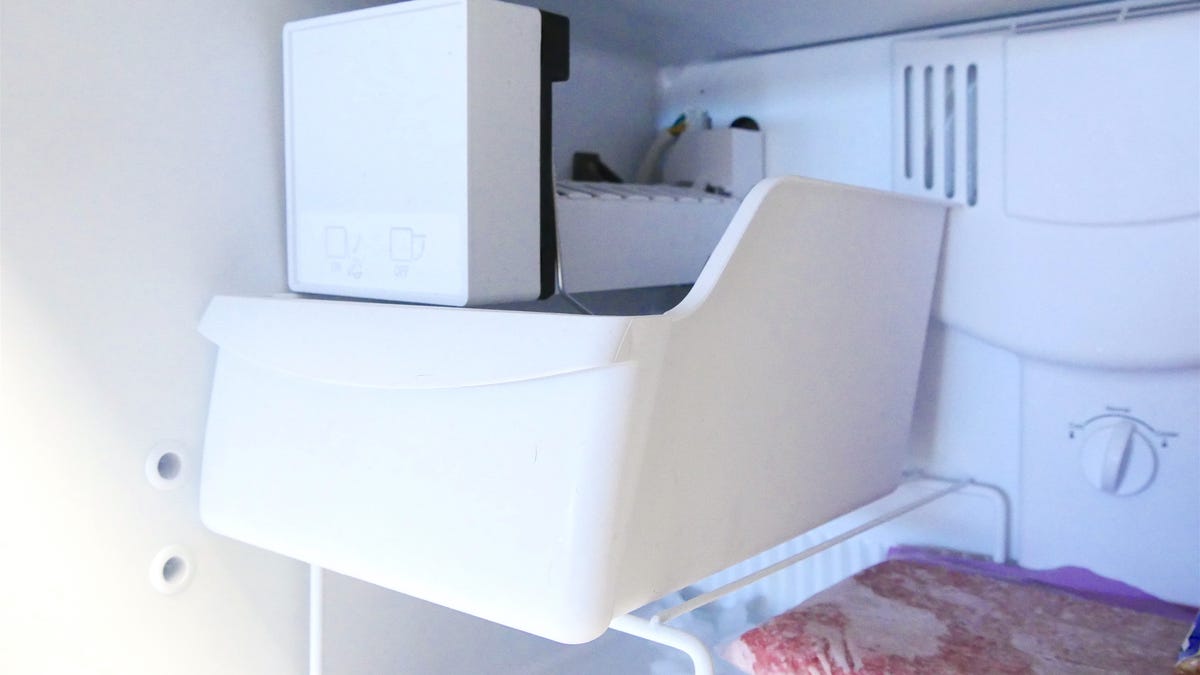
Fix: To adjust how much water the ice mold is filled with each cycle, first remove the cover from the ice maker. It's the white plate on the frontmost part of the ice maker assembly and it should pull off rather easily. If you're having difficulty removing it, use a flat head screwdriver to gently pry it away from the housing.
Under the cover, you should see a screw and spring assembly, along with a plus and minus indicator. This controls the dosing for water. Screw in (toward the minus symbol) to decrease the amount of water per dose and out (toward the plus) to increase the amount of water per dose.