Use Puush to share images and screenshots quickly
Whether you need to share screenshots from your iPhone, Mac, or PC, Puush has you covered.


If you are a tech blogger or engage in another pursuit that requires the regular capturing and sharing of screenshots, Puush (Mac | Windows) could prove useful. It's a free and easy multiplatform app that automatically uploads screenshots as you snap them. It works on both Macs and Windows systems, and there is also a Puush iPhone app. I tried out the free Mac app and iPhone app.

When you launch Puush on a Mac, you'll see a small arrow icon in the menu bar at the top of your screen. Click on the arrow icon and choose Preferences to set up the keyboard shortcuts for capturing a section of your screen and capturing the entire screen, along with manually uploading a file.

In my experience, Puush's default shortcuts for capturing a selection of my screen and the entire screen were the same as Mac OS X's default screen capture shortcuts: Command-Shift-3 and Command-Shift-4, respectively. Mac OS X overrode Puush, so I needed to change the shortcuts in Puush before I was able to use the app via keyboard shortcuts. You will also need to set up an account on the Puush Web site before you can begin uploading files to its servers. The free account gives you 200MB of storage with a file size limit of 20MB. There is a paid Pro subscription, which costs $15 a year and gives you unlimited storage and a file size limit of 250MB.
In the Preferences window, you can set the keyboard shortcuts. In the Keyboard Bindings section, click the button for either of the three commands and enter a keyboard shortcut of your own. Now, when you enter that keyboard shortcut to capture a screenshot, it does not get saved to your desktop but immediately gets uploaded to the Puush Website. From the pull-down menu from the menu bar, you can view a list of your five most recent uploads. Clicking on one of the five recent uploads opens the image in your default browser. From the pull-down menu, click My Account at the top to view all of your Puush screenshots on your account page on the Puush Web site.
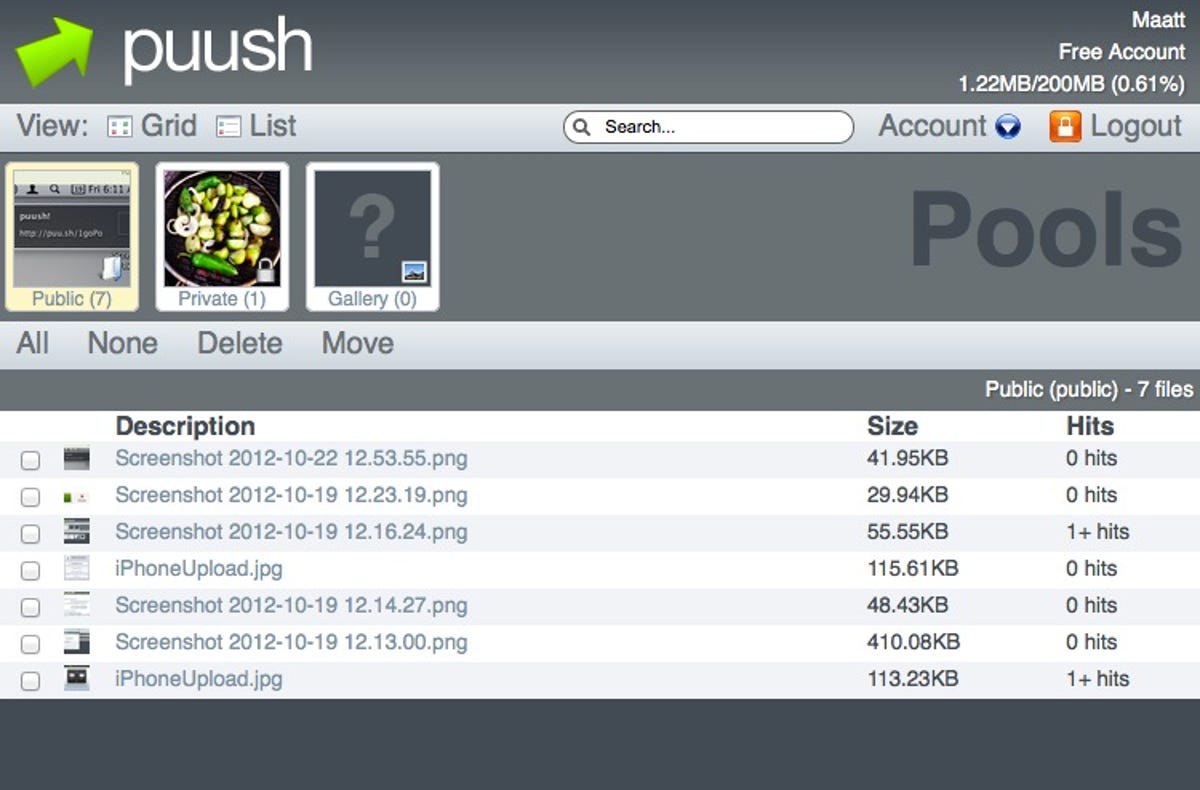
On the Puush Web site, you can view via Grid or List. You can set your screenshots to be either public or private by selecting them and moving them (it's easier to do this from the List view). In settings, you can set the default to be either public or private.
Puush also has a free iPhone app. Oddly, it doesn't automate the process of uploading a screenshot from your iPhone, but after signing into your Puush account, it lets you capture a photo or browse your photos to upload a file to your Puush account.
While Puush is a free and easy way to share screenshots, I have become so reliant on Dropbox that I found GrabBox to be preferable for my needs. Read my post on how GrabBox works.
(Via LifeHacker)