Top tips for great travel videos on your iPhone
We take you through our top tips on how to shoot better videos from your holidays on your iPhone or iPad.


- Shortlisted for British Photography Awards 2022, Commended in Landscape Photographer of the Year 2022
Heading off on holiday this summer and want to make a video record of your trip to make your friends at home jealous? With almost every smartphone being able to shoot and even edit video, creating movies from your trip has never been easier. Still, if you want to get the best from your footage, there are a few tricks to bear in mind.
We've put together our top tips on what kit to take with you, what to consider when you're out and about and what apps to use to make your movies come together.
Choose the right kit
The most important piece of kit will of course be your phone or tablet. While you can shoot video on smartphones on all platforms, the wide selection of video-specific apps and big range of accessories means the iPhone 6 or iPad mini or Air is arguably the best tool for mobile video.
Accessorise
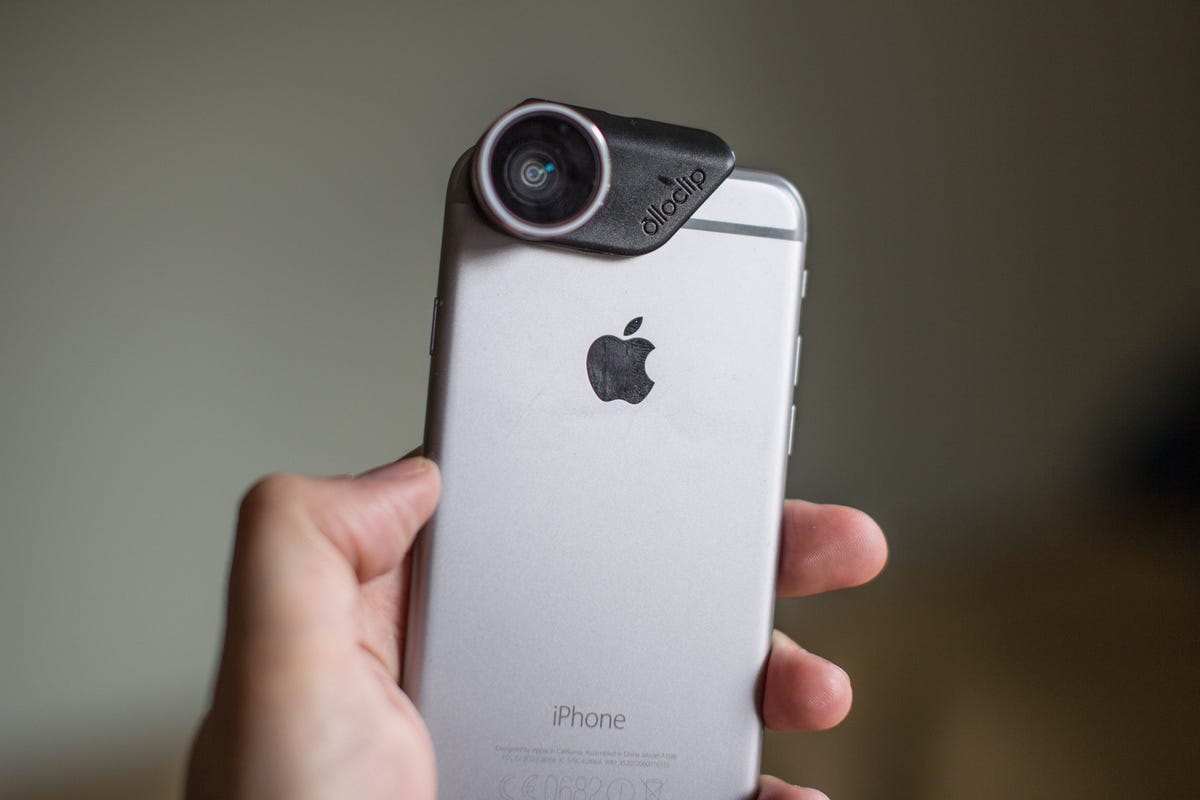
You should certainly consider taking a few accessories with you too. Various clip-on lenses can enhance colour or provide wide-angle effects to your footage, which will come in handy when you want to shoot sprawling, scenic vistas. Olloclip's wide-angle and macro lenses are small and easy to slot onto the iPhone, but I also like Manfrotto's new Klyp case, which has a range of screw-in lenses, including a polarizer which enhances blue skies.
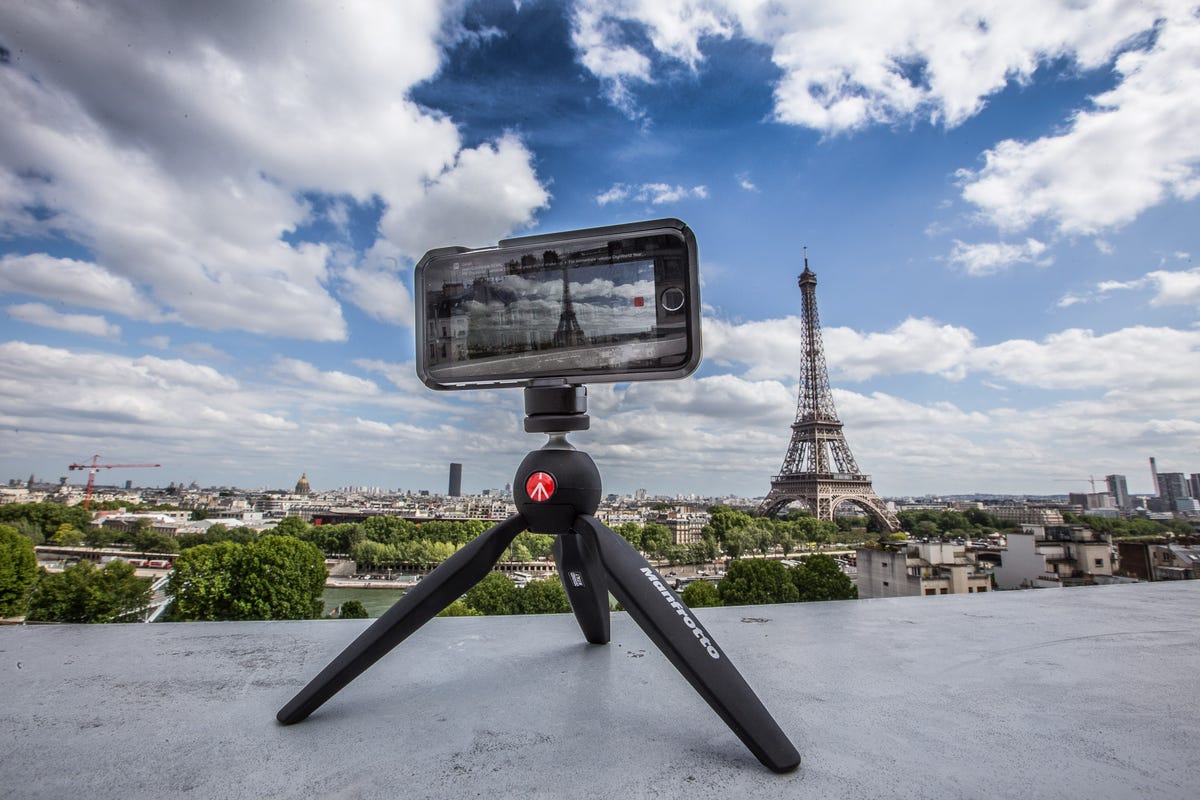
A tripod is worth considering too to help stabilise your video -- essential if you want to take time-lapse sequences of clouds passing overheard. Again, Manfrotto has a great little one, called the Pixi (pictured above) that can slip into a backpack unnoticed and costs only £18 ($25), or you could go for the Joby GorillaPod, with its endlessly-bendable legs (£15, $17, AU$22). Finally, make sure you take an external battery pack with you, such as the Mophie JuicePack Duo -- shooting video all day will drain your battery fast, so you'll want to have a backup on hand.
Choose your apps
The standard iOS camera app is great for quick shooting when you're out and about as its simple interface means you don't need to waste any time choosing settings -- just hit record and you're off. If you want to get a bit more creative while you're shooting, Filmic Pro (£5.99, $7.99, AU$9.99) provides manual control of exposure, focus and flash, while apps like 8MM (£1.49, $1.99, AU$2.49) allow you to shoot with vintage-style filters.
One app I strongly recommend is Hyperlapse from Instagram. It's free, and lets you create stabilised time-lapse videos extremely easily, without having to set up tripods. The stabilisation also allows you to smoothly pan across a scene, with any shaking from your hand automatically smoothed out.
Get shooting
Consider your film
Before you head out, think about the sort of film you want to create. Is it a video diary of a weekend break? Then consider getting shots of your travelling to your location -- in the car, out of the train window, finding the hotel -- as this will help tell the narrative of your trip. A sports video meanwhile will benefit from shots of your companions preparing for action, so include footage of them getting snowboard boots on or oiling up the mountain bike chain.
Keep your eyes and ears open
A basic pan of a scene, in a bunch of different locations isn't going to make for the most dramatic of films, so remember to whip the phone out and get shooting as you're out and about. Buskers playing music, busy street crossings, street signs in a variety of languages, food shops and landmarks all add interest to a video and provide context about where you are.
Play with angles
Vary your shots by experimenting with different angles when filming. Try kneeling down and shooting upwards, getting up a tall building to shoot wide cityscapes, or use a wall or railing as a leading line, to draw the eye into the scene.
Shoot often, keep your clips short
When something catches your eye, fire up the camera and get it on record. The more interesting clips you have, the better your final film will be.
It's important to keep your clips short, however -- around 4 to 10 seconds each. While 20 seconds looking at one scene may not seem all that long when you're filming, when you watch it back it can seem like an eternity, particularly when it's viewed alongside multiple long clips in a video. Shorter clips are also much easier to edit, too, as you won't need to hunt through a several-minute video file to find the few seconds in the middle that are actually interesting.
Edit it together
Last but not least, you'll need to combine all your clips into one video. The iPad is the best device to use for editing as its larger screen makes moving clips around, applying filters and such much easier than on a smaller phone. I recommend shooting your clips on your iPhone, then transferring your files to your iPad -- a simple task if you use Airdrop, or have it do it automatically using iCloud.
The easiest way to edit your clips into one film is with iOS apps like Replay or Magisto (both free, and Magisto is also available on Android) which automatically splice together your chosen clips, together with effects and soundtracks. If you want to avoid the nitty gritty of editing and just share your holiday film on Facebook, these are great apps to consider.
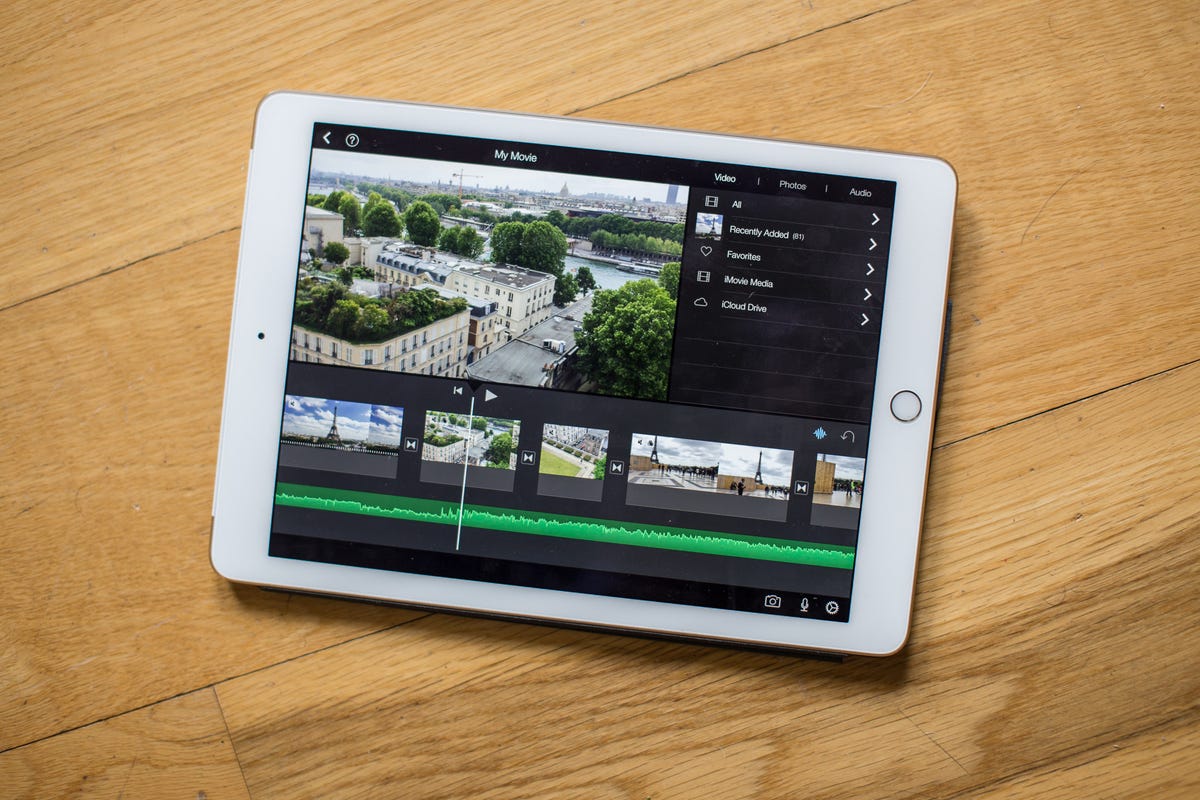
If you want to get a little more involved, then iMovie on the iPad is where you should look. You can import your video clips one by one, easily slice out any parts you don't want, choose different transitions between clips and add soundtracks from your own library of music or from the built-in themes.
When editing, it's wise to consider the timeline of events throughout your trip. If you're making a video diary, for example, you'll want to make sure that the clips of your arrival at your destination are at the beginning. You can experiment with filters too, to add a moody black and white look to stormy skies, and iMovie also allows you to record a voiceover for those scenes where you really want to explain what's going on. iMovie is available on the iPhone, too, but the bigger screen of the iPad does make it much easier to see what's going on.