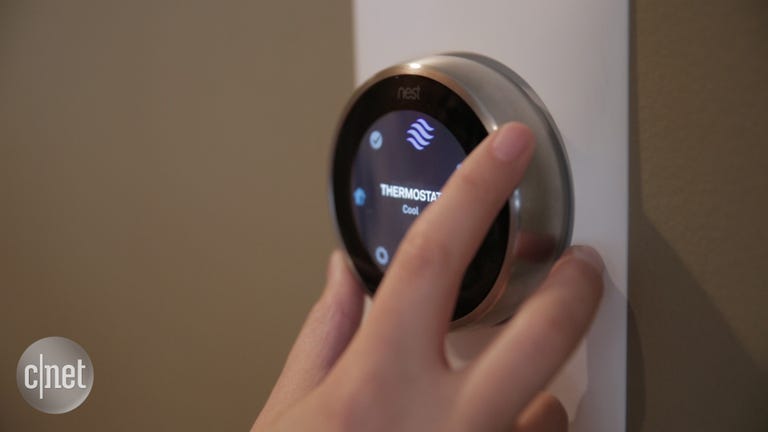
That time we cranked up the heat in the CNET Smart Home to 105 degrees
Yep, it was an accident, but it was also a learning experience -- one that plenty of DIYers can probably relate to as they replace old thermostats with smart upgrades.


I don't profess to be an expert at installing thermostats. In fact, before I began working at CNET in 2013, I had installed a grand total of two. With that level of experience (or lack thereof), I was only familiar with the basics as I embarked on my earliest thermostat reviews.
Switching off the heat and A/C at the circuit breaker before beginning work, grabbing a screwdriver and perhaps an electric drill, a pencil and some extra screws and wall anchors if new holes were needed, was about as involved as it got for me. Sometimes, that's all you need.
But, as you probably know, there are a variety of different heating and cooling configurations and while I have learned more over the last couple of years, I ran into a bit of a stumbling block when installing two Nest thermostats at the CNET Smart Home.


Pictured above is the Honeywell thermostat that was installed on both the first and second floors at the Smart Home. It looked straightforward enough to me. I turned off the power at the circuit breaker, confirmed with one of our technical editors, Steve Conaway, that the black S1 and S2 wires were not needed to install the Nest thermostats, and got to work.
After using electrical tape to cover both S wires, I did a simple swap of the remaining ones. R for Rh; W for W1; W2 for W2, G for G; C for C and Y for Y1.
So, the picture of the Nest below (left) is what I ended up with for both the main floor and upstairs installs. I configured both units, got everything connected in the app and called it a day. The following morning, I got an alert from Nest that the upstairs thermostat was registering temperatures above 100 degrees.

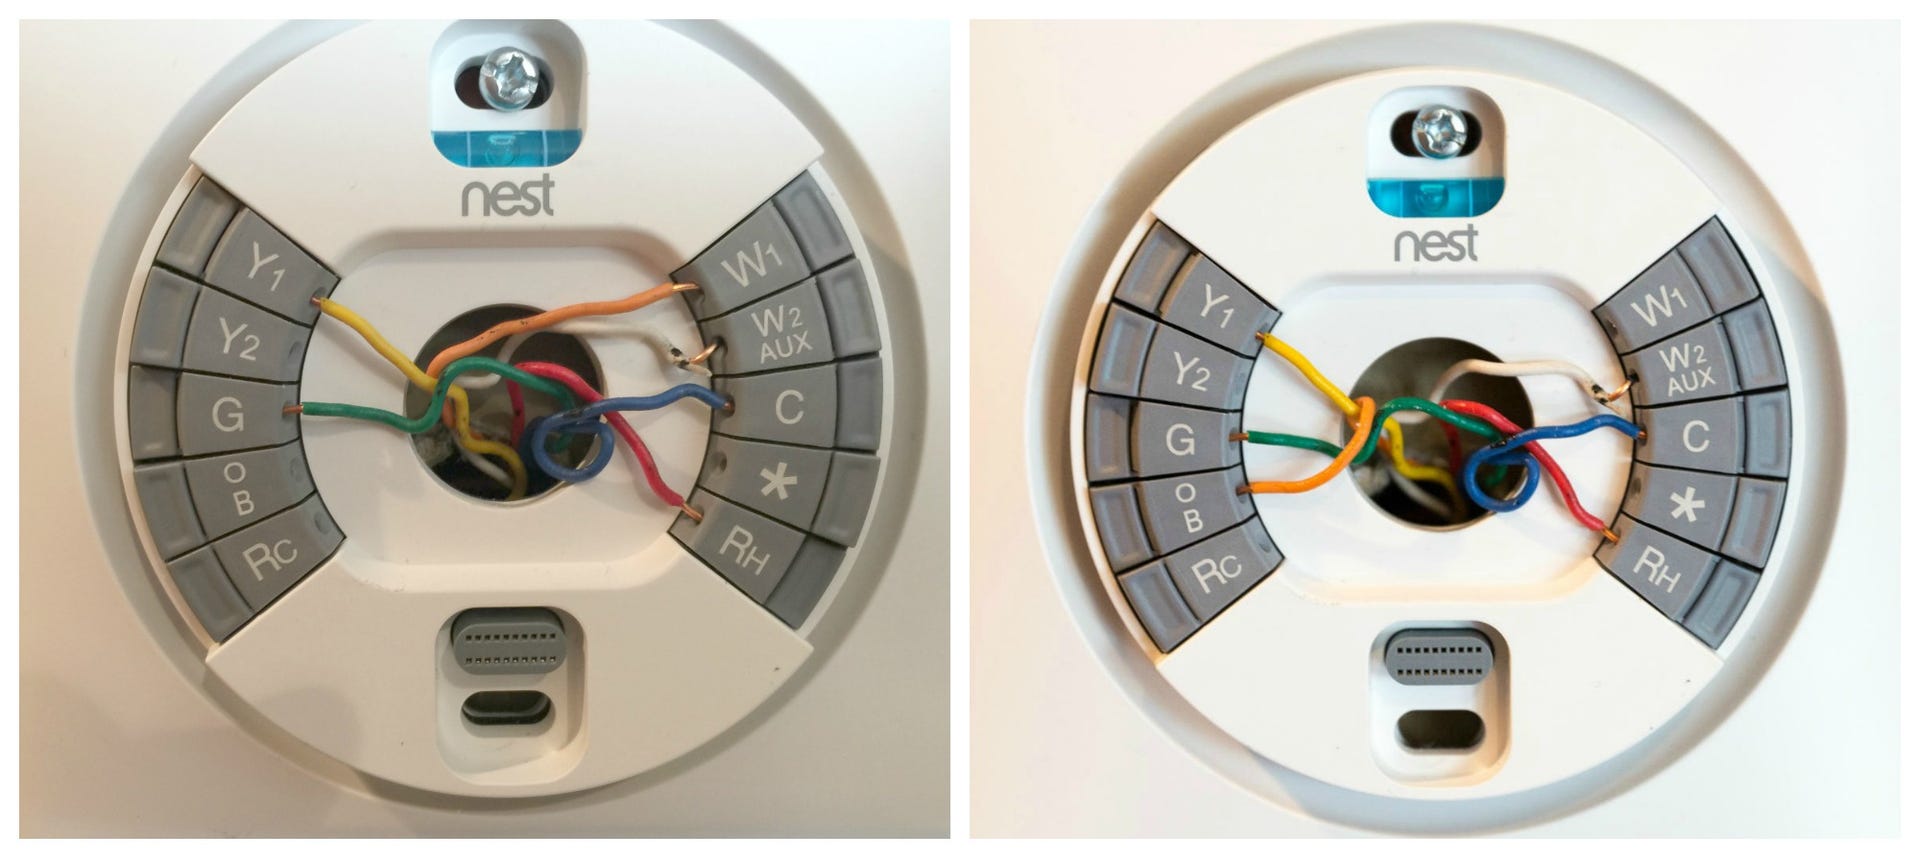
I grabbed Steve and we headed to the house to double-check everything; he is much more familiar with electrical wiring and noticed the issue immediately. The original Honeywell thermostats have wire ports that perform double-duty. For instance, whether you have a conventional (you would use a W wire for this setup) or a heat pump heating system (you would use an O/B wire for this setup), the same wire goes in the same port (the orange wire, in this case).
The same isn't true for Nest thermostats. There are separate ports for W1 and O/B, so you need to know whether you're dealing with a conventional system or a heat pump system. I hadn't dealt with a heat pump system before and instinctively put the "W" wire from the old thermostat (which was really an O/B wire) into the Nest's W1 port.
This caused the heat to kick on instead of the A/C -- and contributed to the house topping out at around 105 degrees Fahrenheit. That's too warm for a hot tub, according to the Consumer Product Safety Commission, let alone the inside of a house. But, moving the W1 wire to the O/B port on the Nest fixed the problem -- and, about 4 hours later, the house had finally cooled into the 70s. And, fortunately, it didn't do any damage to either the HVAC unit or the house itself.
That's the thing about the CNET Smart Home -- we're learning as we go, just as any DIYer would in their own house. We'll continue to document what we experience as we install new connected devices, too, so stay tuned for more real-world smart-home updates.