Stay safe while using Microsoft Office 2003
Secure your files and protect yourself from malware by changing these settings.


You trust Microsoft Office with your most important documents, spreadsheets, e-mail, and presentations. Unfortunately, many of the default security settings in Office applications may not provide a sufficient level of protection for your data, your system, and your reputation. Follow these steps to fine-tune the security settings in Office 2003; tomorrow I'll cover the new security options in Office 2007's Trust Center and elsewhere.
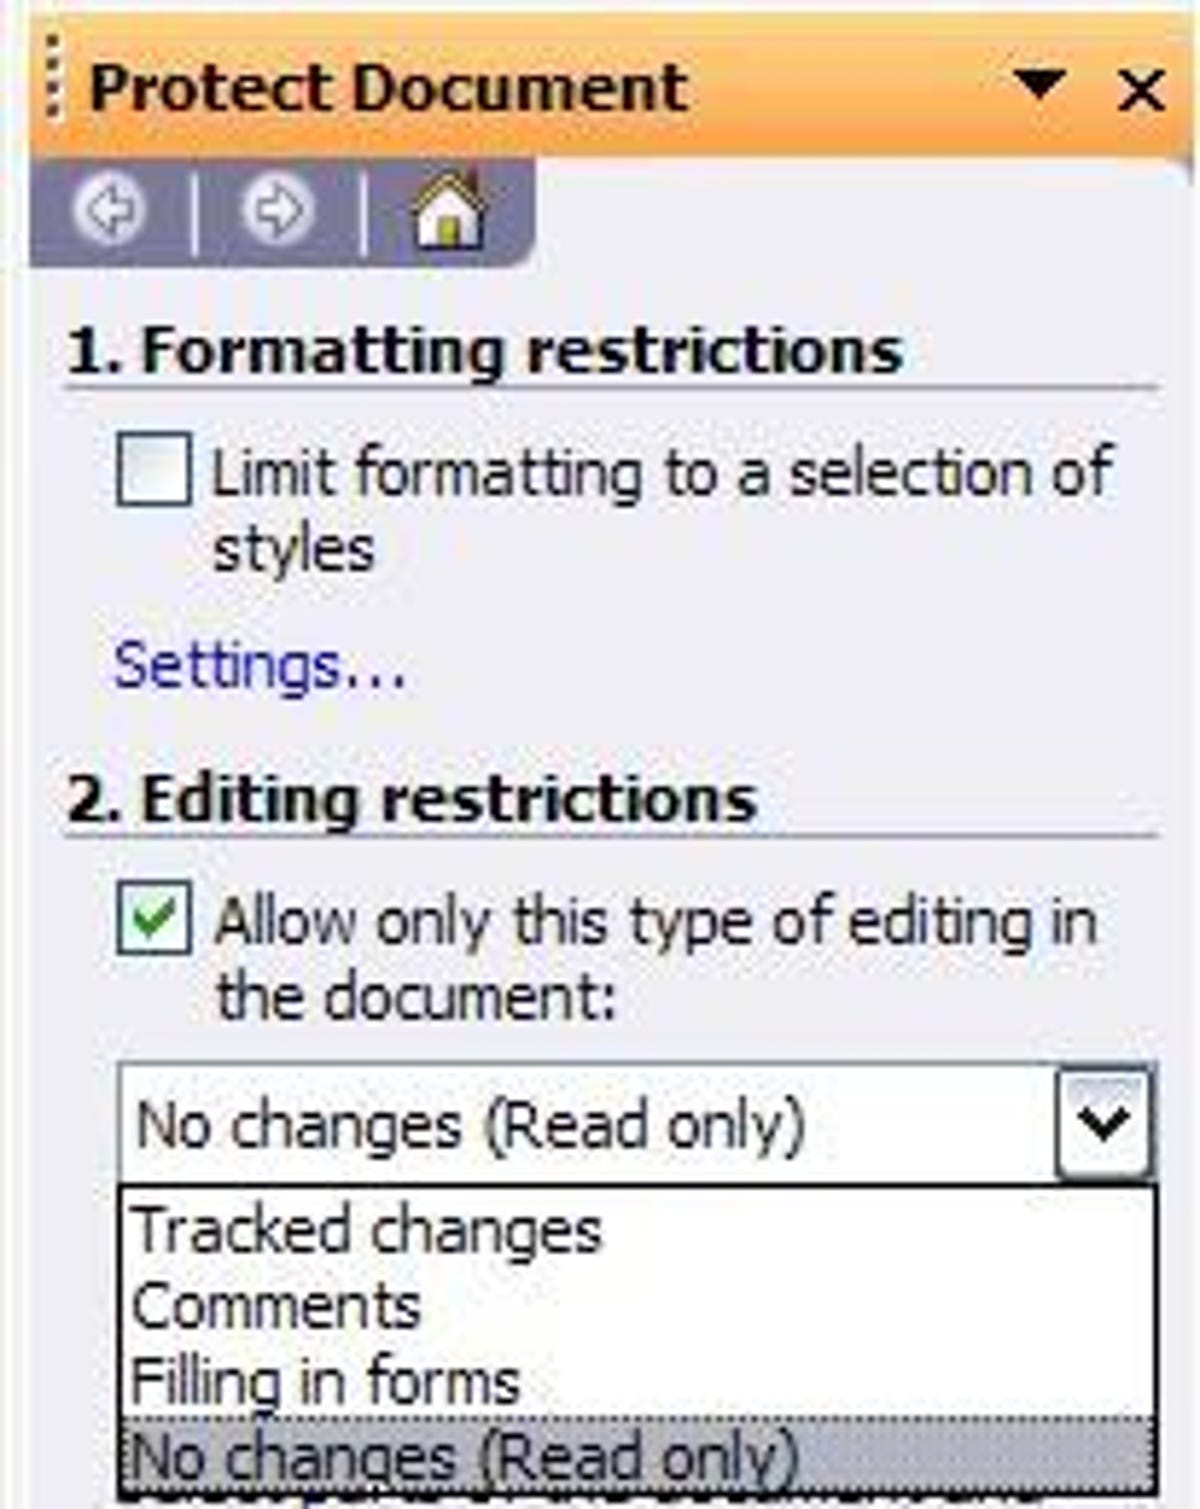
Office 2003 lets you encrypt files so that you need a password to read or edit them. In Word 2003, open the document and click Tools > Protect Document. To restrict the styles that can be applied to the file, check Limit formatting to a selection of styles, and click Settings. Uncheck the styles you don't want to allow, or choose one of the other style-restriction options, and click OK. To make the document read-only, check Allow only this type of editing in the document, and select one of the options in the drop-down menu: Tracked changes, Comments, Filling in forms, or No changes (Read only).
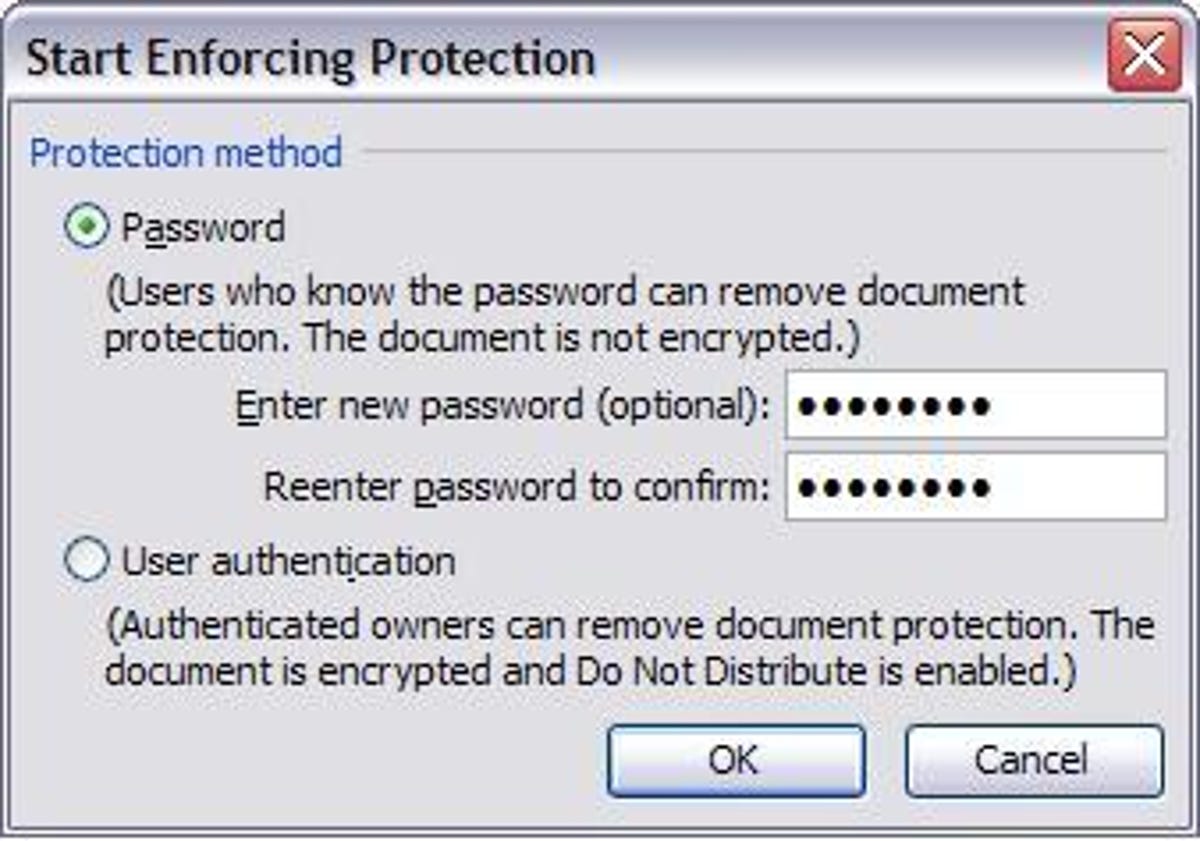
You can also designate the people who can access the file by clicking More users, entering their user names or e-mail addresses, and clicking OK. When you're done, click Yes, Start Enforcing Protection. In the resulting dialog box, choose either Password and enter the password twice that will decrypt the file, or select User authentication, which allows the people you designate to remove the file's protection.
The User authentication option requires Microsoft's Information Rights management, which requires the Windows Rights Management client. This in turn requires a .NET Passport account, and your agreement to the "free trial," though there's no indication if or when the trial will end. Microsoft promises to maintain the privacy of your files, and to make them available for three months after the trial ends, if you maintain the .NET Passport account. There may be a good reason to go this route, but to keep things simple, I stick with the password option. To remove these settings, click Tools > Unprotect document, and enter the password (if you chose this method of protection).
To protect a worksheet or file in Excel 2003, click Tools > Protection, and choose your preferred protection method: Protect Sheet, Allow Users to Edit Ranges, Protect Workbook, or Protect and Share Workbook. If you choose the first option, you're prompted to enter a password to unlock the sheet, and you can limit the actions people can take when working on the sheet. The second selection opens a dialog box in which you can specify the ranges that will be unlocked by a password by clicking New and entering the ranges. You can allow specific people to edit, or list the users who can't edit the range without a password by clicking Permissions and entering their user or group names. The third and fourth options are similar to the first, but apply to the entire workbook rather than a specific worksheet.
In PowerPoint 2003, click Tools > Options > Security, enter a password that will let the presentation be opened or modified, and click the Advanced button to select an encryption type. This dialog box also lets you remove hidden data from the file, and adjust your macro security settings (the default allows only signed macros from trusted sources, though this is of questionable value since "trusted sources" is pretty meaningless).
Outlook 2003's security options let you encrypt outgoing attachments, restrict the sites that can send you scripts and active content (the same list that's in your Internet Options), and limit the receipt of images and file downloads. But two of the most important things you can do to protect yourself from malware in Outlook are to turn off the Reading Pane (aka Preview Pane), and to view your mail as plain text. To deactivate the Reading Pane, click View > Reading Pane > Off. And to switch from HTML mail to the safer plain text, click Tools > Options > E-mail Options, check Read all standard mail in plain text, and click OK. When you want to view a message in its original HTML format, click the beige message bar across the top of the message window and select Display as HTML.

Protect your reputation with the Remove Hidden Data tool: Maybe you're one of the many Office users who have suffered the embarrassment of sending someone (or a lot of someones) a file that hadn't had its revisions and comments deleted. To minimize the chances of the public seeing more of your files than you intend, download Microsoft's free Remove Hidden Data tool. (I described this program and four other great Office freebies in an earlier post.)
Tomorrow: get more out of the new security options in Office 2007.