Six tips for organizing your Mac's menu bar
Is your Mac's menu bar too crowded to be useful? If so, then it's time to clean it up. We offer a six-pack of tips to help you organize and declutter your menu bar.


The menu bar at the top of your Mac's display acts as a convenient tray on which Apple serves you menus of your current app to the left along with more static status icons to the right. In addition, many third-party apps -- Dropbox and Skip Tunes to name but two -- install icons in the menu bar for quick access. Should your menu bar begin to look cluttered, you have a handful of options at your disposal to clean things up.
Command-drag to remove or reorder
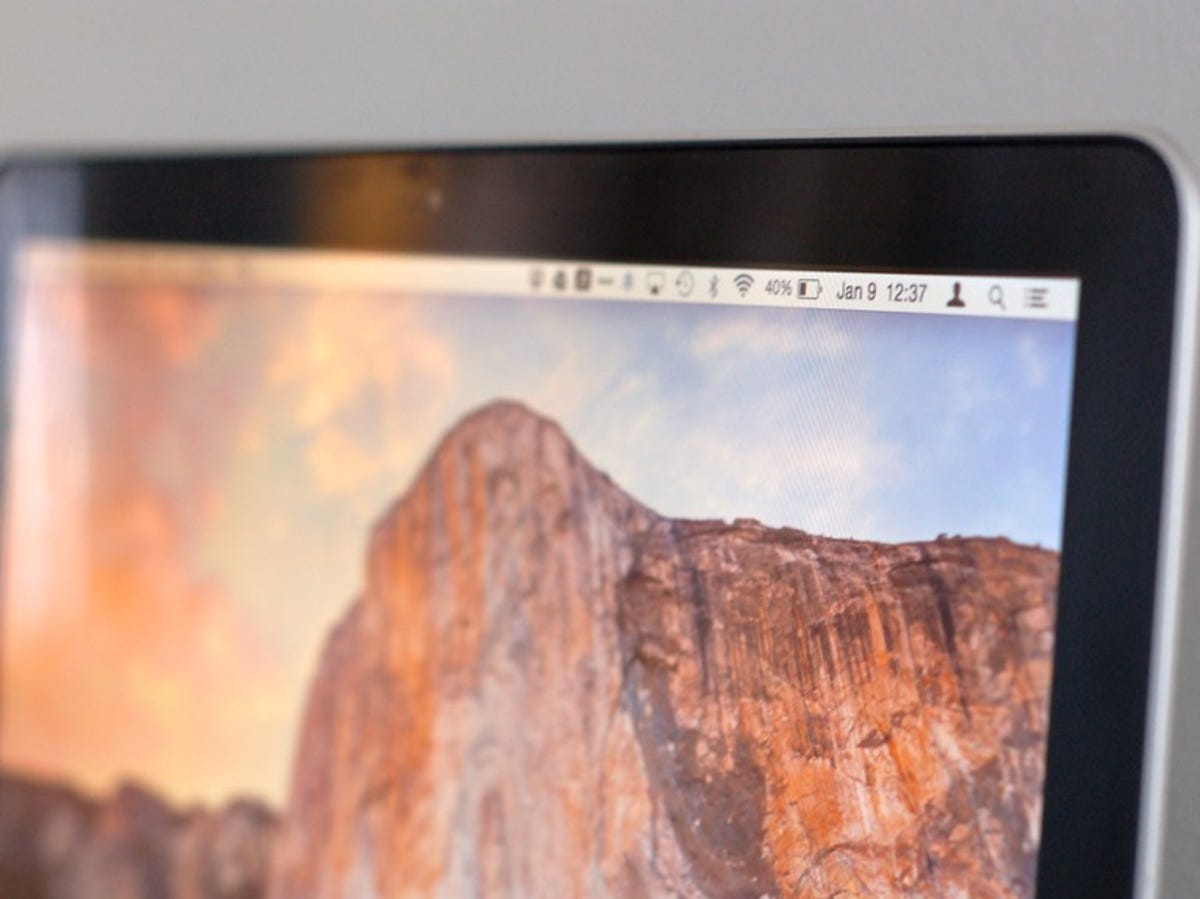
Apple includes a number of icons on the right side of the menu bar, from the time and battery life remaining (if you are on some flavor of MacBook) to Bluetooth and Wi-Fi indicators. You can go into System Preferences and drill down to the panel for each of these icons and uncheck a box to show its icon in the menu bar, but a quicker way to remove these icons is to hold down the Command key and drag them off the menu bar.
You can also use Command-drag to move these icons to a different spot on the menu bar should you want to change the order in which they appear. Be careful you don't accidentally drag them off of the menu bar because they will go "poof!" and disappear, forcing you to open System Preferences, find the settings panel for the icon you just removed, and check the box to show it again in the menu bar.
You can use the Command-drag maneuver to reorder many third-party app icons on the menu bar, but I found I couldn't use it to remove them from the menu bar. Also, you can't drag to reorder the Spotlight and Notification Center icons; they remain next to one another in the right-hand corner.
Fast user switching icon options
You have three options for how the Fast User Switching icon is displayed in the menu bar. When I installed Yosemite, the default was my full name. Since I don't change accounts all that often on my MacBook, I don't need to display the active user's name in the menu bar. To gain a bit more room in the menu bar, I opted for the more compact icon. (The third option is account name.)
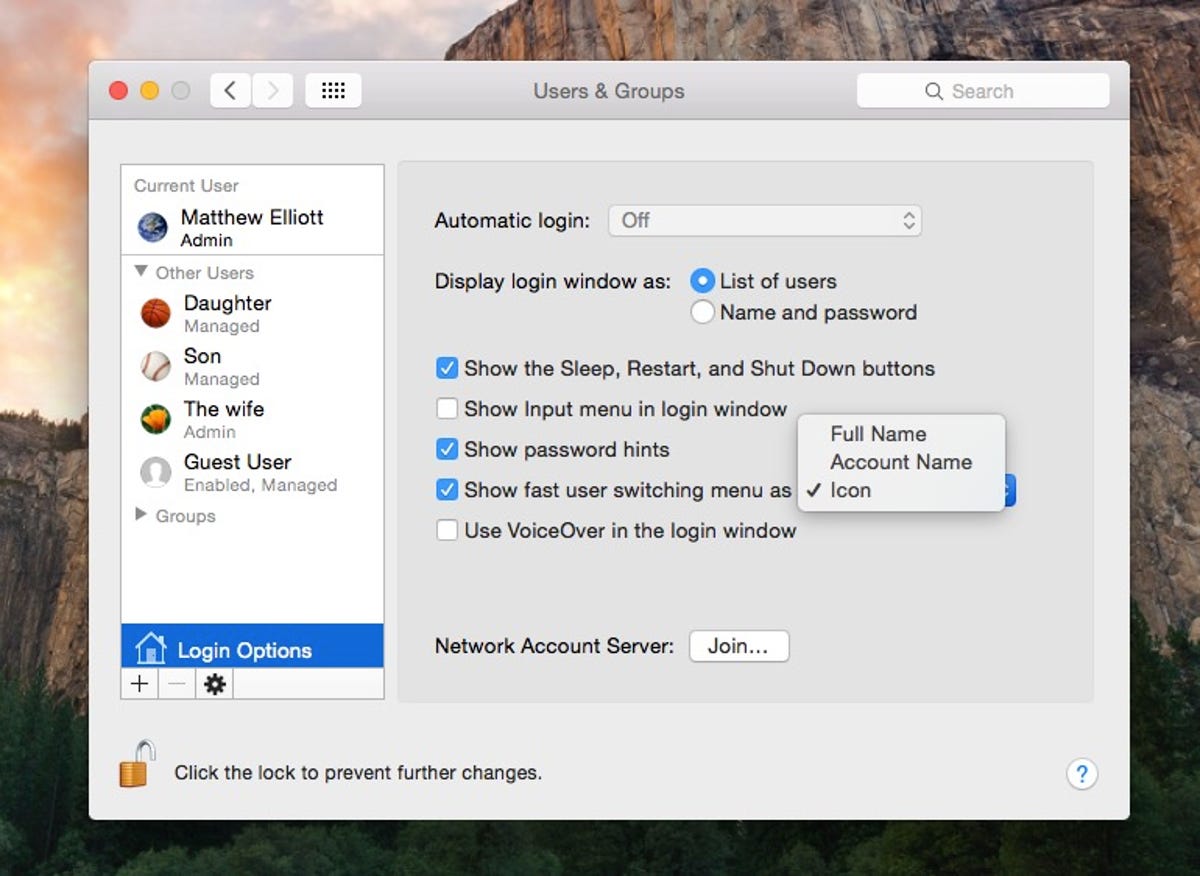
To change how the fast user switching icon is displayed, click on it and select Users & Groups Preferences at the bottom of the drop-down menu. Next, click the lock in the lower-left corner of the Users & Groups window to make changes and enter your password. Then click on Login Options from the left panel and then make your pick from the pull-down menu to the right of the Show fast user switching menu as setting. And if you don't want to display this icon in the menu bar, just uncheck its box.
Battery icon options
If you have a MacBook, then you likely use the battery icon in the menu bar to know when to retreat to a wall outlet. If you like to ballpark it at a glance, then you can hide the percentage of battery life remaining and just use the icon. To do so, click on the battery icon and select Show Percentage. (When hidden, you can do the same and again select Show Percentage.) And if you use a stationary MacBook that's always plugged in, you can hide the battery icon by clicking on the icon, selecting Open Energy Saver Preferences, and unchecking the box for Show battery status in menu bar.
Date and time options
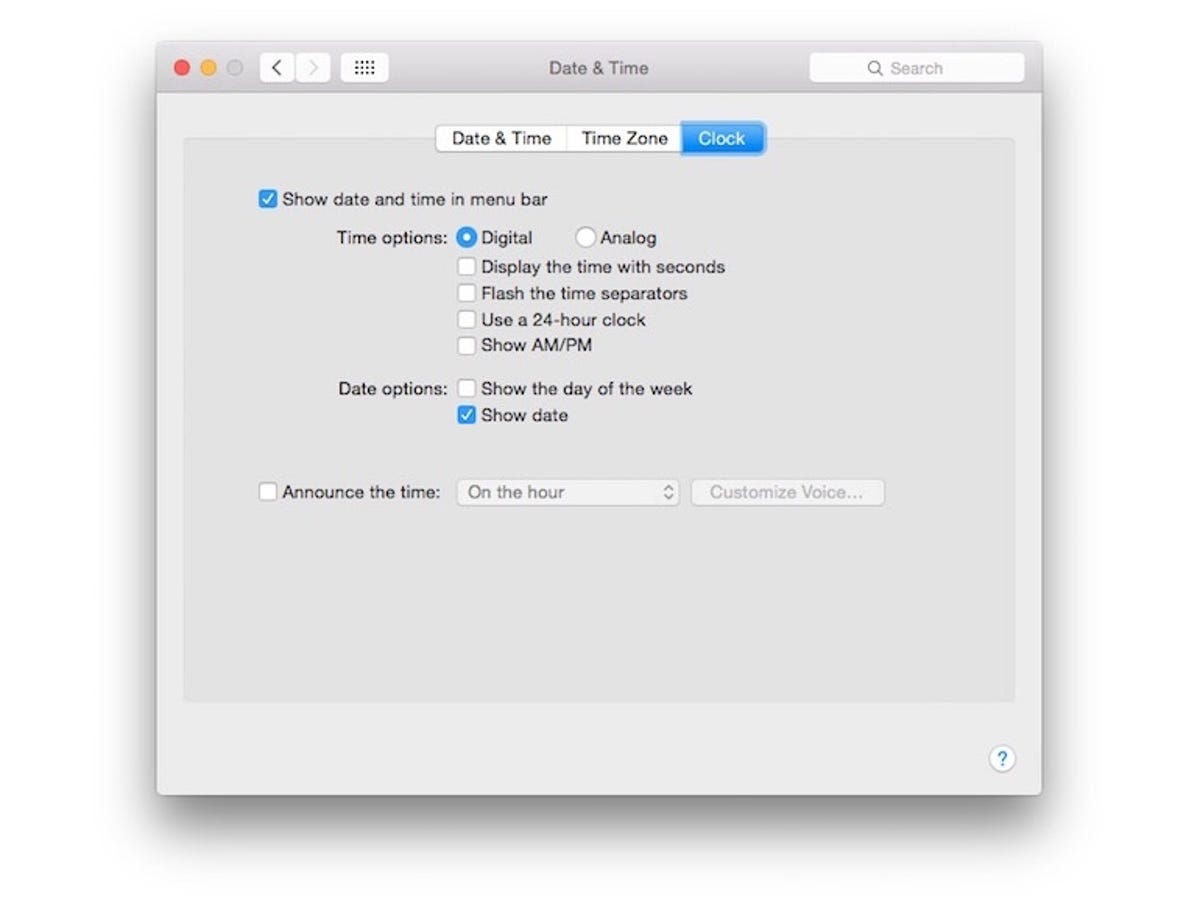
You have a number of options for how the date and time are displayed on the menu bar. Click on the time and choose Open Date & Time Preferences. If you have a crowded menu bar, you can choose to display the time as analog, which displays only a tiny but working clock icon while hiding the date. As tempting as this is for my cluttered menu bar, I find the icon too small to be useful. Instead, I prefer the 12-hour digital clock without seconds or AM/PM signifiers. And I like to show the date but not the day of the week.
Silence the volume icon
I use the volume keys to adjust my MacBook's audio output, so I've banished the volume icon from the menu bar. To do so, open System Preferences, click Sound, and uncheck the box for Show volume in menu bar.
Paint it black
Yosemite introduced Dark Mode, which removes the bright colors of the menu bar, sub-menus and the application dock, replacing them with black. Click here for a Dark Mode primer.
Alternatively, you can ignore everything I just said here and hide the menu bar with Menu Eclipse.