Mastering panoramic photography in iOS 6
Go beyond the basics with the iPhone's panorama mode. These little-known tips and creative techniques are what you need to capture stunning panoramic images.


- Webby Award ("How To, Explainer, and DIY Video"); Folio Changemaker Award, 2020
.jpg?auto=webp&width=1200)
Apple certainly didn't invent panoramic photography, but if you recently upgraded to iOS 6, and have an iPhone 4S or an iPhone 5, the added feature might have sparked a newfound interest in this photography technique.
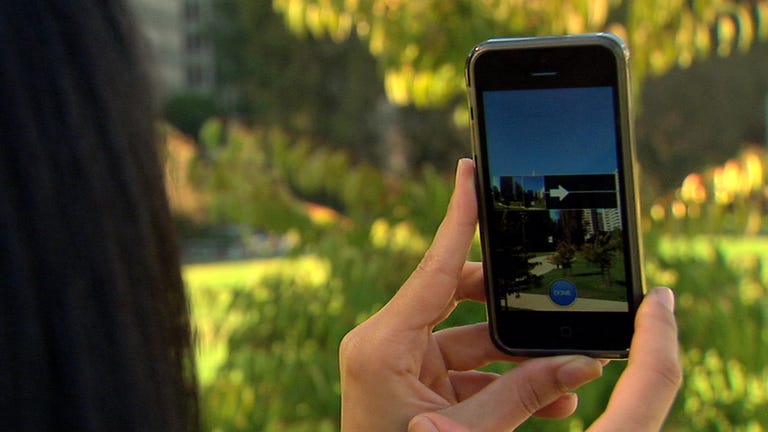
The basics
Enabling panorama mode is easy. Launch the camera, tap Options, and select Panorama. Keep your iPhone in portrait mode, but before you begin the panorama, do the following:
- Decide where to end. Though panorama mode is equipped to capture a 240-degree angle, you can stop at any time. That being said, decide where the photo will start and end.
- Change directions. By default, the panorama will go from left to right, but if you want to change directions, simply tap the white arrow.
- Adjust the exposure. Here's the tricky part. Since the panorama is composed of many frames, you can't set the exposure for the entire scene. However, if you take a look around and realize that the ending point of your photo is brighter than the starting point, you may want to adjust the exposure to compensate. Just tap the frame until you're happy with the lighting.
When you're all set, tap the shutter button (or click the volume-up button) to begin capturing a panorama.
Panoramas
As you pan to capture the panorama, go slowly, keeping the arrow on the white line. If at any point you move too fast or go off-course, your iPhone will tell you.
Don't be afraid to get creative with funky, intentionally uneven shots. Moving your phone in a zig-zag pattern along a skyline will result in a fantastical, warped image. Give it a try.

Phil Schiller's panorama trick
If you watched the iOS 6 announcement, you'll remember that when Phil Schiller introduced panorama photos, he showed off a panoramic photo with a man appearing multiple times across the photo.
Not only does this produce an awesome, shareable photo, but it's really easy to do. All it takes is a little patience, and a little running around on the subject's part.
Start by positioning the subject in the first frame of the panorama. As you pan beyond them, have the subject run around you and into a new spot along the path of your panorama. Repeat this as many times as you want (or until your subject runs out of breath).
During our trials, we found that this trick works best when shooting a relatively static background (so, minimal cars and people). It's also useful if you predetermine where your subject will stand along the panorama.

Check out the video for a more visual tutorial.
Vertoramas

If you launch the camera, enable panorama, and rotate your phone to landscape mode, you'll be prompted to shoot the opposite of a panorama: a vertorama.
To capture a vertorama, just follow the same method, tapping the arrow to change directions.
In field tests, it became clear that shooting vertoramas was much more difficult -- going off-course slightly turned beautiful skyscrapers into wobbly buildings. However, with a little practice (or a little less coffee), you may be able to achieve seamless vertoramas.
To get creative with vertoramas, try this: start capturing just below eye-level, then move your phone in a bell-shaped pattern to capture the sky and the scene behind you. If you do it right, you'll get a unique, surreal image.