Map addresses in a Google spreadsheet
The free Map a List service converts addresses in a spreadsheet into a custom Google map.


If you store street addresses in a spreadsheet, you can now plot those addresses on Google Maps in just seconds, with no programming required. And doing so won't cost you a cent--unless you volunteer a contribution to the people behind the Map A List beta service that makes it all possible.
Start by pasting your addresses into a Google Docs spreadsheet. (If you don't already have a Google account, you'll have to create one, but doing so is also free.) Give the spreadsheet separate columns for the location name, street address, city, state, and ZIP code. Make sure you don't leave any blank columns at the top of the spreadsheet.
Next, browse to the Map A List site and create an account by entering an ID, password, e-mail address, security question, and ZIP code. Once your account is in place, choose Maps > Create on the site's home page.
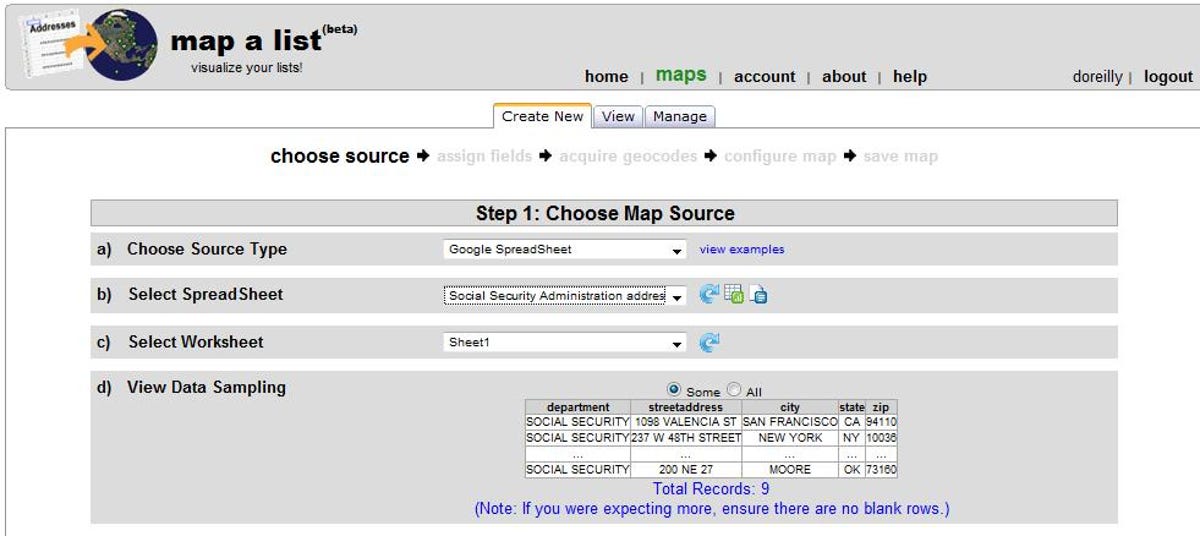
The first step in the map-creation process is to choose a source. At present, the only option is Google Spreadsheet. After you grant the service access to your Google Docs account, you'll see your spreadsheets listed in a drop-down menu. Select the one that contains the addresses you want to map. If the spreadsheet has only one worksheet, it will be chosen automatically. Otherwise, you'll be prompted to select the worksheet with the addresses. Map A List will display the fields it will show on the map.
If you're happy with the fields Map A List presents, click Next to view and confirm the fields containing the address information to be shown on the map. You can change the order of the fields and set the field that will be displayed in the balloon pop-up for each map pinpoint.
Once the field settings are in order, click Next. The service will generate the geocodes for the addresses. If the addresses are in order, you'll see the "Total Success!" message. Click Next to open the Configure Map settings. Make your selections in the two drop-down menus and go with the default pin or change the icon that will denote each address. You can get a peak at the resulting map by clicking Preview Map, or click Next to open a page with additional settings.
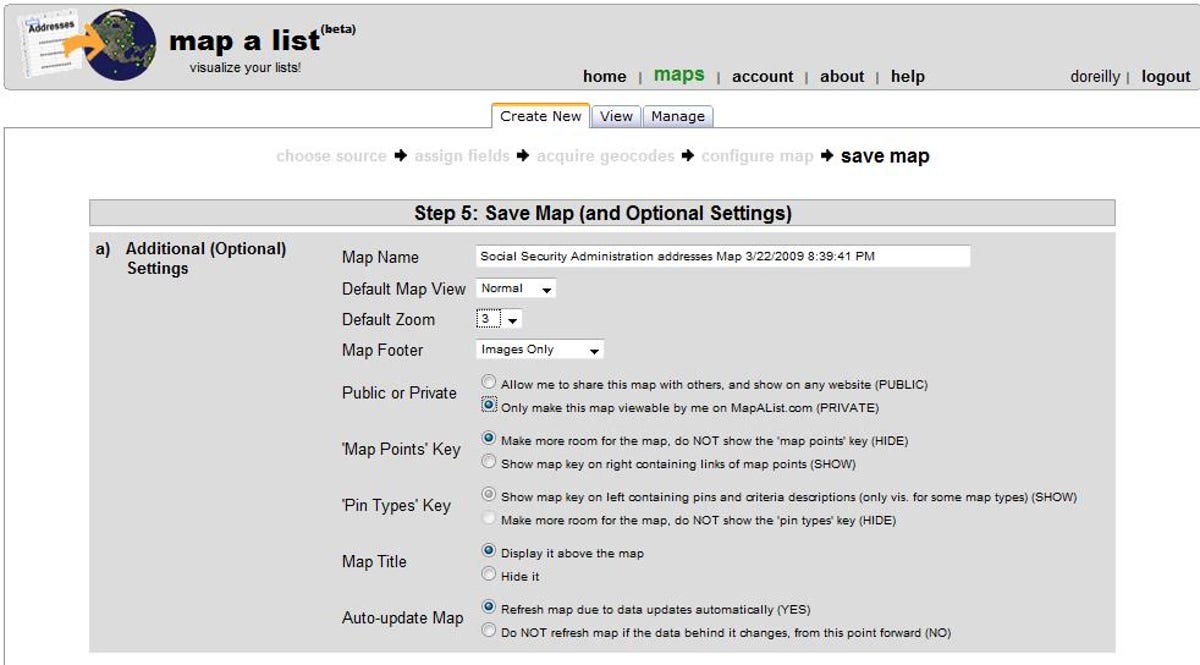
Here you can change the name of your map, choose the view (Satellite, Hybrid, Physical, or Normal), select the default zoom, and set the content to be shown in the footer. You can also make the map public or private and alter its appearance in other ways. When you're done, click Save & View Map.

Hover over a pinpoint to view whichever field you selected as your Title in Step 2 of the map-creation process. Click the pinpoint to view whichever fields you chose to display in Step 4, use the zoom controls to move the view in or out, and switch views between normal, satellite, hybrid, and terrain, just as you would with any Google map.