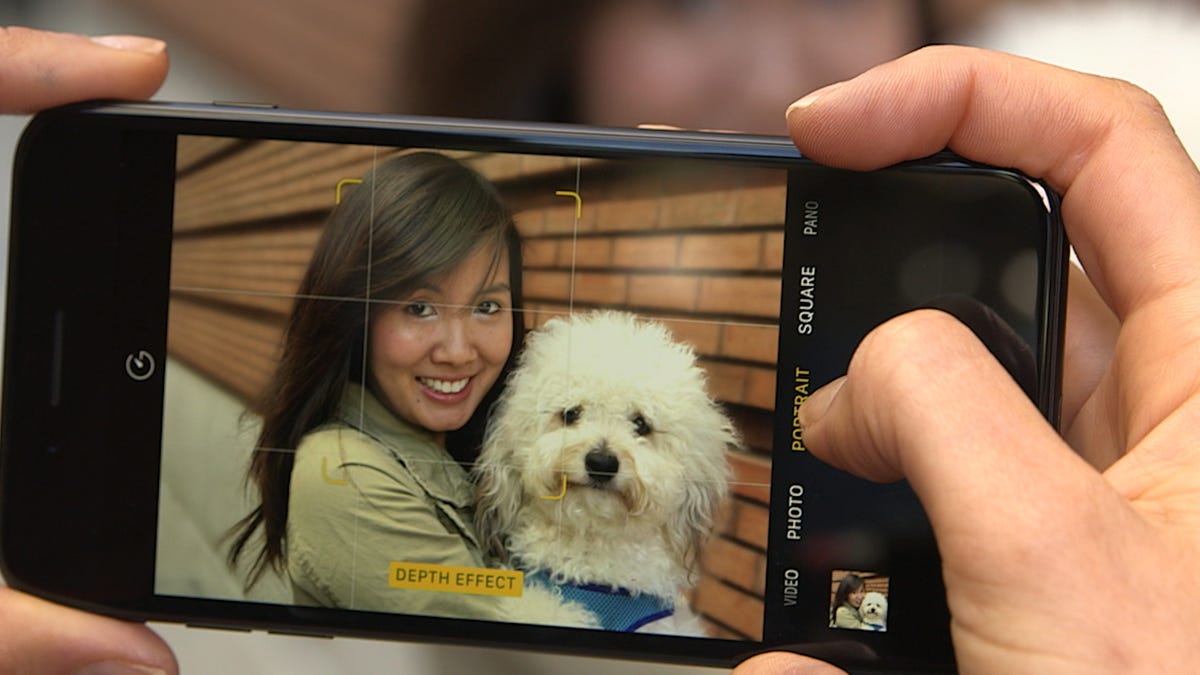
How to use the new Portrait mode on the iPhone 7 Plus
The iPhone 7 Plus gets a new portrait mode with the update to iOS 10.1 that lets you take dSLR-like photos right on your phone.

The upgrade to iOS 10.1 lets Apple's iPhone 7 Plus take full advantage of its dual lens camera to create a greater sense of depth in portraits. The result? That signature blurry-background effect of dSLR photos.
In the new Portrait mode, the iPhone uses the 12-megapixel wide-angle lens -- the same one found in the regular iPhone 7 -- and the 12-megapixel telephoto lens to distinguish between background and foreground. The combination keeps the subject sharp while blurring out the background, achieving that bokeh effect typically achieved with a far more expensive dSLR camera.
The iPhone 7 Plus isn't the first phone to add this feature, but it is brand-new to long-time iPhone owners and works as promised. And iOS 10.1 makes it just a swipe away.
What can you photograph?
Portrait mode also works on pets!
Portrait mode is not just for humans. During our testing we used it on pets, plants and inanimate objects, using the same basic principles.
Start using Portrait Mode
Once you've updated to the iOS 10.1 beta, click on the camera app, and swipe down on the menu wheel until you hit Portrait. Lock in on your subject and pay attention to the directions on the screen. Because it uses the telephoto lens for the foreground it will appear closer than with the regular camera, so you may have to move away.
Once you've hit the sweet spot you'll see a yellow "depth effect" sign pop up. Now lock in your focus, adjust the brightness and hit the shutter when you're ready. Keep the phone stable until it it finishes taking the picture -- it takes a little longer to process in this mode.
The subject doesn't always have to be centered to create the effect.
Bokeh basics
The effect works in just about any scenario, but if you want a more dramatic blur you'll need to increase the depth of field, meaning you'll have to leave more space between the subject and the background. The closer you can get to the subject, the greater the blur. And lastly, pay attention to the lighting. Make sure the subject is well lit and avoid backgrounds that are overexposed.
Get closer to your subject for a more dramatic blur.
The end result
Now go to your camera roll to check out your masterpiece. As with HDR mode, the camera saves a copy with and without the depth effect so you can see the difference as you scroll. Just click on the image and look out for the the "depth effect" tag on the top left if you're having a hard time deciphering which is which.
The image will retain the effect even when you share it to devices other than the iPhone 7 Plus.
More features coming for the dual lens?
Later software updates could bring even more features to the iPhone 7 Plus, such as 3D mapping and augmented-reality capabilities similar to those found in Google's Project Tango. But it's possible we may have to wait for those in next year's 10th anniversary iPhone.

