How to shoot eye-catching food photos with your phone
Find out how to capture mouth-watering food photos using just your smartphone and a few expert tips.


- Webby Award ("How To, Explainer, and DIY Video"); Folio Changemaker Award, 2020
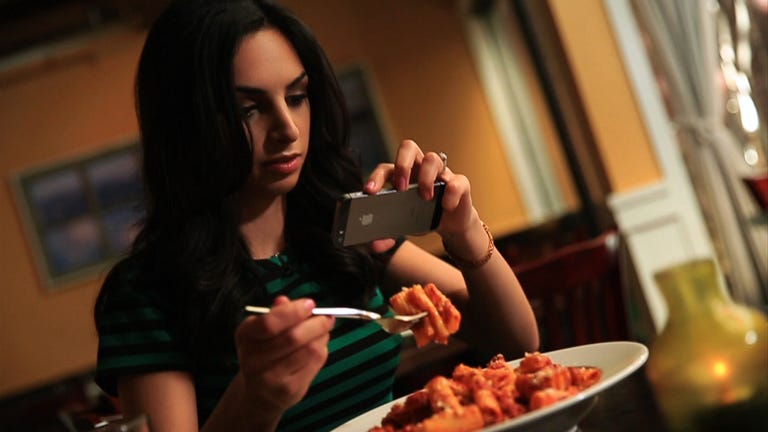
Roll your eyes, but I'm one of "those" people who launches her smartphone camera at the sight of food. Sometimes, it's to catalog the delicious (or maybe not-so-delicious) meals I've had; other times, it's to share those experiences on Instagram.
But there's an art to capturing food photos. A simple lighting error can make your soup look like something post-digestion, while a slight tilt of the camera can make it look magazine-worthy.
If you want to know what techniques make food photos stand out from the ones that look like this, here are some of my best tips:
Look for natural light
Beautiful dishes beg for natural light. It brings out food's natural colors, shows off its textures, and will save you from over-editing in post-production. After all, you can't add light to a photo. (And if you're thinking, "Brightness tool!", no. Artificial exposure only results in graininess.)
When you're dining out, the key is to snag a table by the window, where natural light is plentiful. Ideally, your tabletop would be out of direct sunlight, but if it is, that, too, can produce eye-catching photos.
Enough with the flash
Flash is food's worst enemy. It erases all textures, washes out the colors, and is the very reason why Martha Stewart's restaurant photos became the subject of public ridicule.
If you'd like to make your food look like something your cat coughed up, use flash. If you want it to look appetizing, don't. It's that simple.
In the case of a dimly-lit restaurant, take a tip from Zagat's San Francisco editor, Tamara Palmer, who often grabs a nearby candle for light. The resulting shadows and warm light can make for a moody shot. Otherwise, give your phone's HDR feature a try, which often produces a brighter photo without compromising clarity.
Move things around (and take a bite)
If you want to shoot photos good enough to eat, the secret is to make it strike a few different poses. Snap a photo when the dish arrives as-is, then get creative by taking a bite, sinking a fork into the food, or even have a friend grab a fry.
Another way to add depth and intimacy is to bring a spoonful (or forkful) of food closer to camera, with the rest of the dish in the background.
Lots of shots at different angles and crops
Photographers will always tell you: get lots and lots of photos of your subject. It's rare that your first shot will be the one you publish, so be sure to have lots of backups. When shooting a dish, get a few different angles, including side shots at varying degrees.
Some of the best shots are shot just below eye level, angled down at the food, which makes the viewer feel as if the plate is right there in front of them.
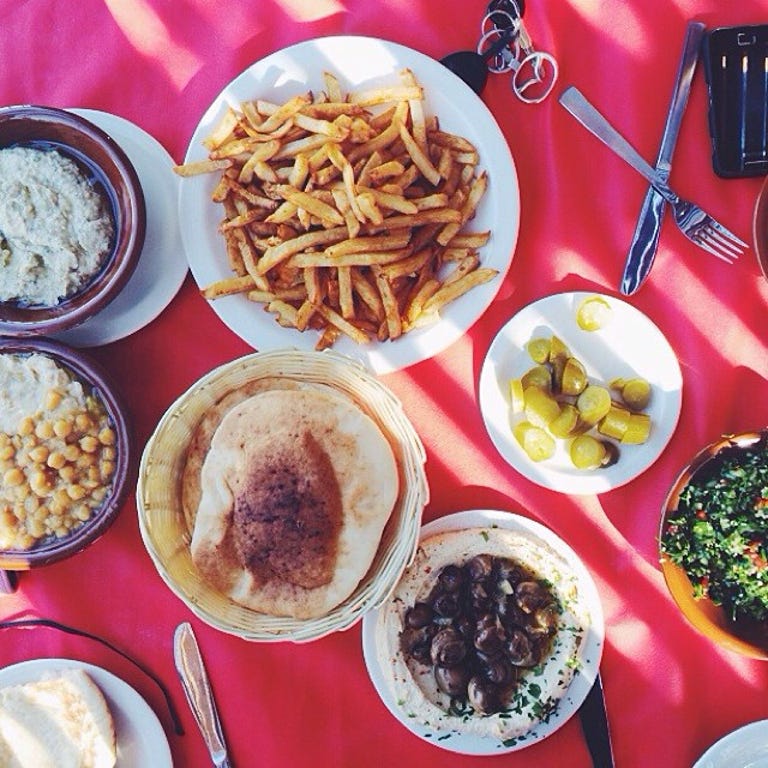
Otherwise, get creative. My favorite angle is the overhead, where the dish is shown in its entirety in the context of the table it's served on.
When it comes to distance, remember that although food is intimate, too-close shots can ruin its appeal. Aim to get most of the plate in, and remember that you can always crop in later.
Edit (but not with Instagram)
Let's get one thing out of the way first: Instagram filters are not food-friendly. At least, most of the time. The high-contrast filters tend to mellow out textures, change foods' true colors, and introduce harsh lighting.
Instead, edit your food photos before importing them into Instagram.
We've covered mobile photo-editing apps before, but two of the best for food photos are Adobe Photoshop Express, and, my favorite, VSCO Cam.
While Photoshop offers the essential editing tools (like brigtness, exposure, color temperature, etc.), VSCO Cam provides all that and its own set of food-friendly filters.
When editing pictures of grub, first focus on fine-tuning the color temperature and white balance. Often, an artificial light source can render photos too cool or too warm, and ultimately make food look unappealing.
Next, evaluate the exposure. Unless you hit the natural light jackpot, there's a good chance your photos are too dim. So, head to the exposure tool and slowly increase the exposure. In the process, watch out for elements that might become overexposed, and stop at the first sign of graininess.
Once you've adjusted those major elements, try a few filters. The "F2" and "G3" filters in VSCO tend to be my go-tos for food, as they brighten the whites and add just a touch of texture-improving contrast. There aren't any rules here, though, so play around with the different options.
Just remember that at the time of publishing, your food should still look like food, so keep editing to a minimum. Besides, you don't want your food to get cold, do you?