How to root your Google Nexus 4
As a fearless Android enthusiast with your eager mitts on Google's new super phone, you'll be champing at the bit to root it. Here's how.


If you're one of the lucky few who's successfully managed to secure a Nexus 4, the first thing you should do is allow yourself a rather smug feeling of satisfaction, due to its maker LG seemingly unable to keep up with the incredible demand. Thankfully, that situation seems to be easing a little.
The second thing you should do, as a fearless Android enthusiast, is take control of your shiny new handset by rooting it. Rooting is essentially like gaining administrator access -- you can tinker with various settings, install powerful applications and, possibly best of all, flash the device with custom ROMs, allowing you to drastically change the way in which your phone operates.
The downside is that rooting invalidates your warranty. As always, CNET cannot be held responsible for any damage you may
inflict on your brand-new smart phone as a result of following this
guide -- you do so at your own risk.
The rooting process is slightly different for each Android device, but generally you need to unlock the bootloader and then use your PC to root the device using special software. To perform the process we've outlined below, you'll need your Nexus 4 (obviously), a PC running Windows and a micro-USB cable.
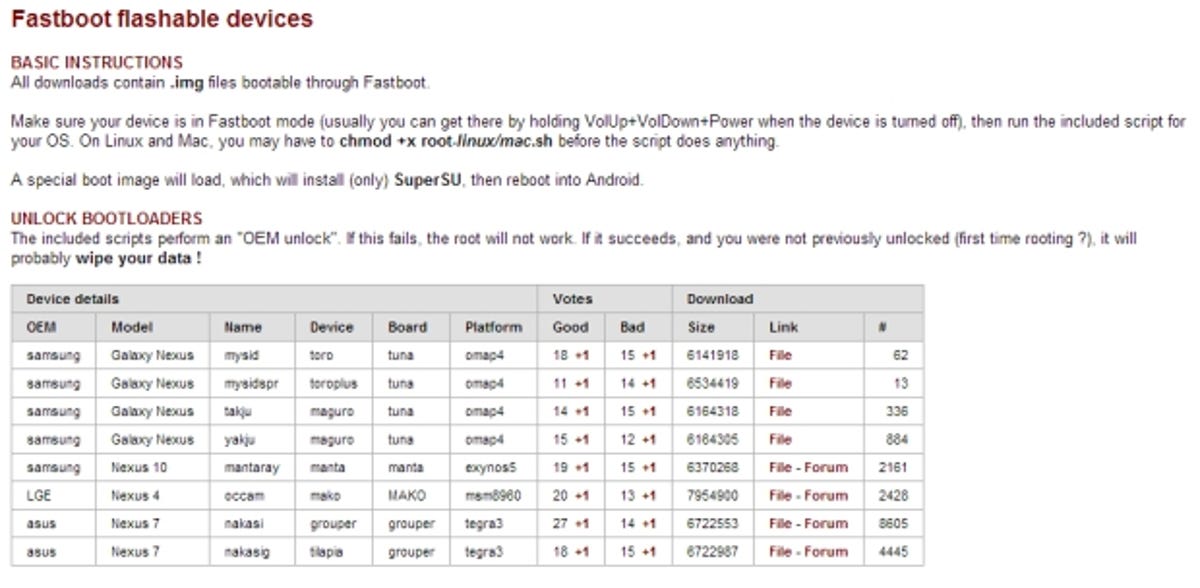
You'll also need to download the latest version of the Android SDK and CF-Auto-Root by Chainfire.
1. Back up your phone
Before we start, there's one very important thing to bear in mind: unlocking your phone's bootloader will wipe all of the content stored in its memory, so if you have any precious photos, songs, videos or secret plans for deadly weapons of mass destruction, make sure you've backed them up before continuing with this process.
2. Enable USB debugging
You'll need to do this to ensure your timid Nexus 4 allows the software you're about to run to do all of its magic. This option is found in the Nexus 4 developer menu -- which is hidden in Android 4.2 to prevent mere mortals from messing about with the settings.
Google hasn't made it too hard to find -- simply navigate to the phone's Settings menu and tap 'About Phone'. You'll see 'Build Number' as one of the pieces of information -- tap this seven times and developer options magically appear. Cool! Once you've got them, simply make sure the 'Enable USB Debugging' option is ticked.
3. Download and install the Android SDK
The Android SDK contains all of the USB drivers required to allow your PC to communicate with your phone. Download and install the SDK before doing anything else, as your computer may not recognise your phone otherwise.

4. Extract CF-Auto-Root to your computer
Find the CF-Auto-Root zip file you downloaded earlier and extract the contents to your computer. Remember the location -- you'll need this in a bit.
5. Put your Nexus 4 into fastboot mode
Switch off your phone completely. Place the phone in fastboot mode by holding down the volume down and power buttons simultaneously. The screen will switch on with a big, friendly 'Start' message. Release the buttons and connect your phone to your PC using the micro-USB cable.
Windows should automatically detect the Nexus 4 and begin installing the necessary drivers you got with the Android SDK.

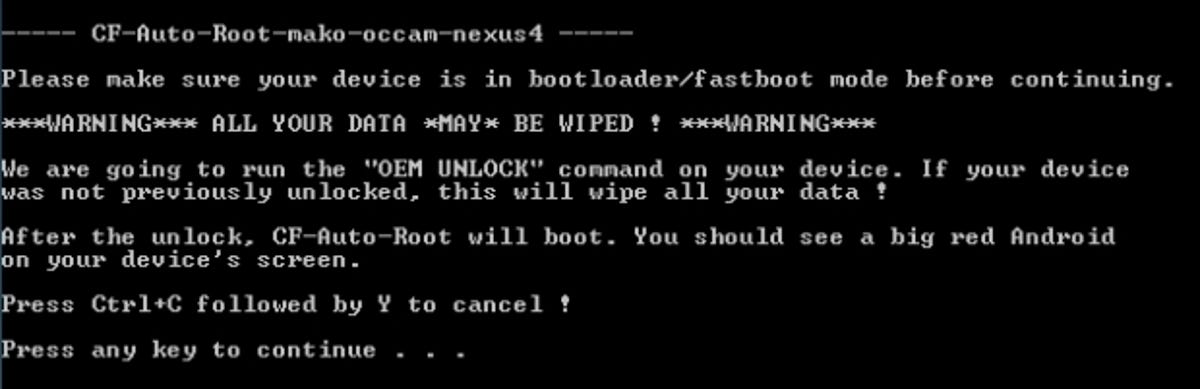
6. Start CF-Auto-Root
Remember CF-Auto-Root? Find where you extracted it to on your computer and open the folder. Track down the Root Windows .exe file and double-click it to begin the rooting process.
7. Enjoy your rooted Nexus 4
Once the rooting process is complete, you should check to see if your phone has the SuperSU app installed -- this is an indication that your phone is rooted. If for some reason it isn't installed, you can grab it from the Google Play market here.