How to get started with the Amazon Cloud Drive app
Amazon's desktop app provides drag-and-drop access to its Cloud Drive service.


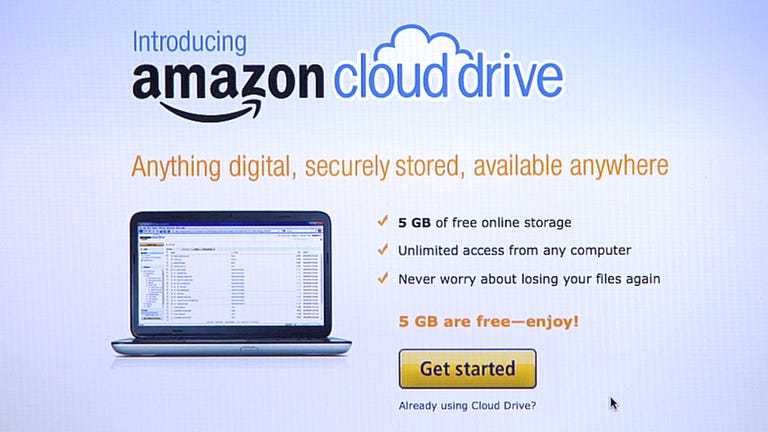
Another week, another cloud storage application. Following last week's introduction of Google Drive, Amazon earlier this week released a desktop application for its Cloud Drive service. It differs somewhat from the Google Drive application, and Dropbox's desktop app for that matter, but fundamentally, it's very similar to these two other services.
To get you started with the Amazon Cloud Drive application, here is a step-by-step guide:
Step 1: Download the app (PC | Mac) and install it.
On PCs, it places a small cloud icon in the system tray in the lower-right corner. On Macs, the cloud icon appears in the menu bar at the top of your display.
Step 2: Log in to your Amazon account.
After installing the app, a log-in window appears; you need an Amazon account to use Cloud Drive. After logging in for the first time and clicking through or skipping the quick tour, you can click the link in Step 4 of the tour or click on the cloud icon in your system tray or menu bar to open Amazon Cloud Drive.
Unlike the desktop apps for Dropbox or Google Drive, you access Cloud Drive via your browser instead of a desktop folder. It takes a second or two longer to load the Cloud Drive page than either the Dropbox or the Google Drive folder but it's similar in operation.
Step 3: Let the uploading begin.
There are three ways to upload files (two of which use the desktop app):
You can simply drag a file, a folder, or multiple files or folders to the cloud icon to upload them to your Amazon Cloud Drive.
You can also right-click on a file or folder to upload it. On Macs, choose the "Upload to Cloud Drive" menu option. On PCs, choose Send to > Amazon Cloud Drive. I found that with my Mac, I needed to restart my system before this menu option appeared.

With both of the above methods, files and folders are added to the Uploads folder, which gets created the first time you upload files via either method. Otherwise, Amazon starts you off with four default folders: Documents, Music, Pictures, and Videos. Also, with both of the above methods, you can pause or cancel an upload; both actions are accessible via the cloud icon in your system tray or menu bar.

The third method of uploading lets you upload files or folders to a specific folder on Cloud Drive. Click on the cloud icon and choose Open Cloud Drive Website. From your Cloud Drive page on Amazon's site, you can select a destination folder before starting your upload.
Step 4: Downloading and managing files.
The desktop app does not provide a path to download files, and you cannot simply drag a file from the Cloud Drive page to your desktop to download it. Instead, you must check the box next to it and click the Download button at the top of your Cloud Drive page. To select a destination folder for your downloads, click on the cloud icon in your system tray or menu bar and select Options (or Preferences on a Mac) > Change Download Folder.

To move files from one Cloud Drive folder to another (say, from the Uploads folder to a more specific folder), open a folder, click the check boxes for the files you want to move, click the More Actions button at the top of the page, select "Move X item(s) to...," select a folder, and click Move X item(s).