How to enable push Gmail on your iOS device
This simple tutorial will cover how to enable push e-mail for users who use Gmail or have a Google Apps account on an iPhone, iPad, or iPod Touch.


When you first go to set up your e-mail on an iOS device, you are given the option of choosing Gmail as the service provider. Using this setup method is simple and straightforward, however, it does confine you to getting your e-mail fetched at a preset timed interval (15, 30, or 60 minutes). The benefit of setting up a Gmail account as Exchange is the capability of receiving e-mails in near real time, also known as push.
First thing you will need to do is select the Settings icon on your device, then select Mail, Contacts, and Calendar. Scroll down and select "Add Account." You will then be prompted with a screen like the one below.

Instead of selecting Gmail, select Exchange. You will then be presented with the following screen.
Fill out all of the information requested with the exception of the Domain field; it isn't required. Please note that your username is your full e-mail address. When finished, press Next. You should then see a screen similar to the one below. If your device says it is verifying for what seems like an eternity, don't worry, this is normal.

Once your device verifies your information, you will be asked to enter a server name. In the server field type: m.google.com. Press Next.

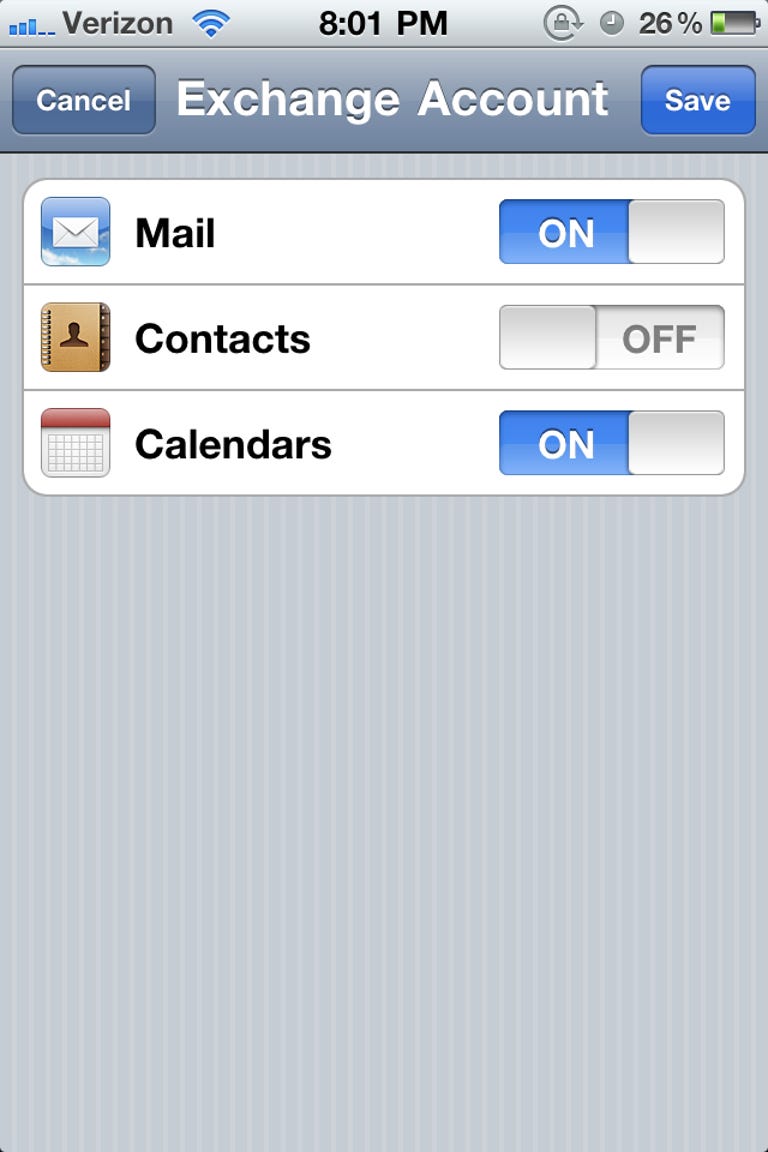
If done properly you will then be shown a list of services available: Mail, Contacts, and Calendars. Decide which of these services you want synced to your device and turn them on. Press Save.
You should now get any new e-mails and changes made to the categories you have turned in near real time. You can also decide which folders are pushed to your device, as well as how many days worth of e-mails is stored on your iOS device.

There are some trade-offs. Push tends to drain a device's battery faster than the fetch method does. Also, you may notice you are no longer given the option of syncing your Google Notes. To fix this, simply go back to the Mail settings and set up your Gmail account through the Gmail option (instead of Exchange) and only turn on the Notes service. Who said you can't have the best of both worlds?
One last thing: if you are a Google Apps user, make sure your Google Apps admin has enabled Google Sync for the account. If you are unsure how to enable Google Sync, check out this post. Then use your Google Apps e-mail address in place of the Gmail address used in this guide.