How to create an OS X 10.8 Mountain Lion install drive
OS X 10.8 is only available online, but you can create your own standalone install drive for it if needed.
Topher KesslerMacFixIt Editor
Topher, an avid Mac user for the past 15 years, has been a contributing author to MacFixIt since the spring of 2008. One of his passions is troubleshooting Mac problems and making the best use of Macs and Apple hardware at home and in the workplace.
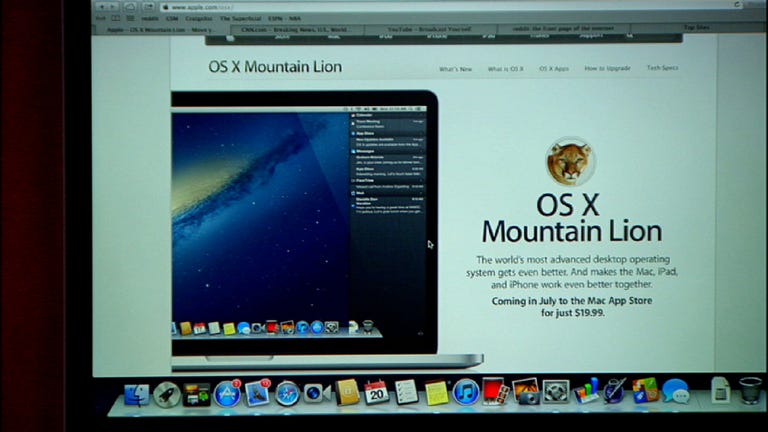
Apple has released its OS X 10.8 Mountain Lion (see CNET's full review) and it's available for download from the Mac App Store on systems running OS X 10.6.6 or later. If you're interested in the new OS, then be sure to read our guide on preparing your Mac for installing the upgrade, which includes information on the OS requirements, backing up, and clearing up resolvable issues before performing the upgrade.
You also might be interested in creating a standalone install drive for Mountain Lion. As with OS X Lion, Apple will likely release USB drives containing a bootable Mountain Lion installer, but this will cost you more than the App Store download. Additionally, while Apple's OS should be available using Apple's various Internet recovery options, this can often take a long time to download, especially if you do not have the fastest broadband connections available to you.
We previously outlined how to create your own OS X install drive when OS X Lion was released, and the process for Mountain Lion is for the most part the same. However, when following the procedure for Lion you might run into a snag that will prevent the drive from being created. Therefore, to create a standalone USB or optical media install drive for OS X 10.8 Mountain Lion, do this:
Purchase and download Lion from the Mac App Store (or use your up-to-date redemption code), and when the download is finished, the Mountain Lion installer will load. Quit the installer (press Command-Q) and go to the Application folder on your system.
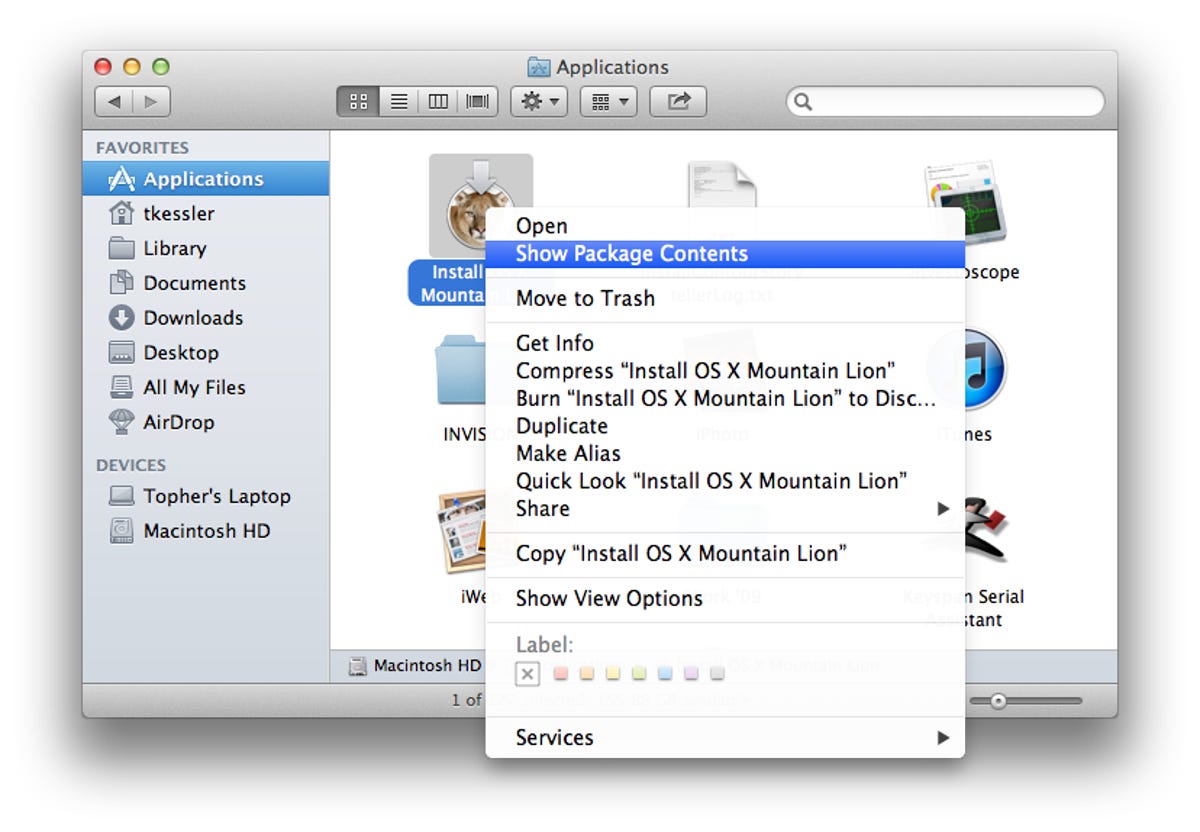
Locate and right-click the Mountain Lion installer to show its contents (click for larger view).Screenshot by Topher Kessler/CNET
If you have already installed Mountain Lion, the installer will have been automatically deleted from your system. In this case, you can go to the Purchases section of the App Store and redownload the installer.
Right-click the "Install Mac OS X Mountain Lion" application in the Applications folder, and choose "Show package contents."
In the new window that opens, go to the Contents > SharedSupport folder and locate the file called "InstallESD.dmg."
Open Disk Utility (in the Applications > Utilities folder) and drag the InstallESD.dmg image to the device sidebar, where it should appear under your various disk and volumes listings.
In Disk Utility select the InstallESD.dmg file, and then you can click the Burn icon in Disk Utility's toolbar to burn the image to a DVD (single-layer 4.7GB discs do not have enough space, so use dual-layer 8.5GB discs). If you wish to create a USB or FireWire install drive instead, then continue on to step 6.
Connect a spare USB or FireWire drive that has at least 6GB of capacity, which should show up in Disk Utility. Optionally partition it by selecting it and using the Partition tab to split it into two logical volumes (one for the Mountain Lion installer and the other for extra storage space) by clicking the plus button to create a new partition, and then setting the first partition to be 4.8GB in size.
Drag the destination drive to the Destination field, and drag the InstallESD.dmg image to the Source field.Screenshot by Topher Kessler/CNET
Select the InstallESD.dmg file in Disk Utility and click the Restore tab that appears in the main Disk Utility window. When you do this you should see the disk image appear in the Source field, but if not then drag it there.
Drag your destination drive (the desired USB or FireWire drive volume) to the Destination field, and then click the Restore button. Confirm you would like to do this, and when complete you should have a fully bootable Mountain Lion installation drive.
This process should work as described but the restoration process could fail with an error. You can overcome this by first mounting the InstallESD.dmg file and then using the mounted volume as the Source for the restoration, instead of the disk image file itself.
If restoring the InstallESD.dmg file directly does not work, then first mount it and restore the "Mac OS X Install ESD" volume that appears (click for larger view).Screenshot by Topher Kessler/CNET
To do this, first select the InstallESD.dmg file in the Disk Utility sidebar and click the Open button in the Disk Utility toolbar. When mounted, you will see a volume name appear called "Mac OS X Install ESD" underneath the image file. In the Restore tab in Disk Utility, drag this new volume to the Source field, and then repeat step 8 above to restore it to your drive of choice (special thanks to MacFixIt reader Michael A. for this tip).
When Disk Utility creates the drive in this manner, all files on it will be erased and replaced with the restored data; however, if you initially partitioned the drive (see step 6 above), then you can still use the drive's secondary volume for other purposes in addition to being a Mountain Lion install source.