How to create a retro stop-motion film with Instagram or Hipstamatic
Stop-motion films can look pretty amazing, even more so with a range of visual effects from photo apps like Instagram. Here's how to make your own.


- Webby Award honoree, 2x Gold Telly Award winner
Inspired by the multitude of stop-motion films shot on mobile phone cameras, here's how to make your own with images shot on your favourite photo app.
This technique also works with regular photos so don't feel left out if the lo-fi aesthetic isn't your thing. Some of our favourite examples of this technique can be found below.
Step one: take your photos

It's a good idea to plan out the theme of your video before you start shooting, especially if you want the film to have a consistent narrative. You can do this in a number of ways, like storyboarding a rough idea of what each key frame should look like, or writing down the main shots that need to appear in sequence.
Then, it's as simple as taking the images on your favourite app. It's worth noting that different apps may have distinct effects, like borders and vignetting, which you might need to keep in mind to make sure each frame is consistent.
Remember the rule of thumb when shooting for stop motion. To achieve relatively fluid motion, you need enough frames per second. Australian/PAL systems generally work on 25 frames per second so you will need at least two to three photos each second to achieve the stop-motion effect. Of course, if you wanted to create even more film-like motion, you could take up to 25 frames for each second.
Step two: select and import photos
Many video editing programs have the ability to create stop-motion films without too much trouble, like Windows Live Movie Maker, which is available as a free download with Windows Essentials for Windows 7, or iMovie on Mac.
Windows Live Movie Maker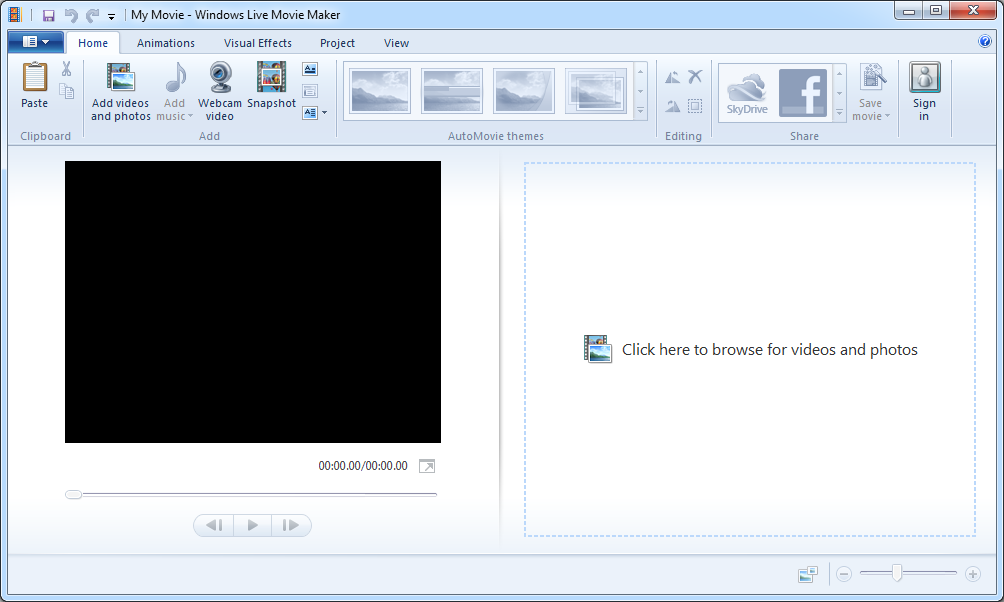
Copy over photos from your mobile device or camera's memory card to your computer, then import them into the main Windows Live Movie Maker interface by clicking "Add videos and photos".
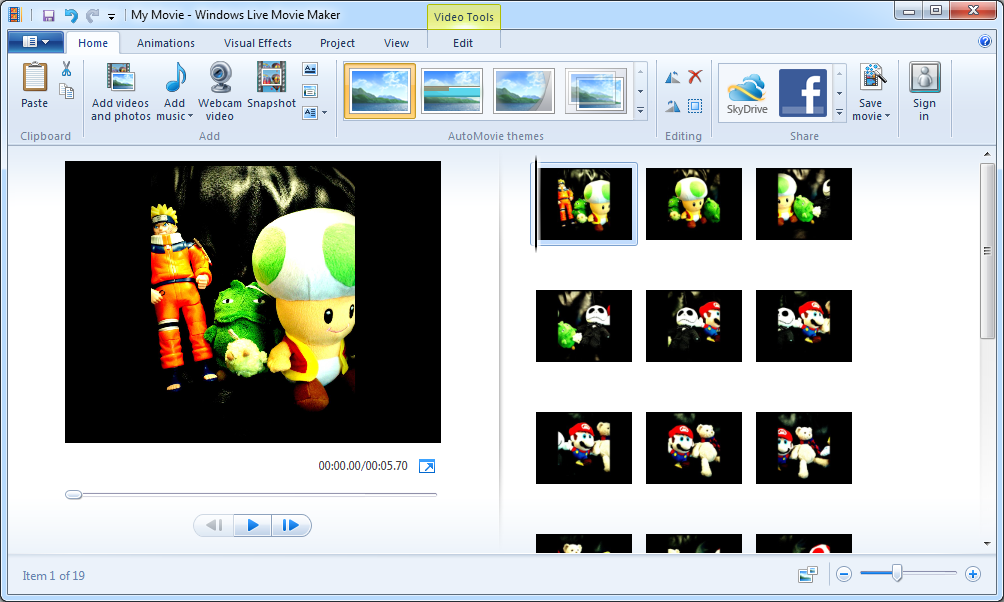
With the photos imported into the main window, now is the time to re-order any frames. Unlike earlier versions of the program, there is no timeline feature, which means that to fine tune the order of the sequence you need to click and drag the photos around the main window.
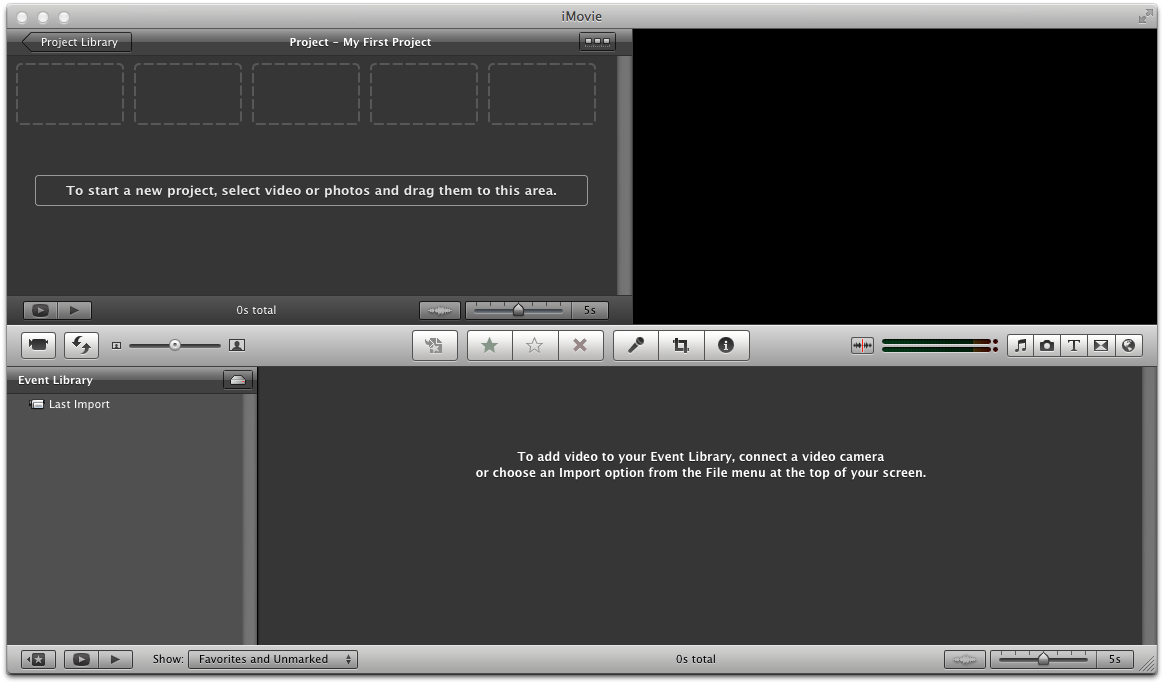
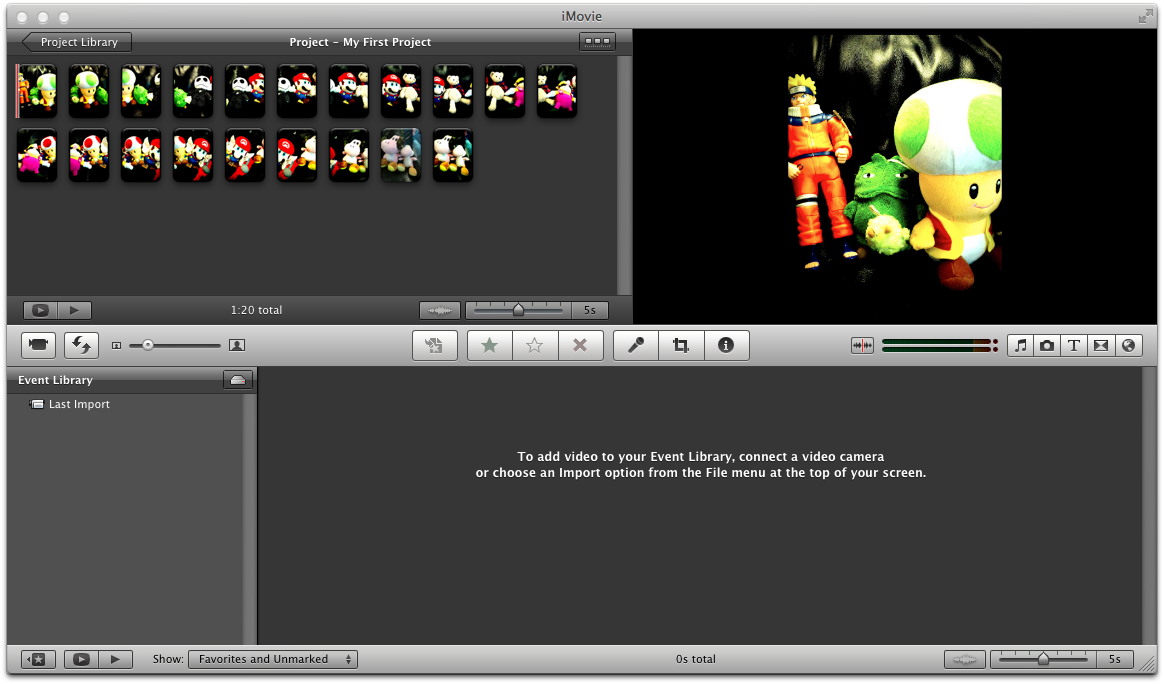
iMovieIn iMovie the same principles apply. Open up the program and the window below will be displayed.
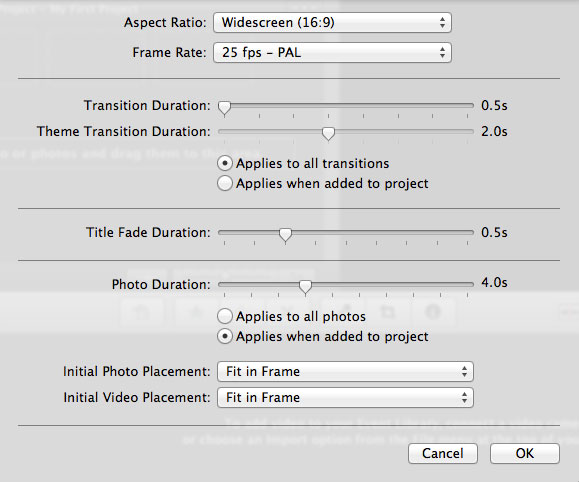
Before importing any photos into iMovie you will need to make sure that they fit in the frame properly. To do so, select File > Project Properties and change the photo placement to "Fit in Frame" to make sure the entire image is visible, and not panned.
Now you can import the photos after copying them from your device to your computer.
Step three: set the interval
Windows Live Movie MakerPreview the work in progress by clicking the play button under the preview window to get an idea of what the final film will look like. It will probably play too slow initially, with a long pause between the frames changing. In order to speed things up a bit you will need to change the duration of each frame. Select all the frames in the sequence by pressing Control + A, then click on the Edit tab. In the duration box, set an appropriate interval for the images to change over. To keep things snappy, something like 0.2 or 0.3 of a second works well.
Depending on whether you want to add music, you might want to sync up the frame changes to the beat.
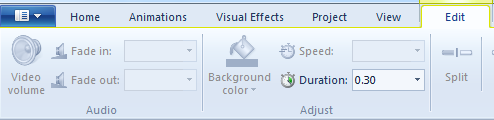
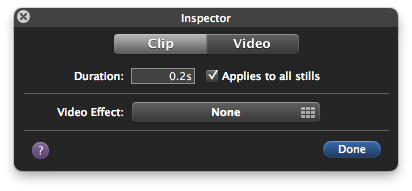
iMovieHover over an image in the sequence to find the settings button. Click it and select "Clip Adjustments". Then from the dialog box, change the duration to an appropriate measure — again, like in Windows Live Movie Maker, we find 0.2 or 0.3 of a second works well. Click the tick to apply the duration to all stills.
Add any music as desired. Make sure first to show the music window by selecting Window > Music and Sound Effects.
Step four: export your finished movie
The magic all happens when you export your movie. In Windows Live Movie Maker it is as simple as selecting File > Save Movie and choosing a format. In iMovie, select File > Finalise Project, then Share > Export Movie. Choose the compression settings and you're done! You can now view your stop-motion film in all its glory. We bet you can do better than our little project.
Still not convinced? Check out the examples below to see just how innovative this technique can be.
A Place to Bury Strangers "So Far Away" from Secretly Jag on Vimeo.