How to create a project in iMovie for iOS
Learn how to get started making movies on your iPhone.


iMovie for iOS has been around since the iPhone 4, but it wasn't until the iPhone 6S with its larger screen and speedy performance that I stopped using iMovie on my Mac and started using iMovie on my iPhone. The mobile app offers a stripped-down feature set than that of the Mac app, so if you are a serious iMovie filmmaker, you may bemoan some of the features that iMovie lacks on the iPhone. But for the rest of us who want to throw a few clips together, add some effects and share our creation, iMovie for iOS is more than enough.
I like iMovie for iOS merely for the fact that it saves me from having to transfer videos from my iPhone to my Mac. I can do everything right on my iPhone, where my videos reside, from quickly adding and arranging clips to sharing my videos via Vimeo, YouTube or elsewhere.
iMovie for iOS can also be used on an iPad, of course, but since I don't shoot videos with my iPad, I will focus here on using iMovie on an iPhone. With my preamble out of the way, let's jump in and get started.
Step 1: Start a new project
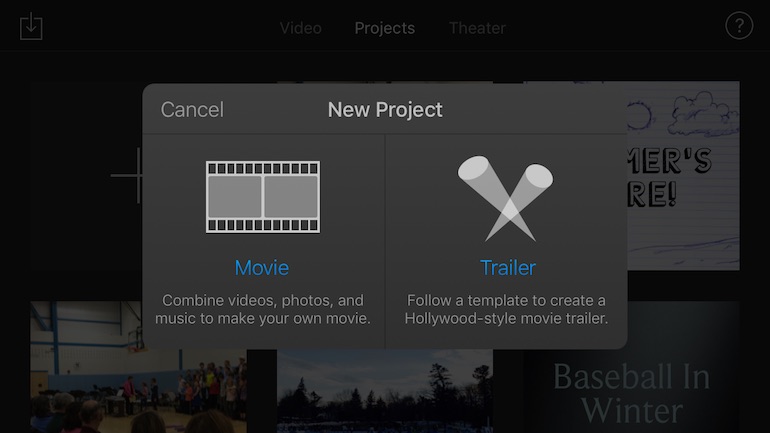
To begin, you will need to create a new project by opening the iMovie app and tap the big "+" button on the Projects page. Next, you will need to choose either Movie or Trailer. A trailer follows a very rigid template that features a predetermined order of scenes and transitions. A trailer is fun for quick project that you want to look like a Hollywood movie trailer, but you'll likely use the Movie template more often. The Movie template is more flexible and lets you determine the length of your clips and how they are arranged.
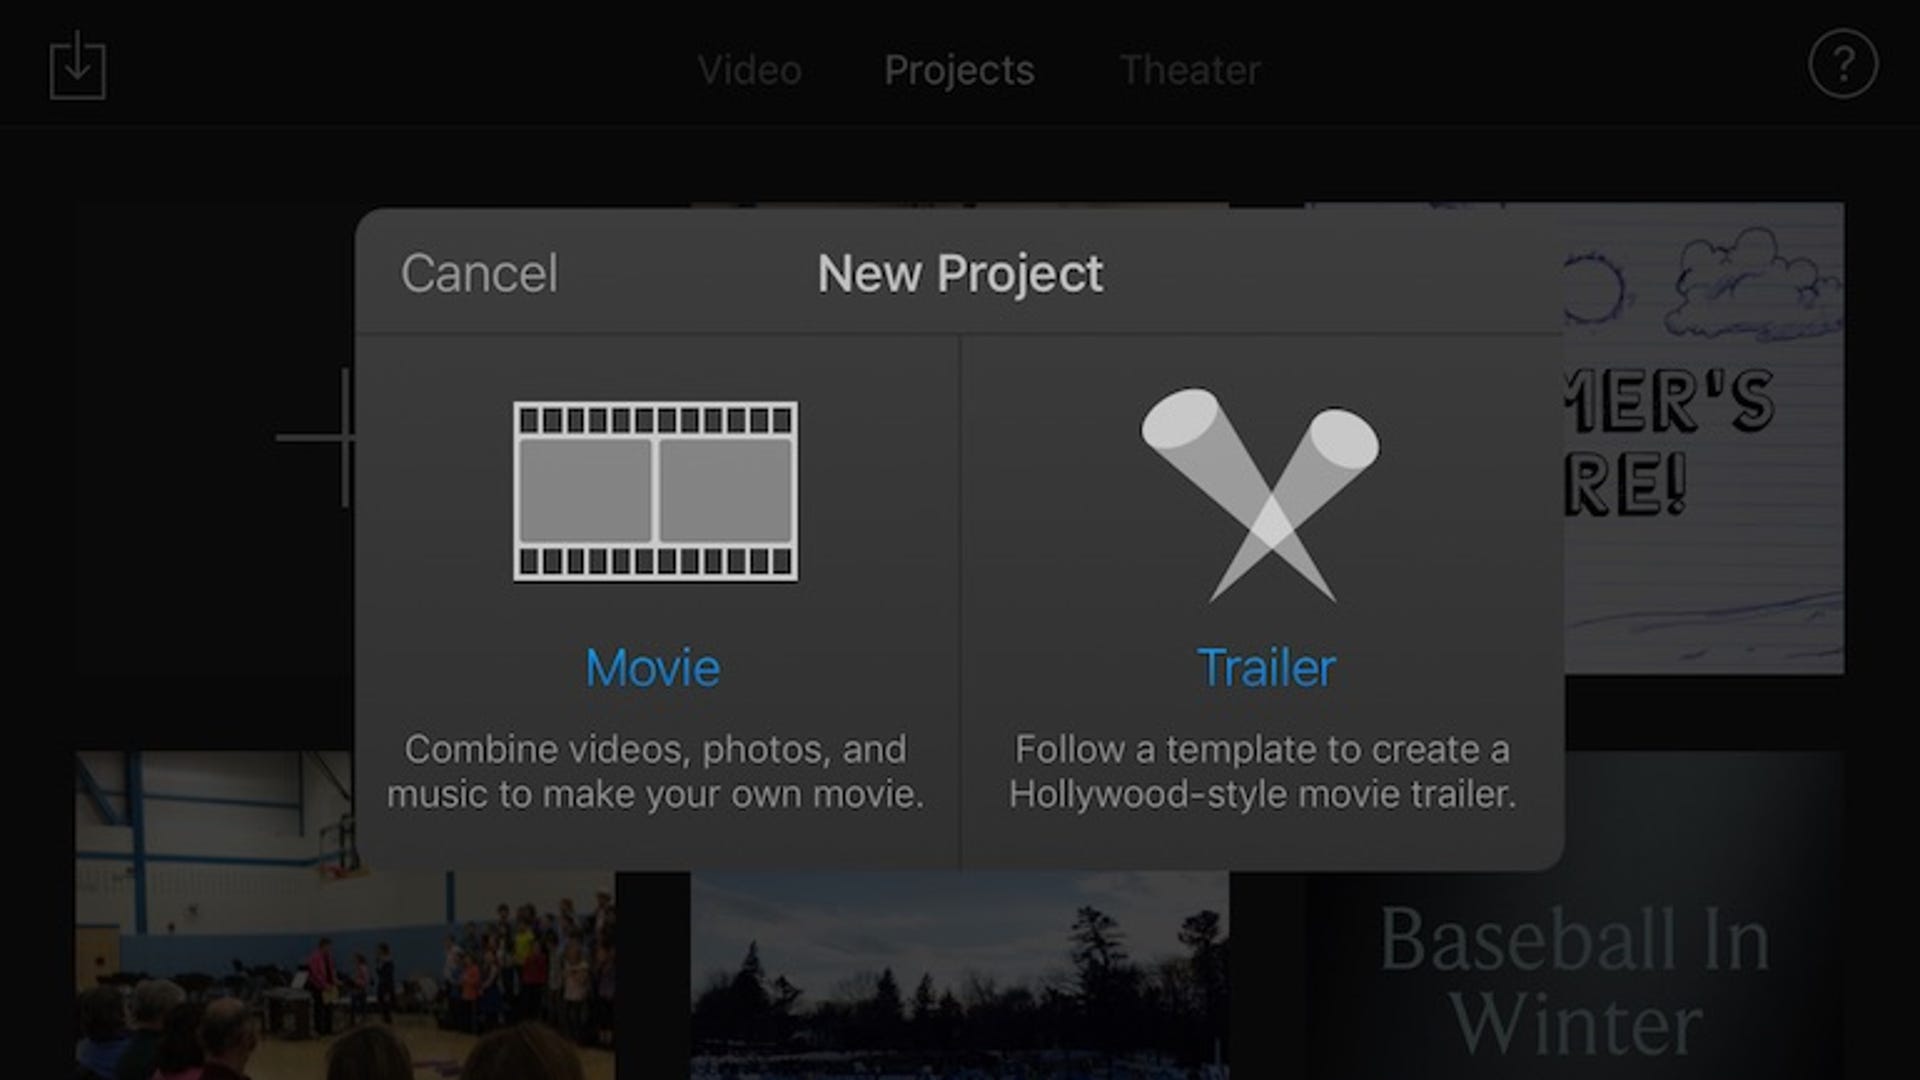
Sidenote: If you have a 3D Touch-enabled iPhone, there is a shortcut to create a new Movie project (or edit a recently viewed project). Use the 3D Touch on the iMovie app icon and you will see the last three videos you viewed plus an option to create a New Movie.
Step 2: Pick a theme
For a Movie project, the first thing to do is pick a theme. There are eight themes. Each theme features its own graphics for the title screen and transitions along with its own theme music. If you want the least intrusive theme, pick Simple.
Step 3: Add video clips
After choosing a theme, you can now start adding video clips to the project timeline. Tap the button that features a little film strip and music note icon; it lets you add video, photos and audio. To add a video, the best place to start most likely is on the Recently Added folder of your videos. Tap on a video to select it and then tap the down-arrow button to add it to your project.
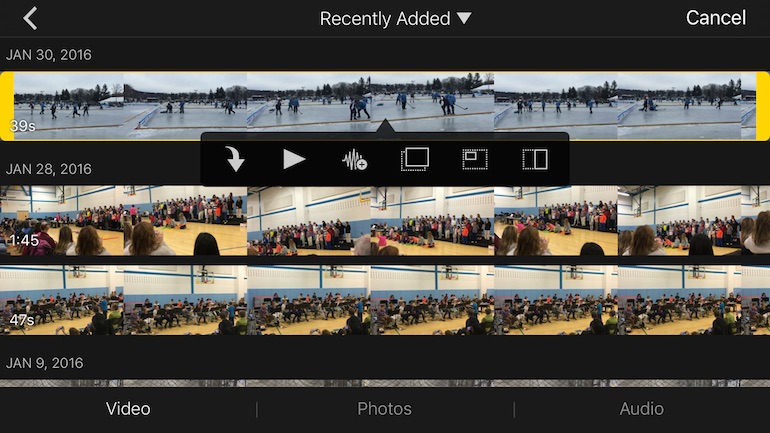
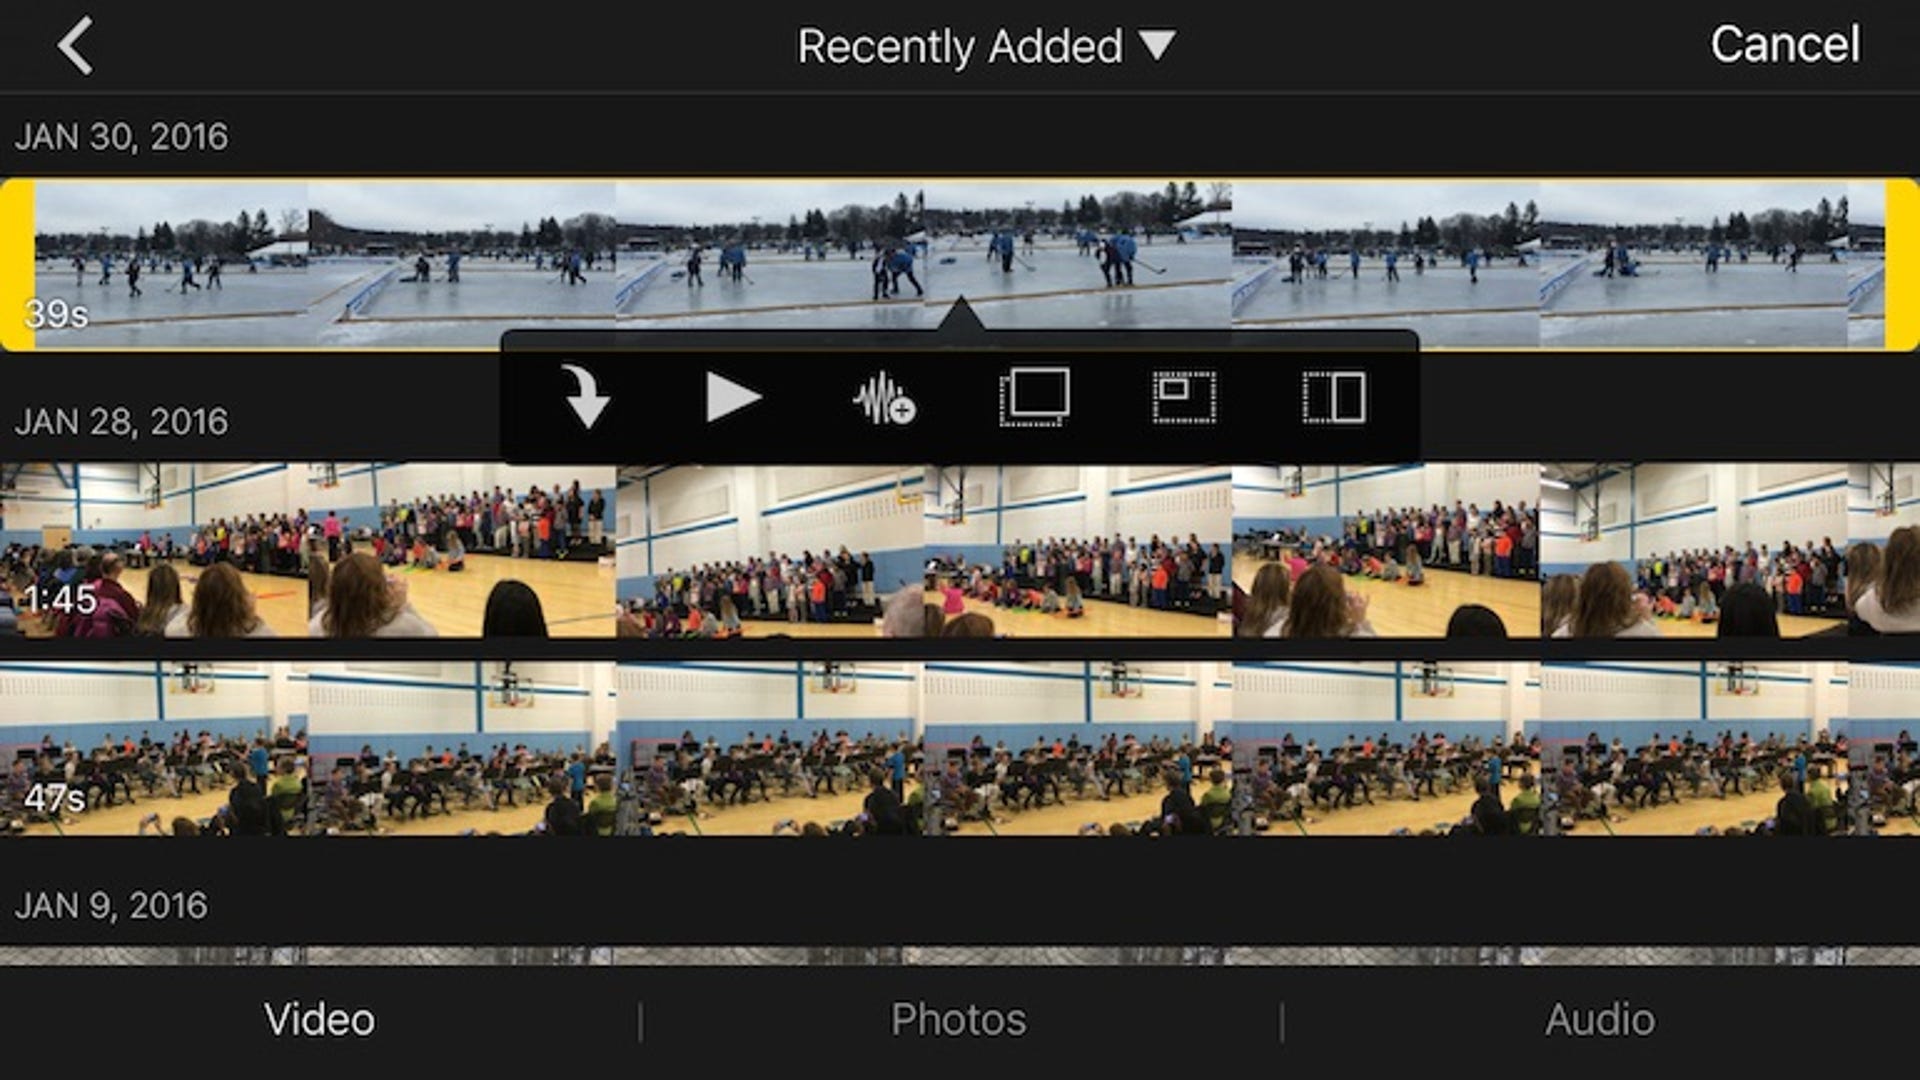
You will add the entire video clip, but after it has been added to the timeline, you can edit it. To trim a video, tap on it in the timeline and then grab the yellow bar at the beginning or end of the clip to select a new start or end point. You can also perform this same maneuver to trim a video clip before adding it to your timeline.
With a video clip highlighted in the timeline, tap the scissors icon in the lower-left corner and you will see options to Split, Detach, Duplicate and Delete. Split lets you chop the video into multiple clips so you can trim each clip to remove unwanted footage, apply different effects to different parts of your project, and insert photos. Detach lets you detach the audio from the video of a clip so you can edit each individually. Duplicate creates an exact replica of a clip and places it immediately after the original; I find the duplicate tool is useful for creating a slow-motion replay of a scene. Delete removes the clip from the timeline. You can also use the undo arrow above the timeline to undo any recent edits you made.
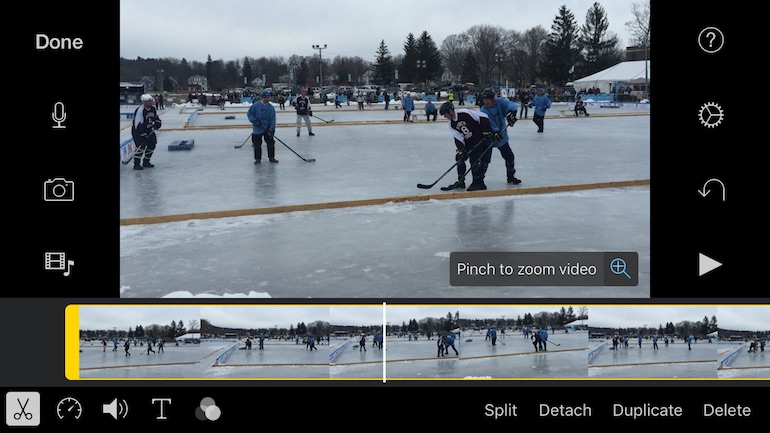
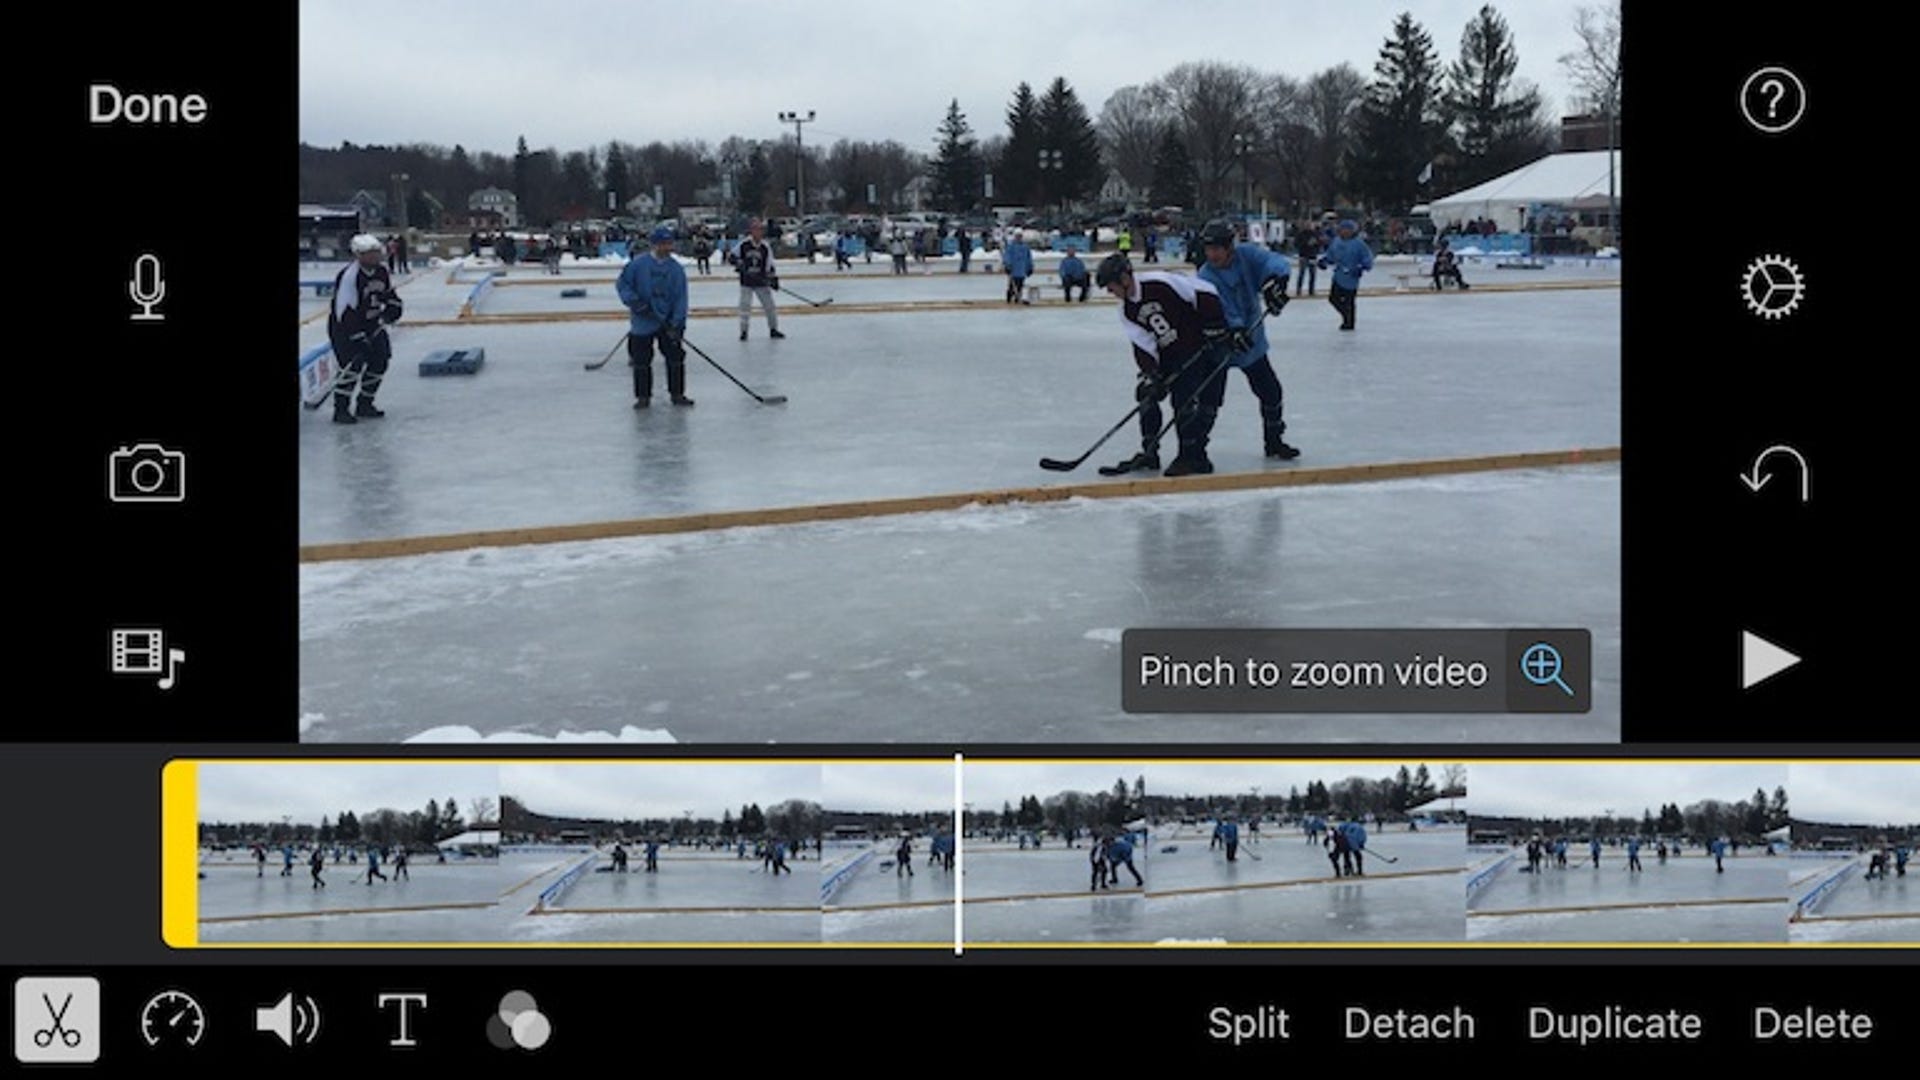
If you would like to zoom in and focus on a particular element of a wide shot, you can zoom in and reposition any clip in the timeline. To do so, tap a clip to highlight it in the timeline. Next, tap the small magnifying glass in the lower-right corner of the preview window. Now, you will be able to pinch to zoom and drag to reposition the frame. The zoom level and repositioning will take effect for the entire clip.
For more, learn how to add video effects in iMovie for iOS.