How to clean your digital SLR camera
Cleaning your own dSLR is tricky business. Make sure you're doing it right so you don't make things worse in the process.


Opening up your expensive dSLR camera to clean it may seem intimidating, but it doesn't have to be scary as long as you prepare properly and use the right tools. You open your camera to the elements every time you change the lens, and dust or grit can sidle in there to sabotage your images. That doesn't mean you should keep your camera sealed up in an antiseptic box.
Cleaning is easy enough that you can happily take your dSLR with you into all sorts of environments safe in the knowledge that you can deal with any imperfections creeping in.
That said, the sensor is the most sensitive part of your camera (obviously) so only monkey with it if you're completely happy with what you've read here. Remember, if something goes wrong you could have a hefty bill, so take it one step at a time.
The basic tools you'll need for cleaning your SLR's sensor are a rocket blower, sensor cleaning swabs and sensor cleaning solution. These are available from specialist camera shops, as well as online. We bought our kit in handy packs from cameraclean.co.uk.
For cleaning your lens you'll require lens cleaning solution and lint-free cloths. It's important to use cloths that don't shed tiny lint fibres -- this will defeat the purpose of cleaning. These are available from high-street stores, as well as specialist retailers and online. We bought a pre- packaged lens-cleaning kit from Jessops.

First, you should establish whether your sensor actually needs cleaning. Although cleaning doesn't have to be a major operation, there's no point in tempting fate by poking around if your sensor is already pristine.
To test for dust and blemishes, set the camera to a small aperture, say around f/16-22, and take a picture of a plain white surface, such as a piece of plain white paper. Have a look at the resulting image on a computer and zoom in to hunt for tell-tale blemishes.
To make any blemishes show up clearly, adjust the levels of your images. This alters the contrast so dark bits show up even darker, making flaws easy to spot. Open your image editor's levels histogram and pull the left and right handles to the middle. This will boost the contrast and show up any imperfections.

Changing lenses is best done in dust-free, neutral environments, where the risk of contamination is low, but this isn't always possible when snapping in the field. Cleaning, however, should always be carried out somewhere away from the elements.
Dust and clean the area you'll be working in, and avoid wearing clothes that may shed lots of fibres while you're working. Contaminating particles will be invisible to the naked eye but will show up when you start snapping, so roll up your sleeves and don't take any chances. A good lamp is also useful so you can see what you're doing.
It's also worth cleaning the outside of your dSLR before you start. Use a soft cloth to clean any oil off the surfaces of the camera and check for dust, dirt and grit in the nooks and crannies. Dampen the cloth slightly if necessary. Avoid pre-moistened wipes with chemicals in, unless they're specialist camera wipes.

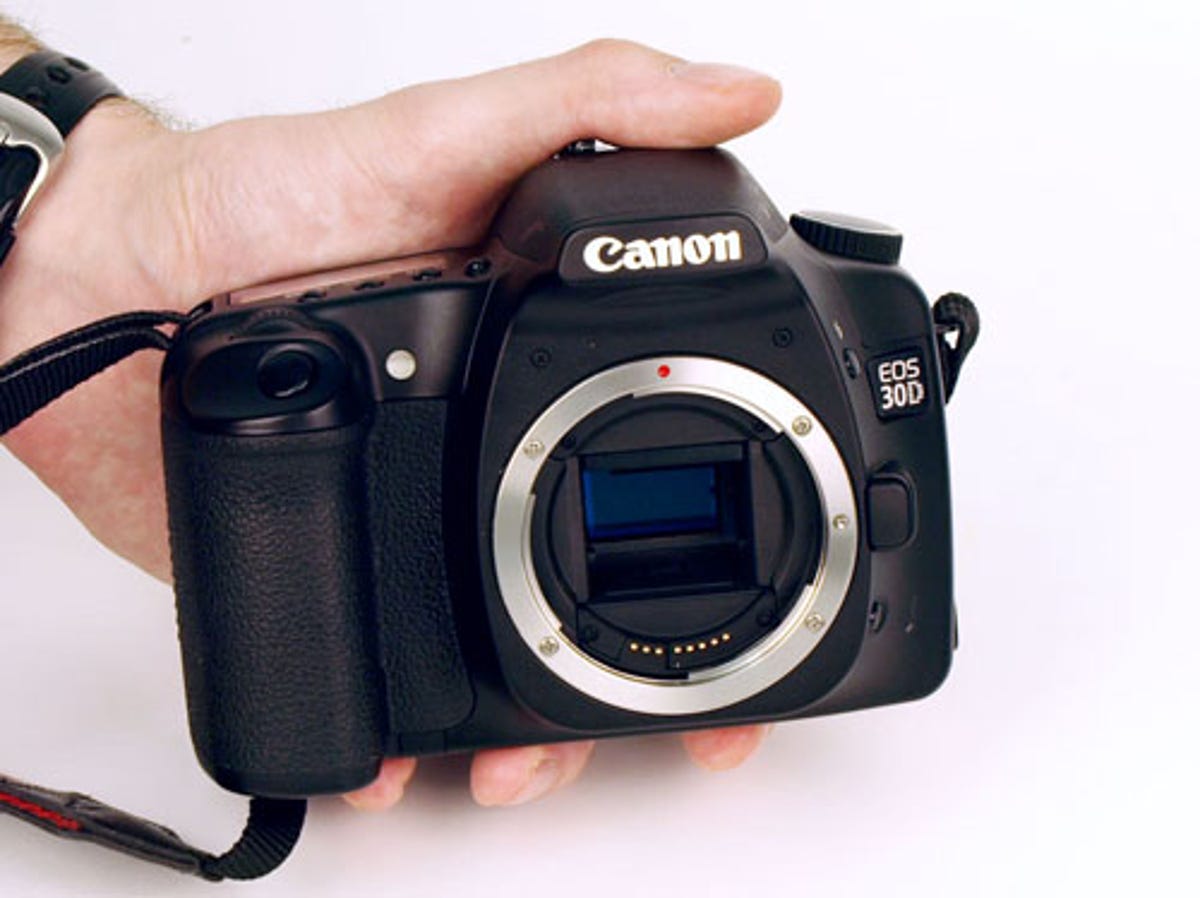
Dig out the manual -- you know, that thick book that came with the camera. Although most dSLRs operate on the same basic principles, every camera has its own way of working, and you need to know how your camera likes to be cleaned. On our battered Canon EOS 30D, the cleaning mode is easy to find.
Your dSLR will have a sensor cleaning mode. This involves locking the shutter open to gain access to the sensor. It is vitally important that you know how this works as a shutter mishap while you're finicking about inside the camera could have disastrous consequences. Go read that manual...
Once you have read the manufacturer's cleaning instructions, turn your camera on and set it to cleaning mode. It's essential that the camera remains on -- if the power goes off, the shutter curtain will drop.
If it closes on any of your cleaning tools, the shutter curtain and mirror could be damaged, and that's not good at all. So make sure the battery is fully charged or, even better, attach your SLR to the AC adaptor.
The mirror, a clear piece of glass angled in the front of the exposed camera, will flip up out of the way. You don't need to worry about cleaning this as it doesn't affect image quality. When you put the camera into cleaning mode, the shutter curtain will also flip and the sensor is exposed -- sort of.

With the mirror and shutter out of the way, the sensor is still protected. Your camera's sensor is too delicate to completely expose it to the elements, so it has a protective filter in front of it known as the Optical Low Pass Filter. When we talk about cleaning the sensor, we really mean the sensor's defensive filter.
The first thing to do is take your rocket blower and use it to gently blow dust and dirt off the surface of the sensor filter. Avoid touching the filter itself with the tip of the blower as this could damage it.
Always use the blower before swabbing or brushing the sensor. This is to ensure that you've removed any particles of grit, which are potentially worse than dust motes as they can scratch surfaces. A scratch in the sensor or lens could refract light and will leave a permanent ugly mark on images. Once you've blown dust off the sensor, you could also use a special brush to gently sweep the surface.
Never use compressed air on the sensor -- it will freeze on the sensor surface, possibly causing very serious damage. Always go with a mechanical blower, which will provide gentle, dry air to float those pesky dust motes away.

Ensure you've bought the correct size swab for your sensor. Manufacturers will list SLRs on their Web sites. If in doubt, go for smaller sizes as you'll be able to use more than one swab to cover the whole sensor. We used Eclipse swabs and cleaning solution, and our trusty Canon EOS 30D required size 2 swabs.
Take a clean swab and squeeze two to four drops of cleaning solution on to the end. Don't saturate the swab or you'll end up with excess solution on the sensor.
Place the swab at one side of the sensor and gently wipe all the way across in one smooth motion. Try and make sure you get into the corners and cover the whole surface of the sensor.

When the whole sensor has been covered, turn the swab over and bring it back the way you came. Ensure that each stroke across the surface of the sensor uses a fresh, clean side of the swab. This stops you redepositing dust on to the sensor. Once you've used both sides, throw the swab away and don't reuse it.
If the swabs are smaller than the sensor and you need more than one swipe to cover the whole surface, use a fresh swab. If there's any excess solution visible on the sensor, use a fresh swab with a couple of drops of fluid to remove it. Swabs are cheap enough to not stint.
The sensor should now be clean. Remove the swab and chuck it away, then exit cleaning mode and fit the lens back on. Repeat the test in Tip 2 to see the results. If dust is still showing up, repeat the cleaning process.

Cleaning the sensor is important, but it isn't the only factor in image quality. The lens is just as important. Simple lens-cleaning kits are available from most camera stores as this is a much simpler operation than cleaning the sensor. Simply blow dust off the lens with your blower and clean it with lens tissues, or a soft cloth.
Remember that scratching the lens will cause problems with light refracting off the jagged surface of the scratch, so use the blower to dislodge particles first.
To clean the lens, pour some lens-cleaning fluid on to the cloth and then wipe the surface of the lens. Never drip fluid straight on to the lens. When you've cleaned the whole thing, polish off any excess fluid with a dry part of the cloth.

Sensors, mirrors and internal components may be delicate, but cameras are generally well-sealed and pretty sturdy beasts. You won't have to clean your camera too often, unless you notice dirt on the outside or blemishes on your images.
It's pretty straightforward to ensure your SLR stays clean: keep it in a bag when not in use, give it a wipe every now and again, and make lens changes quick. It goes without saying that you should keep caps on lenses and the camera body whenever the lens is off, even if it's only for a few minutes.
Next time you get a pair of shoes and that little sachet of silica gel falls out, don't chuck it away. Instead, stick it in your camera bag to absorb moisture.
If, after following the above steps, you find yourself faced with a bit of dust or an imperfection you just can't shift, don't panic. Professional cleaning services are available, and although they are more expensive than the DIY route, they produce guaranteed results.
If you find your camera is beyond all hope, it might be time to start looking for a replacement. Start with our always-current list of the best midrange dSLRs.