Bringing a flat-screen TV back from the dead
Find out how I successfully repaired a dead plasma television.


- Author of the award-winning, NY Times-reviewed nonfiction book The Tetris Effect; Longtime consumer technology expert for CBS Mornings
There are few technology tragedies as sad as a dead big-screen TV. Sharp-eyed readers may recall that I suffered just such a misfortune in November 2010, when my nearly 5-year-old 42-inch set dropped dead unexpectedly. At the time, I described the scene as follows:
After attempting to revive the set by turning it off and on, unplugging and reconnecting the power plug, and other basic troubleshooting, I had to face the hard conclusion that my television was dead.
From there, I detailed the research, purchase, and installation process for my new plasma, a 50-inch Samsung 3DTV. That new set has been great, even if the 3D highlight so far has been the 3D Yule Log special on one of Time Warner's on-demand channels. For a complete accounting of how I chose my new TV, you can read the full blow by blow here. I'm sure I could have done some additional troubleshooting on the dead TV at the time, but a good reason to upgrade to a new flat-screen doesn't come along every day, and I was probably looking for an excuse.
Dead, but not gone
But the story doesn't end there. I had expected the promised two-man white glove delivery team to not only unbox my new set, but also lug my old, nonfunctioning one down to the the first floor of my downtown Manhattan walk-up building (in exchange for a generous tip, of course). This didn't happen, as one delivery guy stayed with the double-parked truck, while I had to help the other one carry the Samsung up four flights of stairs. After that, owing to a combination of holidays, CES prep, and general laziness, the old set sat undisturbed in a corner of my kitchen, waiting for me to get around to tossing it.
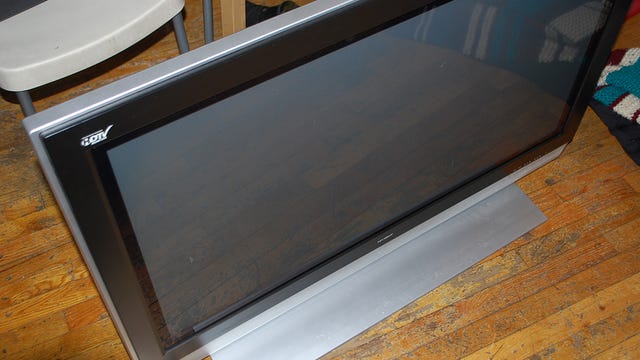
But the old plasma caught my eye every few days, and eventually my curiosity got the better of me. I wondered if maybe whatever problem it had could be fixed with a reasonable investment of time and money. Keep in mind, this was a TV that was way out of warranty and also out of production. I had tried local repair shops before (with that set's predecessor, my first plasma), and that was a complete disaster. So I decided to start by opening up the case to see if there was anything obviously wrong.
Diagnosing the problem
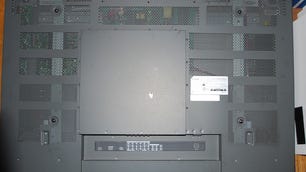
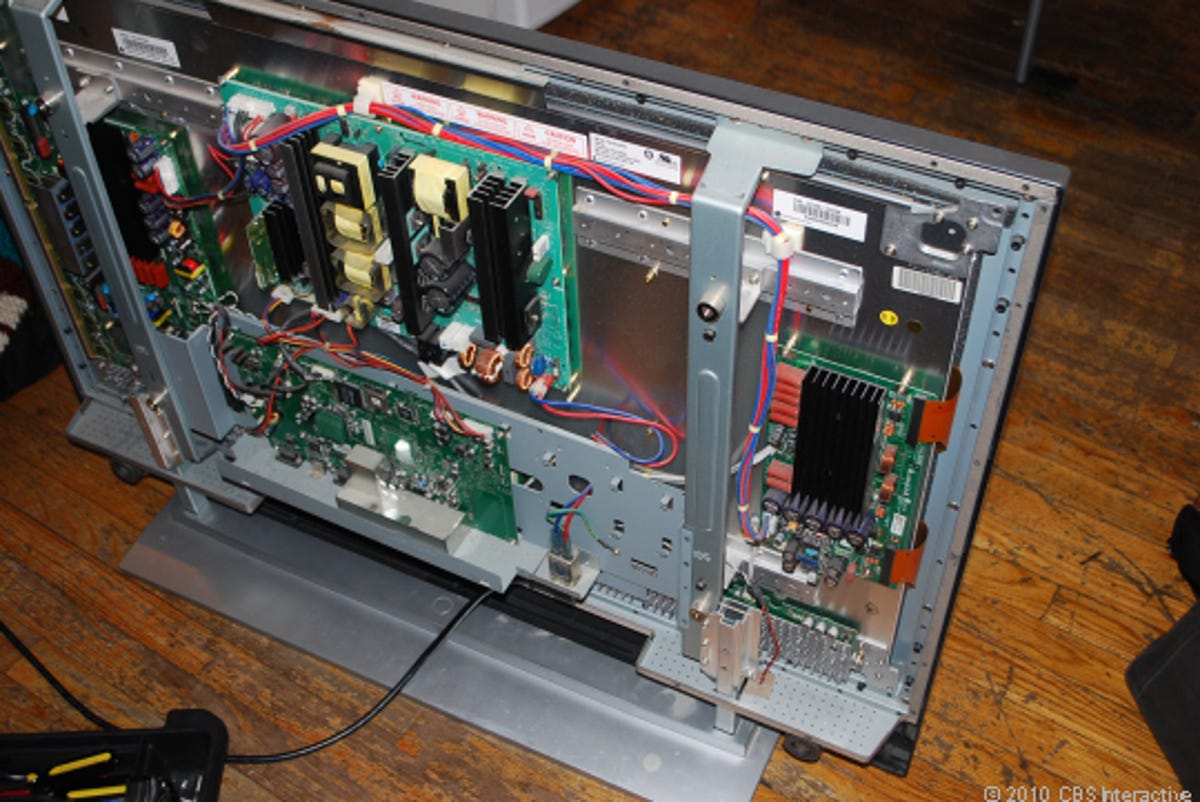
About a million tiny screws later, I had the back of the Maxent TV off, and could see the four main boards inside. A power board, a processor board, and the Y and Z sustain boards. Nothing looked out of place. No connections were unplugged, and there wasn't a dead mouse trapped inside shorting anything out (hey, you never know). The fuses on the board were the opaque ceramic kind, so I couldn't tell if any had blown by visually examining them. The smart thing to do here would have been to get a multimeter and check the fuses, but I wasn't intellectually invested enough in the project to do that yet.
I dug around online looking for people who had had problems with the same model. There were a lot of questions being asked online, but not a lot of answers. In many cases, people with similar problems reported that one of the four boards, the Y-sustain (or Y-SUS) board, was usually to blame. I also discovered that my specific Maxent was internally identical to sets from LG, Vizio, Toshiba, Zenith, and others, which I thought might make finding replacement parts easier.
One useful link I found was a blog entry from someone who had stumbled across the same model TV, a Maxent MX-42HPM20, sitting by a Dumpster. Being more electronically savvy than I am, he described how he tested the fuses on the Y-SUS board, and eventually got the set working by replacing first, a blown fuse and capacitor, then eventually the entire Y-SUS board. This was especially useful information for two reasons. First, someone had successfully repaired the same model plasma with what sounded like the same problem; and second, the blog post included specific part numbers for a compatible Y-SUS board I could use to search on eBay (those being EBR31872801 and 6871QYH053B).
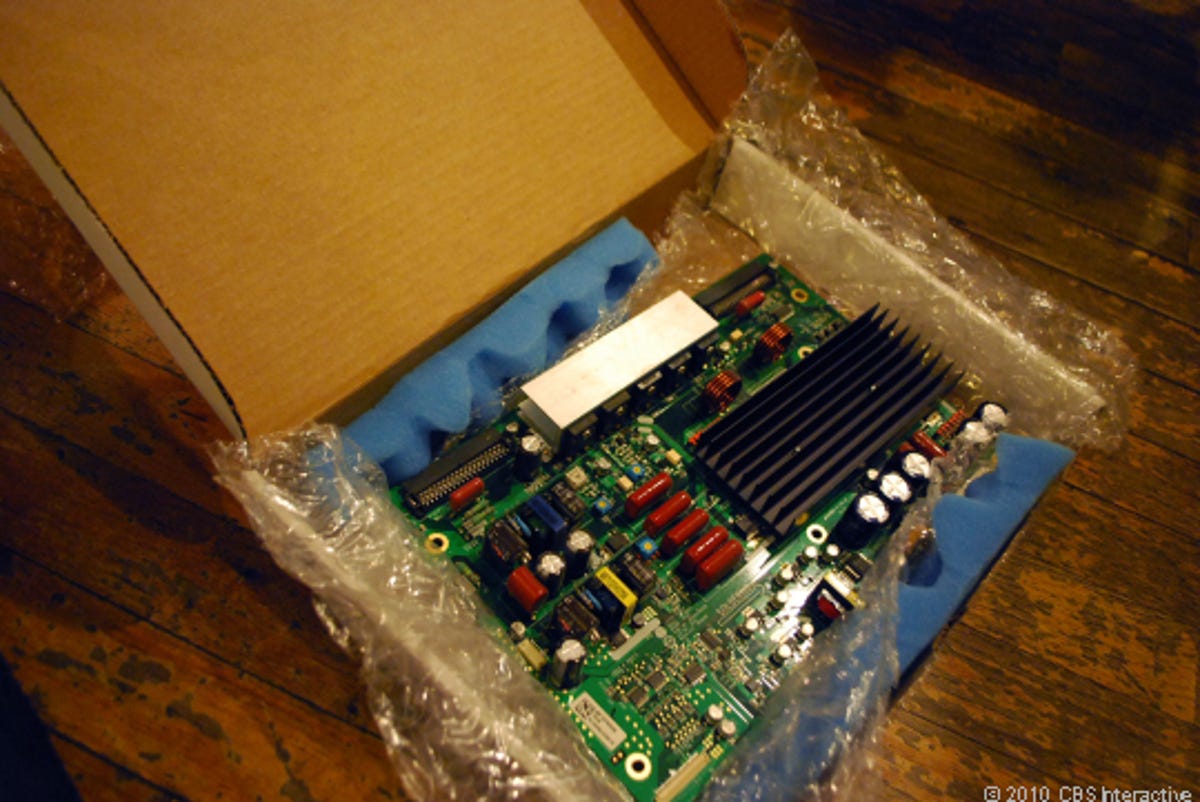
Armed with that information, I decided to simply order a replacement board and try swapping it in. It seemed to be the part that failed most often in this family of TVs, so if it worked, great. If not, I hadn't invested too much time, money, or energy in the project. There was a handful of parts available on eBay, mostly from established electronics parts vendors with good feedback records. Prices ranged from around $100 to $160, and the stock fluctuated every few days, so when I was ready to buy, I got one for around $130.

Have screwdriver, will travel
The board arrived while I was at CES with the rest of the CNET team, and was waiting for me when I got back. With a long weekend coming up, this would be the perfect time to try to install it.
A few notes before continuing, if you're thinking of following in my footsteps and attempting a plasma TV repair job:
I'm not particularly experienced with digging around in the internal workings of consumer electronics, although if you give me a pile of components, I can assemble a functioning desktop PC from scratch fairly quickly. I'd rate the difficulty of this job as halfway between novice and intermediate, and no soldering was required (although I could have handled that fairly easily).
Some people take detailed photographs and notes of every step when they take something apart, and then label every screw, so everything gets reassembled in exactly the correct way. I'm not one of those people, and I always have a few extra screws left over in the end. I would not, however, recommend that you emulate my relaxed attitude.
- A clean work area, an antistatic strap, and someone to help you rotate, raise, and lower the TV as needed are all good ideas. I, again, had none of those things--but I highly recommend them for you.
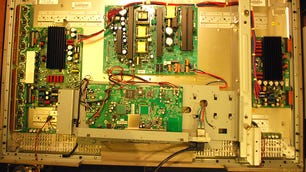
With the back of the Maxent previously removed (and temporarily replaced with only a few anchor screws), I quickly got the set face down on a safe surface, with its four main boards exposed. The Y-sustain board was on my left, but under a large support bar, which, in turn, was attached to the power supply board.
From there, it was a painstaking process to find and remove the correct screws, first loosening the support beam (which is what a wall-mounted hanger would attach to), then unscrewing the power supply from both sides, so I could nudge it far enough out of the way to remove the support beam.
The Y-SUS board was screwed directly into the central chassis, although these screws were easy to get to once the support beam and power supply had been moved out of the way. The board had to be removed very gently, as there were several different types of plugs and ribbon connectors attached to it. The board had never been removed before, so some slow gentle rocking was required to unseat the last two connections.
Once the board was removed, it was easy to insert the replacement board, making sure to reconnect each ribbon cable and plug exactly. The new Y-SUS board was then screwed back into the chassis. From there, I carefully replaced the support beam and moved the power supply back into place, and lightly replaced some of the screws in both parts.
I decided not to fully replace or tighten the screws until I had a chance to see if the new part would work. Plugging in an AC cable, I hit the power button, and the set turned on to a blue screen, indicating that it was on but receiving no signal. That was a good sign, as there was nothing plugged into any of the inputs, and previously, the screen was black, not blue, whether there was an input signal or not.
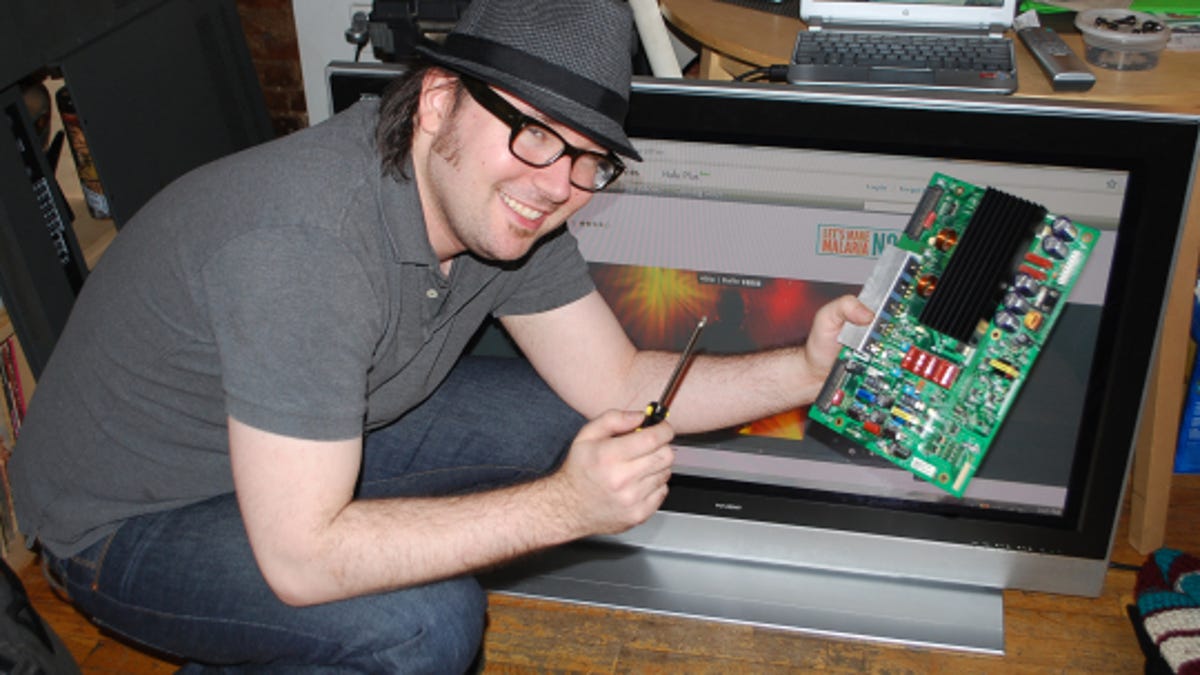
Confident that this was at least going in the right direction, I replaced and tightened more of the screws, then slid the stand back into its brackets and tilted the set upright. The easiest thing to test the set with was a nearby laptop, which I connected via HDMI. As the photo here illustrates, the replacement board worked, and the television correctly displayed a full-screen Hulu video from the laptop.

It's alive!
The image appears to be trouble-free at the moment (although I've read about other people having issues such as colored bands on the screen with replacement parts), but I can't tell how long it will last. If there was some other underlying fault that caused the original Y-SUS board to burn out, it could happen again, or this replacement board could be short-lived on its own (although if it lasts the same five years as the original, I'll be more than satisfied).
I have yet to hook up and test other input sources, such as game consoles or a Blu-ray player, nor do I have any idea where this revived set is going to end up (I've had a no-television-in-the-bedroom policy for more than a decade). That said, it's satisfying to know I managed to resurrect a flat-screen TV that was on more than on occasion minutes away from getting taken out with the trash. My total investment in the end was a couple of evenings of Web surfing, a $130 part via eBay, and one afternoon of hands-on tinkering.
Of course this story, though illustrative, likely won't directly pertain to any plasma TV problem you might have. Your mileage may vary in attempting any kind of repair project such as this, but I've come out of this convinced that a malfunctioning plasma isn't the nearly automatic death sentence I previously thought it was. The gallery above illustrates the step-by-step repair process if you're interested in following along.
If you've got a flat-screen repair story--be it success or failure--I'd love to hear about it in the comments section below. Or, if you're attempting a similar project and have questions, post them as well. You never know when a fellow reader may have some helpful information to contribute.