Become a camcorder pro
Legend has it that a 21-year-old, unknown filmmaker called Steven Spielberg snuck into Universal Studios in 1969 and set in motion one of the greatest careers in cinema history. Spielberg later told Hollywood Reporter, "I put on a suit and tie and sneaked past the guard at Universal, found an empty bungalow, and set up an office. I then went to the main switchboard and introduced myself and gave them my extension so I could get calls. It took Universal two years to discover I was on the lot."
Though some doubt the veracity of Spielberg's story, it's an appealing concept. But what if you don't live close enough to Hollywood to pull off a stunt like that, what are your options? We're going to teach you some tricks that will help even the biggest camcorder klutz create professional footage.
Stanley Kubrick immortalised cinema's use of the Steadicam in The Shining (1980). His tracking shots of little Danny Torrance on his tricycle, peddling down the corridors of the Overlook Hotel are some of the most suspenseful scenes in the film, if not in cinema history. An effective Steadicam system is very hard to improvise, but here's how you can approximate some of the shots in The Shining.
The IMDB notes that Garrett Brown, the Steadicam operator in The Shining, "accomplished many of the ultra-low tracking corridor sequences from a wheelchair on which his invention was mounted. Grips would either pull backward or push forward the wheelchair, depending on the requirement of the shot". If you have a wheelchair to hand, this is one option. Alternatively, like us, you could use a £50 trolley.
A traditional dolly looks something like a toy train. The camera rides on a carriage along a track that's laid down in advance along a specific route. The camera operator will usually ride on the carriage with a camera, while an assistant drags the train along the track at the required speed.
Some dolly shots do not use a track. Instead, they rely on the floor in your location being smooth enough to eliminate camera shake. These kind of trackless dolly shots are called 'dancefloor moves'.
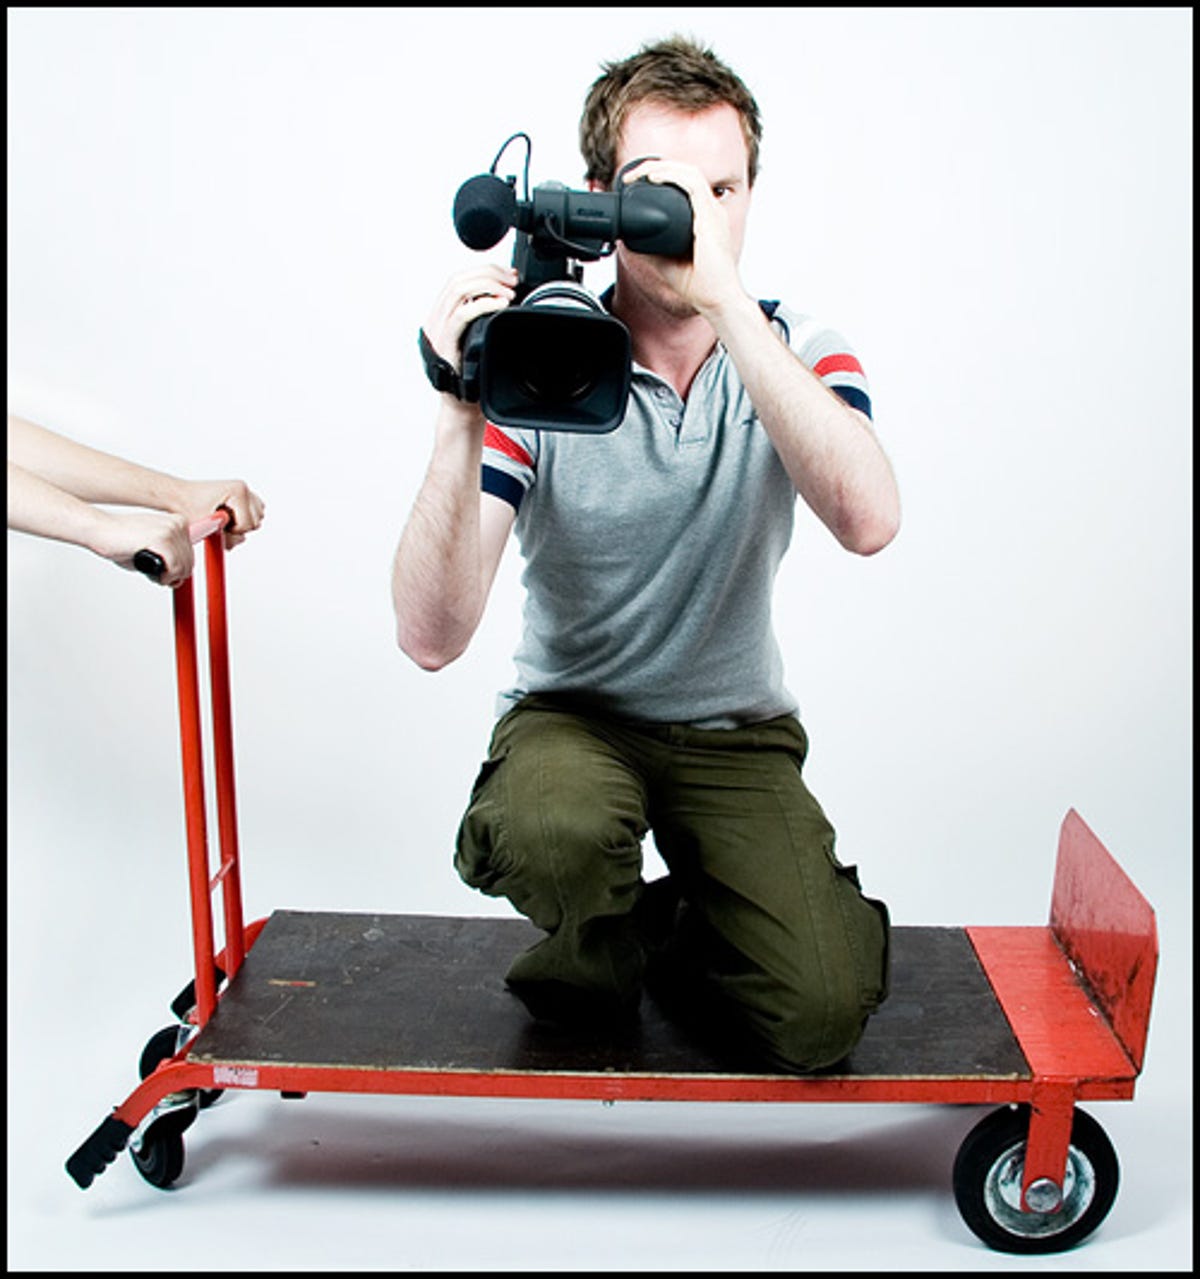
We'll assume you don't have a Kubrick-sized budget at your disposal, so what can you do to achieve the classy look of a camera dolly shot? For starters, you'll probably have to use the dancefloor technique, because building a DIY track and carriage is hard work.
To create our dolly in the picture, we've used a standard trolley -- the kind of thing you'd use to move boxes around. Perch on the trolley and get a friend to drag it along. You might have to practice the shot several times to get it right.
You can rely on the surface at your location, or you can use plywood sheets and gaffer tape to smooth the floor the trolley is running across. If you put some care into this approach, you should be able to shoot a tracking shot closely matching one produced by a dolly costing thousands of pounds.
Lighting is arguably the most important aesthetic of filmmaking. Lighting creates atmosphere, emphasises character and, at the most basic level, determines the exposure -- and therefore the legibility -- of the frame. Professional lighting rigs are expensive, power-hungry and potentially dangerous. Here we'll explain how to simulate a three-point Hollywood lighting system using just one light source and a reflector.
Video demands a great deal of light to be thrown at it for a good exposure. Just one studio light can set you back several hundred pounds. Luckily there is a light source that's free and substantially more powerful than most studio lights. It's called the sun.
The problem with shooting in sunlight is that, as with any strong single-source light, it often results in a high contrast across your actor's faces -- one side of the face is well lit, but the the side facing away from the sun has a dark shadow. This is typically very unflattering.
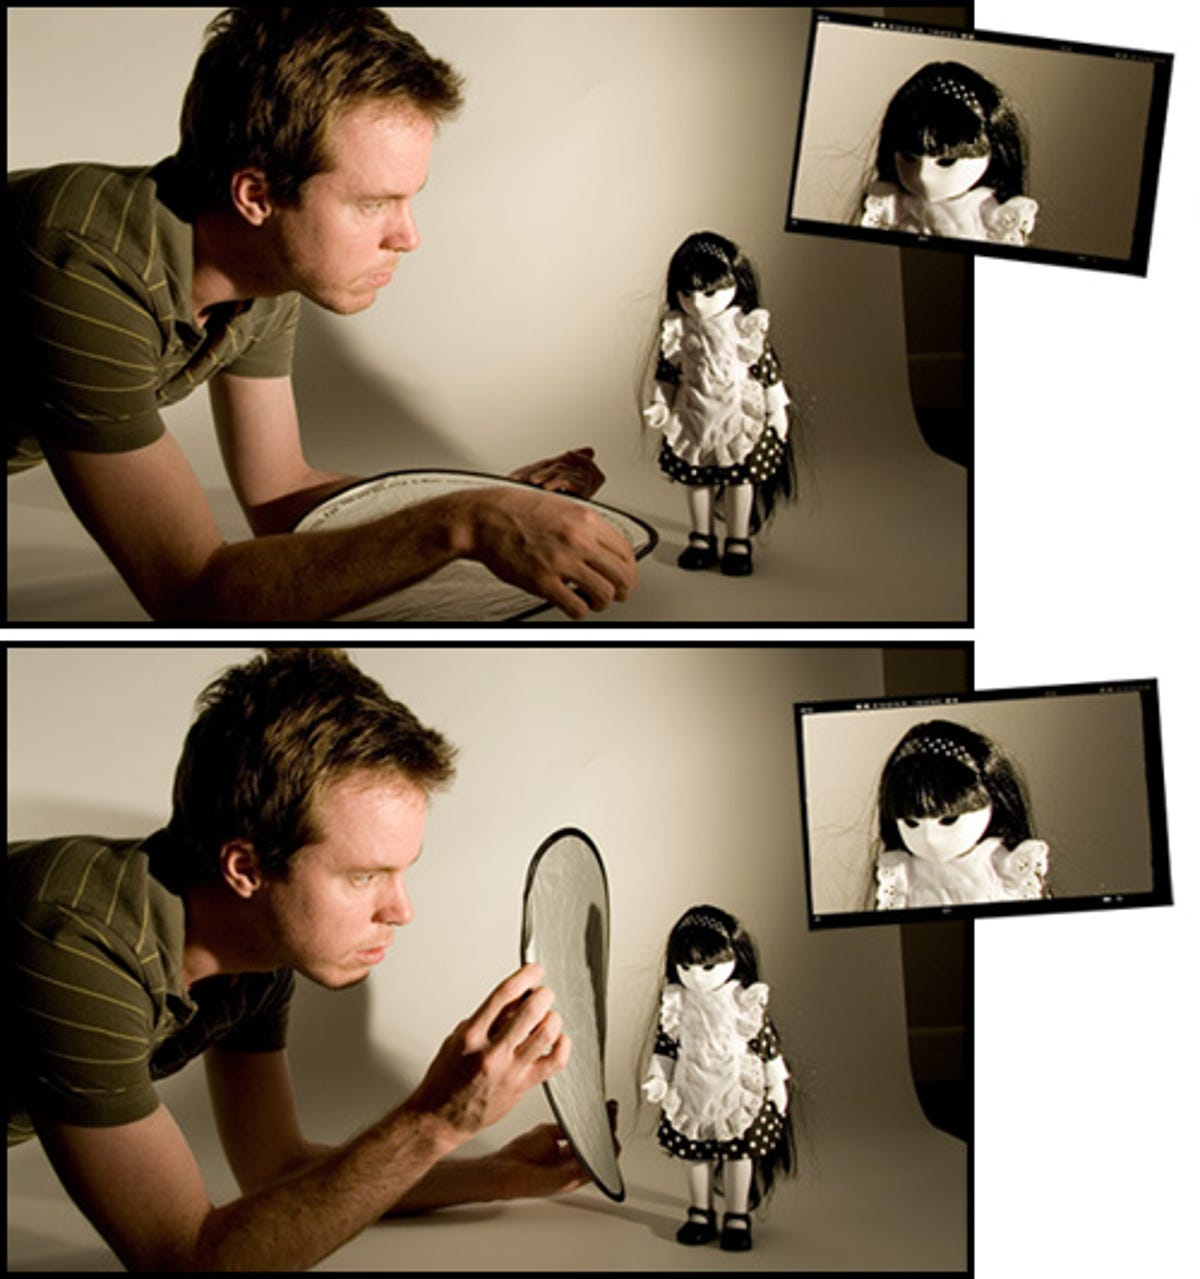
You have two options. One option is to face your actor straight into the sun, to achieve an even exposure across the face. However, they're not going to enjoy delivering lines while squinting into the direct sunlight. The second, more reasonable, option is to use a reflector to bounce sunlight back into the shadow area of the face. This will massively reduce contrast.
Reflectors are fairly cheap to buy, and are basically huge silver-coloured surfaces designed to bounce light. You'll need an assistant to hold the reflector out of shot and will need to monitor how the angle affects the contrast on your actor's face. As a rough guide, you should position the reflector somewhere on the opposite side of the actor to the sun, and bounce the light back into the shadow area.
You can use smaller reflectors for close-ups, but for wide shots you may find that you need a much larger reflector. This ensures the reflector is kept out of shot, but still throws enough light back on your actor. In some situations more than one reflector gets you the best shot.
These are starting points. You can use the sun and reflectors in a number of inventive ways, so make sure you experiment.
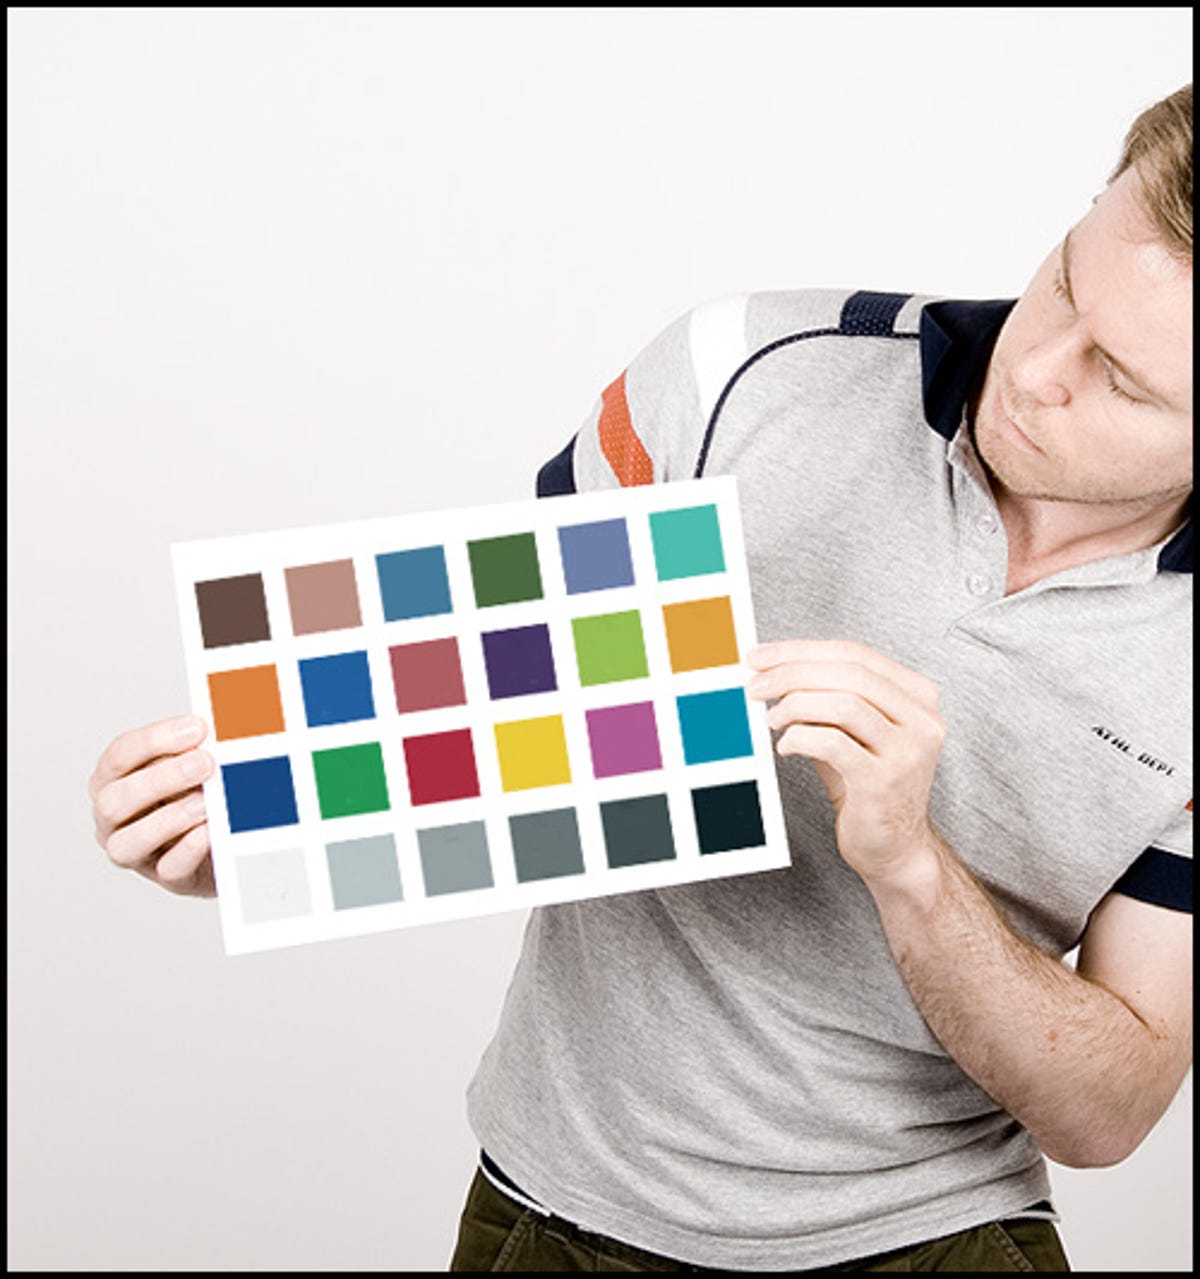
You may not be aware of it, but what appears white in one environment is not always the same colour in a different one. Most indoor lights (with the notable exception of fluorescent light) emit a yellow hue, while sunlight has a blue hue. This means that what we consider 'white' in those environments is tinted by these colours.
Your camcorder only has a vague idea of what is actually white. To make sure the camera is picking up colours as your eyes see them, you have to focus on a white card and let the camcorder know this is true white. To work out how to do this with your specific camcorder, you'll need to consult the manual. Usually it's a simple case of pressing a button or selecting a menu option.
There are tricks you can use to change the way your footage looks. For example, white balancing to a card with a slightly red tint will give your footage a colder, blue look. However, it's not advisable to do this at the shooting stage. You'll have more control if you shoot your footage neutrally and then process the colours afterwards. More on this later.

A boom mic is a microphone attached to a long pole. The boom operator is one of the many unsung heroes on a film set. Like most film professionals, one of their main priorities is to remain invisible to the audience. The boom mic is dangled over the actors, out of frame, and it captures sound without the need for clip-on microphones.
You can make your own boom mic using a broom handle or a fishing
pole. Wind the microphone cable around the length of the pole and
gaffer-tape the microphone to the end. Typically, booms use a shotgun
(also known as lomar) microphone to pick up the voices of several
actors. Shotgun mics are 'condenser' microphones. This type of
microphone requires a power source -- usually a small internal battery.
Because condenser microphones are powered they're more sensitive and
responsive than the common dynamic type. They also tend to pick up
sound on set in a more 'realistic' way.
The main thing to worry about here is keeping the microphone out of
frame. As the camera operator, you should establish the boundaries of
the current frame with whoever's holding the boom.

You may have noticed that the Orwellian dystopia being filmed in Minority Report has a cold, blue feel. Gulf War action-satire Three Kings, on the other hand, looks warm and bleached out. What's going on?
On both films, the directors have made choices about how the colour of their film will influence the atmosphere. They've chosen different film stock and different developing methods to give the footage different characters. But how can you achieve the same effect when you're working in video?
You need to consider colour before you shoot any video at all. Professional filmmakers have their set designers work with the cinematographer to choose a colour palette for the film. In some cases, this palette determines everything from the colour of the wallpaper in a room to the colour of an actor's tie. Working within a specific colour palette, you can give your film a more coherent look.
Once you've shot your footage, you can affect the atmosphere of the film by choosing how colours will appear in the finished product. Using the colour filters available in editing software such as Final Cut Pro or Adobe Premier, you can subtly alter the hue of your film and emulate certain processing techniques, such as the bleach bypass effect used in Three Kings.

Although some argue that digital filmmakers should overlook the un-filmlike quality of DV, I disagree. For many digital filmmakers, the Holy Grail of optical effects remains the emulation of celluloid.
Film is the de facto standard for drama due to its slower frame rate, better dynamic range and naturally progressive scan. In fact, celluloid doesn't technically have scanlines, only film grain. Video, however, may display odd and even scan lines with a fraction of a second gap in between; this is called 'interlaced' video. Interlaced video has a vastly different look to film. When the odd and even video scanlines are displayed simultaneously, the video is known as 'progressive scan'. Progressive scan gives video a more film-like motion. You can create this effect in-camera on some camcorders, or simulate it later in your editing package.
Video has a harsh, real quality and lacks film's subtle, dreamlike appearance. Generally video describes reality, and film describes fantasy. So how can you make your video look like film?
The first step is to light your video with the mentality of a lighting director. Quickly throwing lots of light on a scene is not always a good way to approach a video shoot -- professional filmmakers often spend hours lighting a scene. Although you might not have access to any specialist equipment, you can achieve excellent results with common household items like tablelamps, and by using the sun streaming through windows.
The low frame rate of film (24 frames per second), and its other unique characteristics, can be emulated using a variety of professional tools like CineLook or Magic Bullet Editors.

Right, you've shot and edited your film. Unless you're an ego-less person who needs no external affirmation of your artistic skill, you'll want people to watch it. Given the low cost and availability of DVDs, we'd recommend you opt for this format.
Apple iDVD is our software of choice for authoring a DVD and is included free if you buy a Macintosh computer. PC users might consider Roxio's DVD Creator or Adobe's Premier Elements. There are also much more powerful applications such as Adobe Encore DVD (PC) or Apple DVD Studio Pro (Mac), both of which can emulate anything you find on commercial Hollywood releases -- this is the software the pros use.
To give your DVD a professional look, you can export a still frame from your movie into Photoshop, clean it up, and use it as part of the DVD splash screen (the image that appears on the DVD menu section). But for the highest-quality still on your DVD menu, you should take a high-resolution digital photograph of a key scene while you're still in production. Hollywood productions use a stills photographer to get a photographic record of the shoot. Some of these photos may later be used on promotional material. You could recruit a friend to take on this role during your shoot, or you could do it yourself between shots.
Many of the templates in iDVD will let you use sections of your movie as a looping clip in the DVD menu. iDVD's interface is deceptively simple, but you can do sophisticated things by dragging and dropping clips and editing existing templates. Almost all of what you see on commercial DVDs can be achieved here with some imagination.
Do you think anyone would have watched The Da Vinci Code if it hadn't been promoted? Of course not. Many Hollywood productions rely on disguising how dismally boring their film is with a massive advertising budget. Even if your film's good, you'll need to let people know it's there.
Luckily you have a tool at your disposal that the young Coppola or Spielberg didn't: the Internet.
Several excellent sites exist for promoting your film. Beside the obvious choices of YouTube and Google video, you can also submit your short movie to the BBC's Film Network, iFilm and Pocket Movies.
You'll also find tips from like-minded filmmakers at Shooting People, and a list of upcoming festivals at the excellent Without a Box.

By now you should look more or less like the guy in the photo here. Charm and arrogance flows through you in equal measure. You're feared on set, but admired by the industry at large, and all this because you learned how to use a reflector properly. Congratulations, you're a camcorder pro!
There's plenty more to learn though -- get out on the streets with your DV cam and embrace life for all it's worth. Run, little camcorder enthusiasts. Run into the alleys and warehouses of discontent. Document life and invent fantasy, draw your audience to laughter, and to tears. Touch, feel and explore this beautiful world in all its camcorderable glory. To the heavens!