3D Printer Build Week: Day One
3D printers will come ready-made soon, but what's it like building one of the many DIY kits out there? This week, we find out.


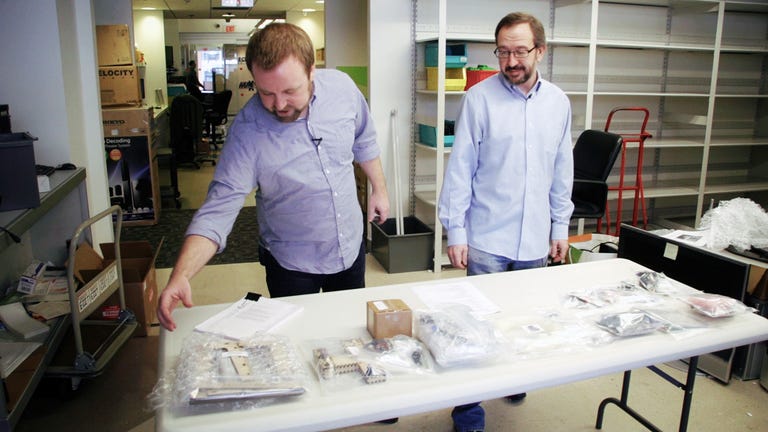
I hope to review the coming batch of preassembled 3D printers, but first I need to build one.
That's the idea, anyway. Thanks to MakerGear, an expansive online 3D-printing resource, I have a DIY kit for a Mosaic 3D printer. I also have the help of Matt Fitzgerald, an editor on CNET's digital-imaging reviews team. Not only can Matt take a decent picture, I also intend to lean on his mechanical expertise that comes from his hobby restoring motorcycles.
It can't hurt, but you don't need that experience to build a 3D printer. Still, I've never done it. I hope once we get through the building process, I'll have a better idea of what to look for when it comes time to review a premade printer like those announced at CES this year. The goal with this series of posts is to share what we find out.
Day 1: Step 1
The Mosaic 3D printer is MakerGear's own design, but, like the MakerBot printers, it's also a derivative of the University of Bath's RepRap project (more on that here).
As such, the Mosaic's DIY roots are strong, and it also has a hobbyist sheen to it. The parts in the box all come in Ziploc bags, some bearing the label of a third-party supplier.
The Mosaic ships with no written instructions. MakerGear instead points you to an online build guide, as well as a set of more-detailed, although slightly variant, directions over at Make:Project.

Two sets of directions in-hand, Matt and I got started on the first of seven steps.
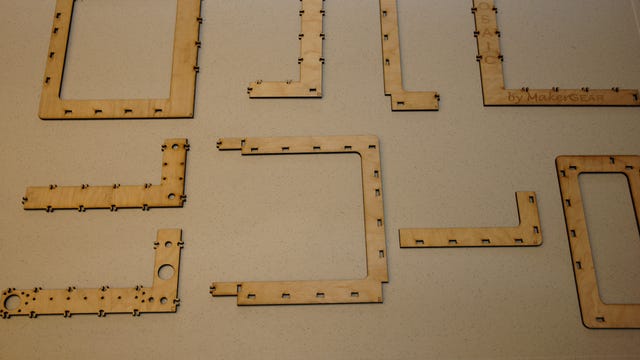
The first part is actually fairly straightforward. Here you assemble the birch plywood printer body and secure it with a bunch of tiny nuts and bolts. It's supposed to take 90 minutes.
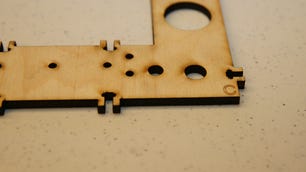
The nine birch wood body pieces (not balsa, like I mistakenly said in the video) ship laser-cut and letter coded. They fit together logically via a series of slots and tabs. The wood feels fragile, the tabs especially, but it's also well-designed. At no point in this first part did I feel like I was going to break anything.
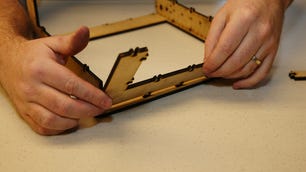
Once we assembled the frame, we then locked each of the 57 joints down with a nut, a washer, and a bolt. The hardware all comes clearly labeled, and MakerGear also includes the necessary tools. Most of the driving steps rely on a single hex driver.

We used a pair of tweezers to place the nuts in their appropriate slots, but here we also ran into the one instance where we needed to customize the parts a little. The fit in the slots was so tight that we had to widen them a little with an Xacto knife, or risk breaking the tab.
We finished this step almost exactly within the estimated 90-minute mark. I can also report that the birch ply frame feels surprisingly sturdy.
Step 2 and Step 3
In these steps, combined for their similarity, we mount the X- and Y-axis hardware for moving the build platform and the extruder head. They're also the first steps that involved some more advanced mechanical tweaking.

Essentially, each axis has a motor that powers a belt mechanism to drive a component along a metal rail. The Y-axis, attached to a separate, preassembled wood piece, drives the platform on which the printer deposits the melted plastic to build a 3D object. The X-axis is attached to the top of the printer itself, and drives the extruder head (aka, the printer's business end).
Attaching the rail and the motor was easy, although we needed our own pair of needle-nose pliers to hold the support nuts in place while we drove in the required bolts. The X-axis gave us a little alignment trouble because of an off-kilter nylon stopper piece, but we fixed it easily enough by reseating everything. The belt assembly was trickier.

MakerGear was kind enough to include a belt ready-made to fit snugly between the two support gears of each axis. The only drawback is that getting it on the gears with such a tight fit requires some finesse. Matt used a trick he knew from fixing bicycle chains, and had it on in no time. Prior to that I fumbled with the thing for a good 10 minutes.
End Day One
That's as far as we got after about four hours of hands-on work.
In all, the going hasn't been that challenging, although Matt's advanced mechanical skills certainly came in handy. We also had a few instances where the hardware in front of us conflicted with both sets of instructions, but in each case, we puzzled it out quickly enough. So far, I'll say that if you can build your own PC, you can build a 3D printer.
What have I learned about 3D printing from our progress? Building the frame shouldn't be an issue for the ready-made printers. Putting the axes together was instructive, but hopefully consumer-ready designs won't require messing with any belts.
The most interesting thing might be the belt tensioners. Each of those parts is itself a 3D printed object. Especially on the Makerbot printers and any others with RepRap or other DIY roots, the ability to replace or refine the printer's own parts offers a lot of potential. However many consumers will appreciate that capability is another question.
I also have a feeling that today was the easy part, and the real challenge will come when it's time to calibrate everything. That's still a few steps away.
We'll have at least two more posts tracking our progress. If you have a suggestion (or better yet an STL file) for an object we can use for a test print, please let us know.
Check out our day two post here.