Upload a Photo Sphere to Google Maps using Android Jelly Bean
Android 4.2 users can upload their Photo Sphere photos to Google Maps; here's how.


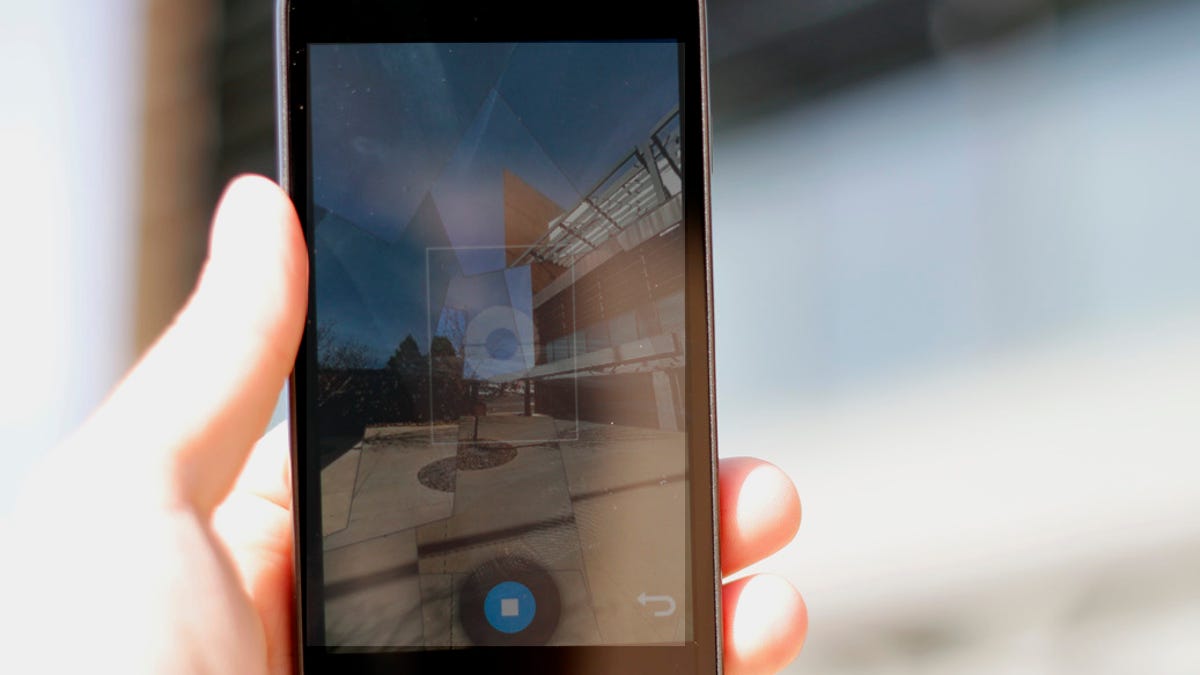
Android 4.2 Jelly Bean includes a new camera feature called Photo Sphere. With the feature, users can take 360-degree panoramic photos in just a few minutes. Creating a sphere is easy: launch the camera app and select the Photo Sphere icon. Your Android device will show you where to point the camera, you hold still for a few seconds and then you move on to the next mark, or dot. It essentially translates into a game of connect the dots, where a photo is taken at each dot. Once you're done, your phone will stitch the photos together creating a Photo Sphere.
Looking at these panoramic photos on your device is just as easy, and so is sharing them, but in order to get the most out of the spheres, Google allows users to upload them to Google Maps. Uploading to Google Maps takes just a few minutes of your time and is a great way to publicly show off your camera work.
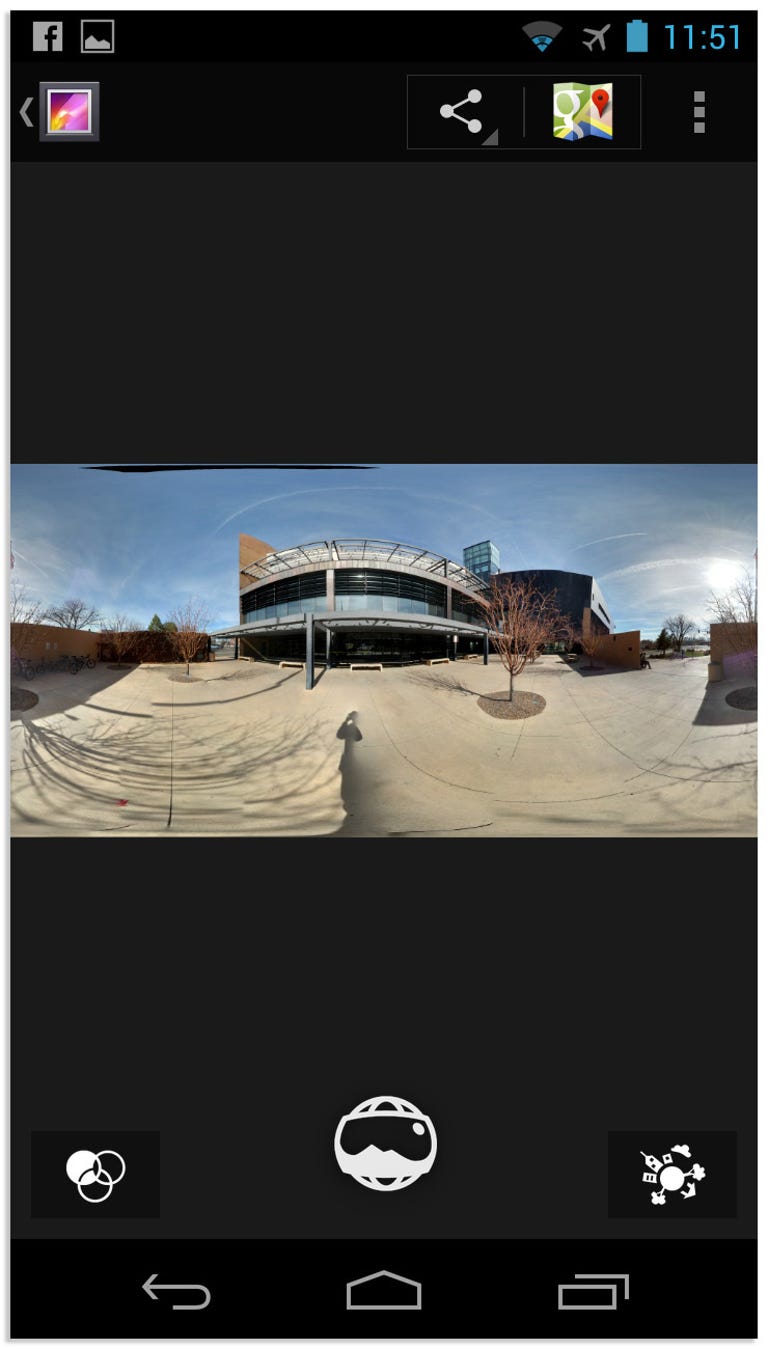
- After taking a Photo Sphere and letting your Android device stitch it all together, you can view it in your Gallery. When you tap the Sharing icon, you'll notice there's a Google Maps option. Tap on it.
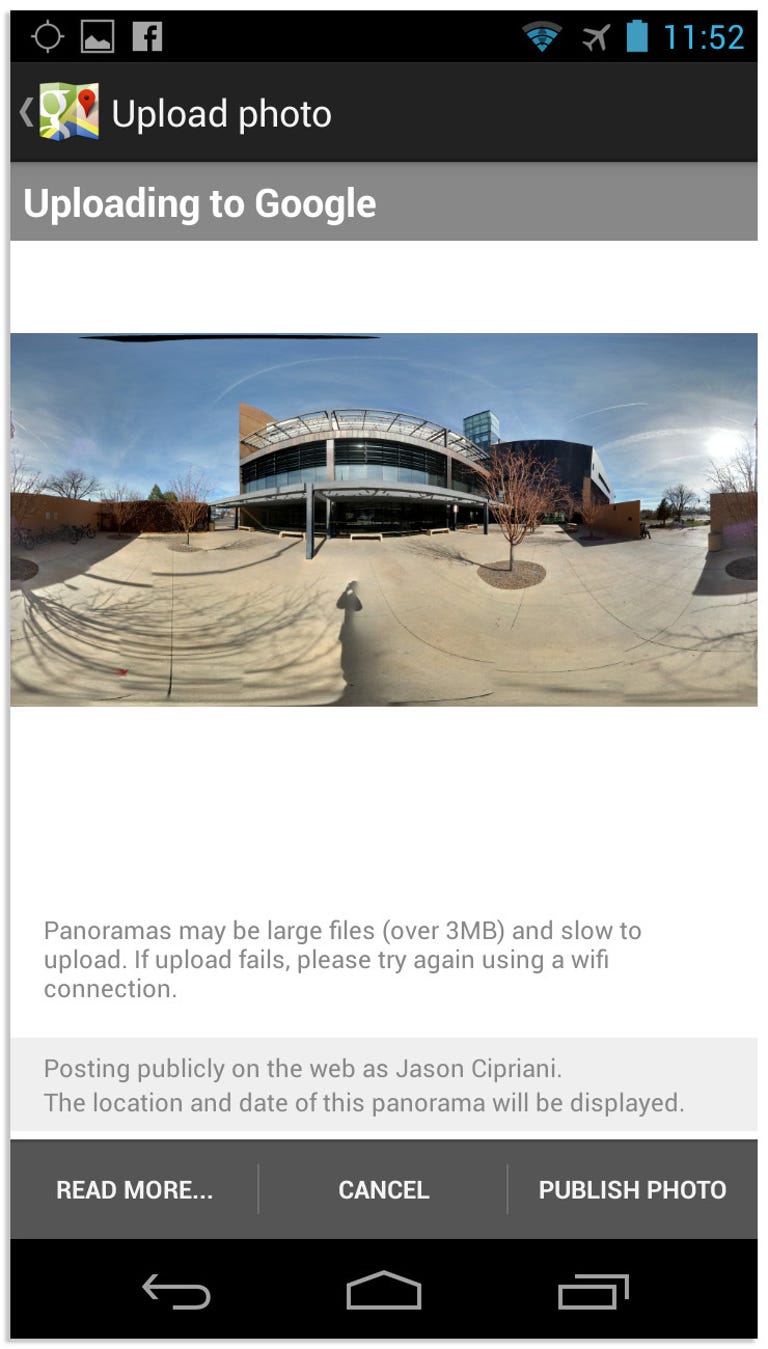
- Google Maps will then launch on your device, and a few seconds later you'll see the upload screen. Tap on Publish Photo and the upload process will begin. After the upload has finished, you'll be taken back to your Gallery.
Don't expect to be able to open Google Maps and view your photo right away. Each sphere has to be approved, which takes some time. When your first panorama is approved, you will receive an e-mail informing you of that. The e-mail will include a link to the panorama photo on Google Maps, along with a link to your account for you to view all of your uploaded photos.
If you'd like to read more about how your photo can -- and will -- be used by Google, select the Read More button on the upload screen. One important bit of information you'll want to know is that your photos, including your name and the GPS coordinates of the photo, will be public. You can remove any uploaded photos by deleting them from your Google+ account (which is required in order to upload).