Twitch streaming from your PC guide: Making yourself heard
How to test your stream's audio before you go live.


There are two things your Twitch viewers want to hear from your stream: Your voice (obviously) and the music and sound effects from the game you're playing. But because games output different sound profiles and sometimes you forget to turn your mic on, figuring out what you sound like to viewers can be tricky.
Here's how to set up your audio devices and test your stream's sound before you go live.
Step 1: Set up your audio device(s)
If you have multiple speakers, headphones, or microphones hooked up to your computer, it's best to set the devices you're going to be using as default before you start streaming. You can choose which audio devices you want to use for your stream in Open Broadcaster Software, but you may run into issues if those devices are not your default devices.
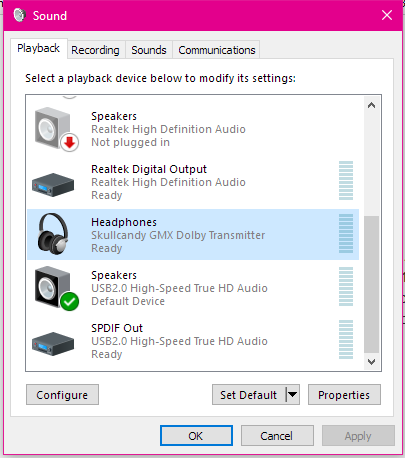
To set default audio devices, right-click on the volume logo in your System Tray. Choose Playback devices from the pop-up menu. This will open the Sound window. Under the Playback tab, find the speakers or headphones you want to use as your default playback device, select it, and click Set Default.
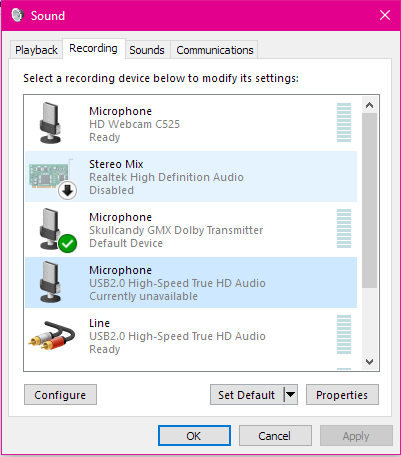
Next, click the Recording tab in the Sound window. Find the microphone you want to set as your default recording device, select it, and click Set Default. Click OK to close the Sound window.
Step 2: Adjust your audio settings
Once your defaults are set, open up Open Broadcaster Software and click Settings > Audio. Here, you can choose your Desktop Audio Device and your Microphone/Auxiliary Audio Device -- both of these should be set to Default. Click OK to exit the Setting menu.
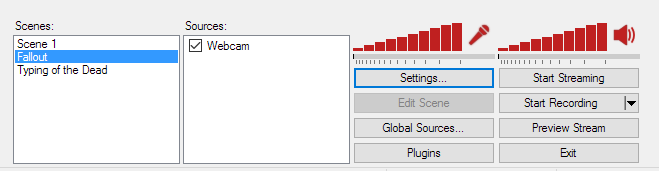
On the main OBS screen, you'll see two volume sliders -- one next to a microphone, and one next to a speaker. These sliders will control the volume of your voice (microphone) and your desktop/game audio (speaker). To start out with, put both these sliders at the same level.
Step 3: Test your settings
Every game is different, so you'll want to test your audio levels before each session. The easiest way to test your settings pre-stream (without asking a friend to log in and sound-check you) is to record a preview of your stream and play it back before you go live.
To do this, simply click Start Recording in OBS, run your game, and talk into the microphone for a few minutes. When you feel like you have enough material, click Stop Recording.
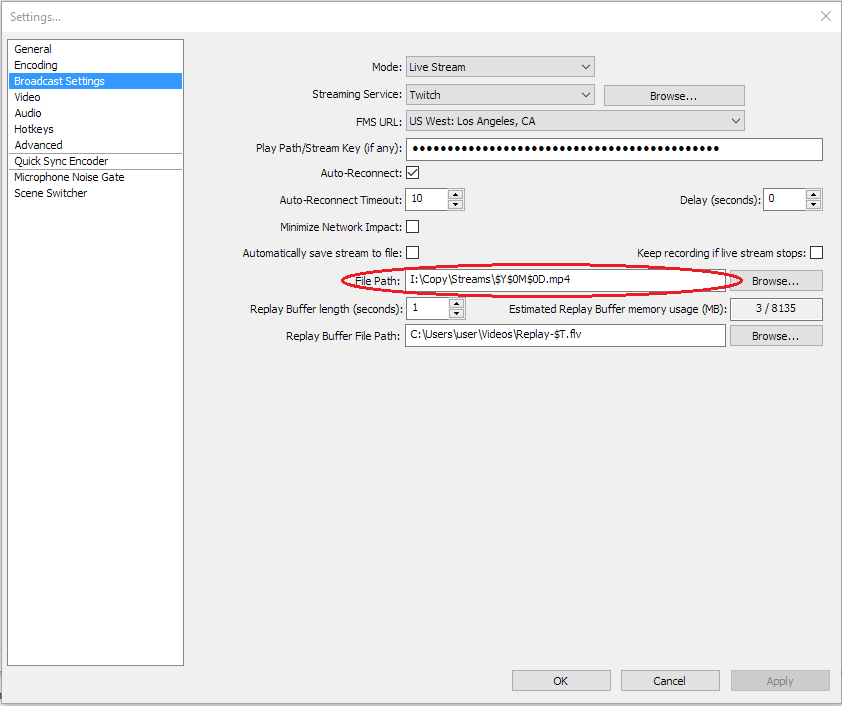
Find your recording and play it back. If you're not sure where your recording is, go to Settings > Broadcast Settings and look under File Path. This is the address to the folder where all your recorded sessions will be saved. You can change this address by clicking Browse...
If your stream sounds good, that's awesome -- you're good to go. If you can only hear the game's audio and not your voice (or vice-versa), tweak the volume sliders from step 2 and repeat the test.