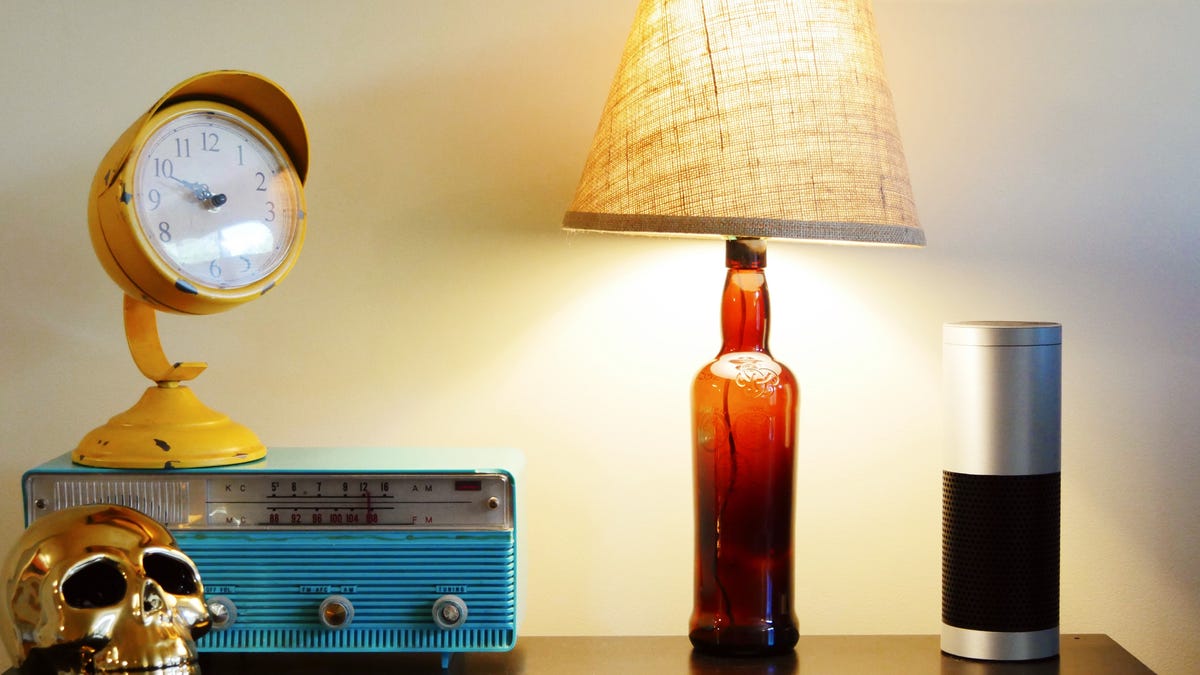
Turn an old liquor bottle into a lamp in 10 minutes
If you have a hard time throwing away empty bottles of expensive wines or liquors, put the bottles to good use by converting them into lamps on the cheap.


Maybe you splurged on an expensive bottle of wine, somehow got your hands on a bottle of Pappy Van Winkle or stumbled upon a very unique liquor bottle at an antique store. A great way to commemorate the experience or showcase an unusual bottle is by turning it into a piece of decor.
One of the easiest ways to do this with a wine or liquor bottle is by turning it into a lamp. Here's how it's done.
What you'll need
Converting any old bottle into a lamp is surprisingly easy.
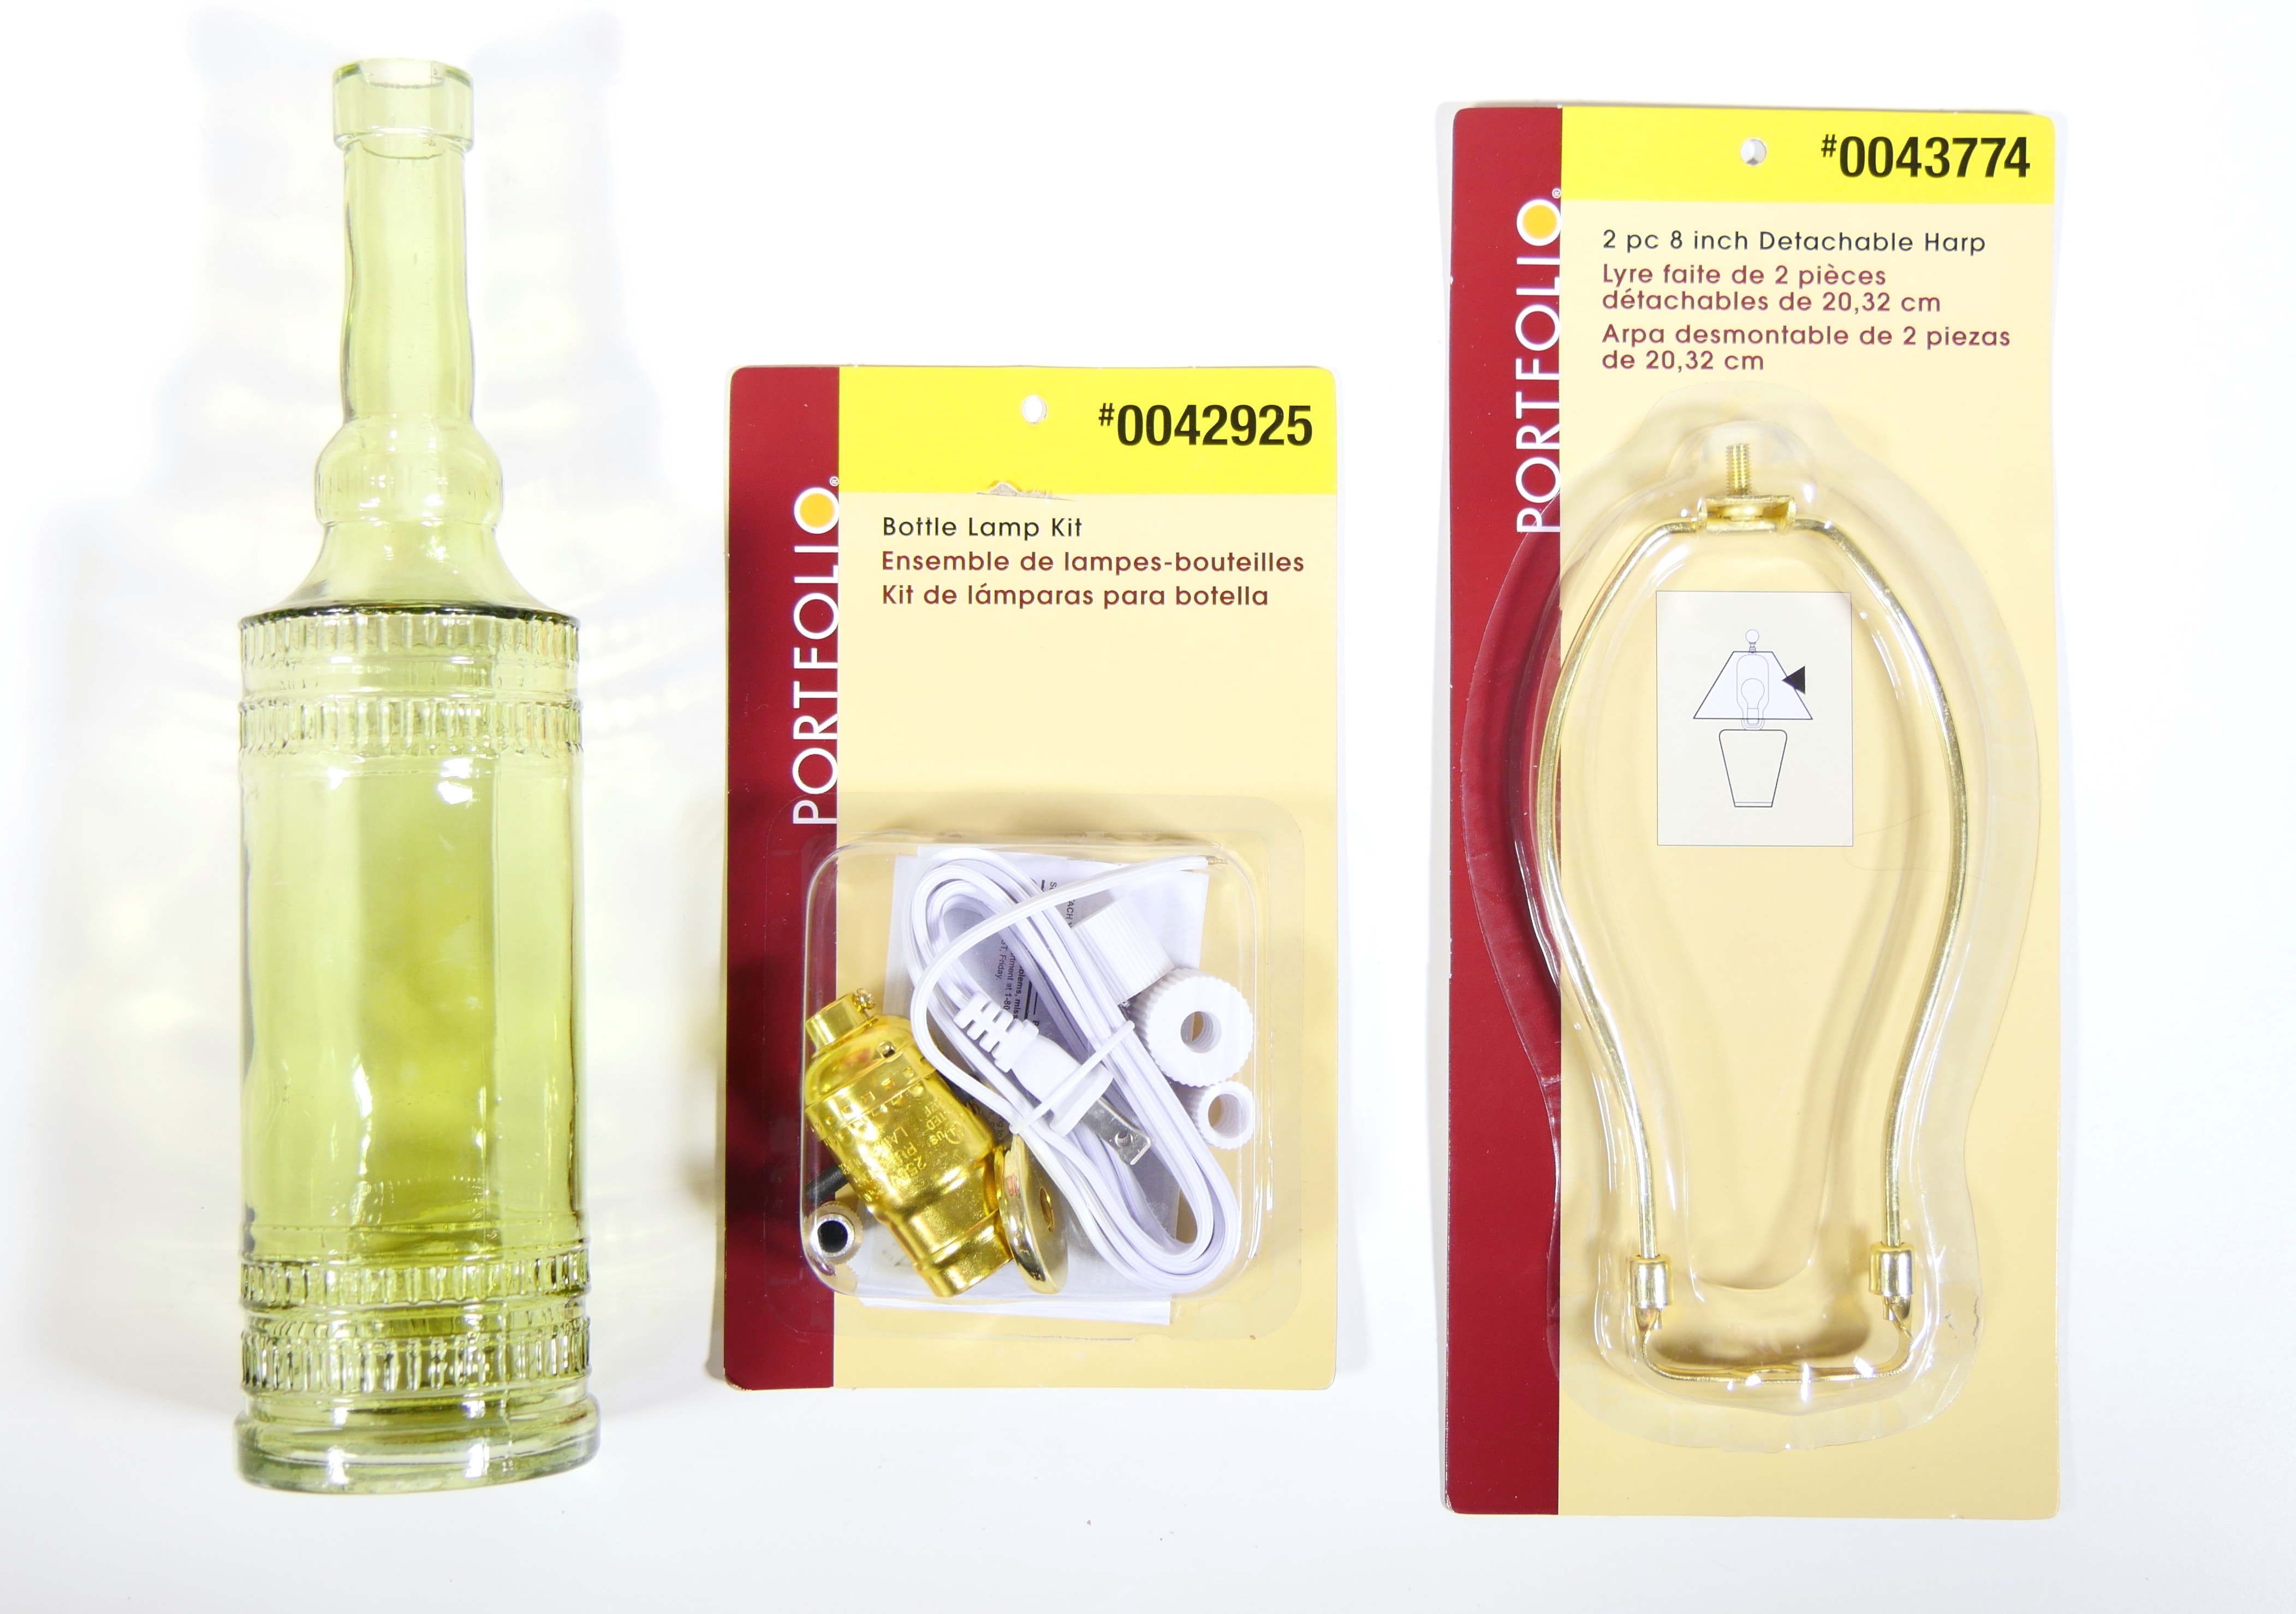
To start with, you will only need four items: an empty bottle that looks cool or holds some sort of meaning or value, a bottle lamp kit, a shade and a light bulb. You can find the bottle lamp kit at most hardware stores for around $12 (directly converted, about £8, AU$17) and it will include almost everything you'll need for the conversion. If the lamp shade you have requires a harp, you can also find a harp kit for as little as $4 (about £3, AU$6) at your local hardware store, as well.
The tools you will need are a Phillips head screw driver, scissors or a knife, pliers and possibly some wire strippers. I also ended up needing some electrical tape. Duct tape could also work, but if you take your time with electrical, the end product will look a little better.
Turn any old bottle into a lamp
Despite being sold as a bottle lamp kit, meant to help you turn a bottle into a lamp, most kits I found don't accommodate the standard bottle opening for wine or liquor bottles. So you may need to do a little additional work to get one of the adapters to fit your bottle.
All the corked bottles I have on hand measure 0.75 inches (1.9cm) across the inside diameter of the bottle opening. The kit came with three different adapter sizes -- 5/8, 11/16 or 1-inch (1.6, 1.7, 2.5cm) -- none of which fit.

You want the adapter to fit snugly in the neck of the bottle. If none of the adapters fit your bottle, choose the adapter that is slightly smaller than the opening of your bottle's neck. Take the electrical tape and neatly wrap it around the outside of the adapter until the fit is very tight.
Thread the included screw down into the adapter you modified with electrical tape until there is approximately 0.25 inches (0.64cm) of the screw sticking out of the bottom of the adapter. You will likely need a pair of pliers to help thread the screw all the way through. Place a dish rag over the screw to protect the threads, grip the screw with the pliers and use your hand to twist the adapter over the screw.

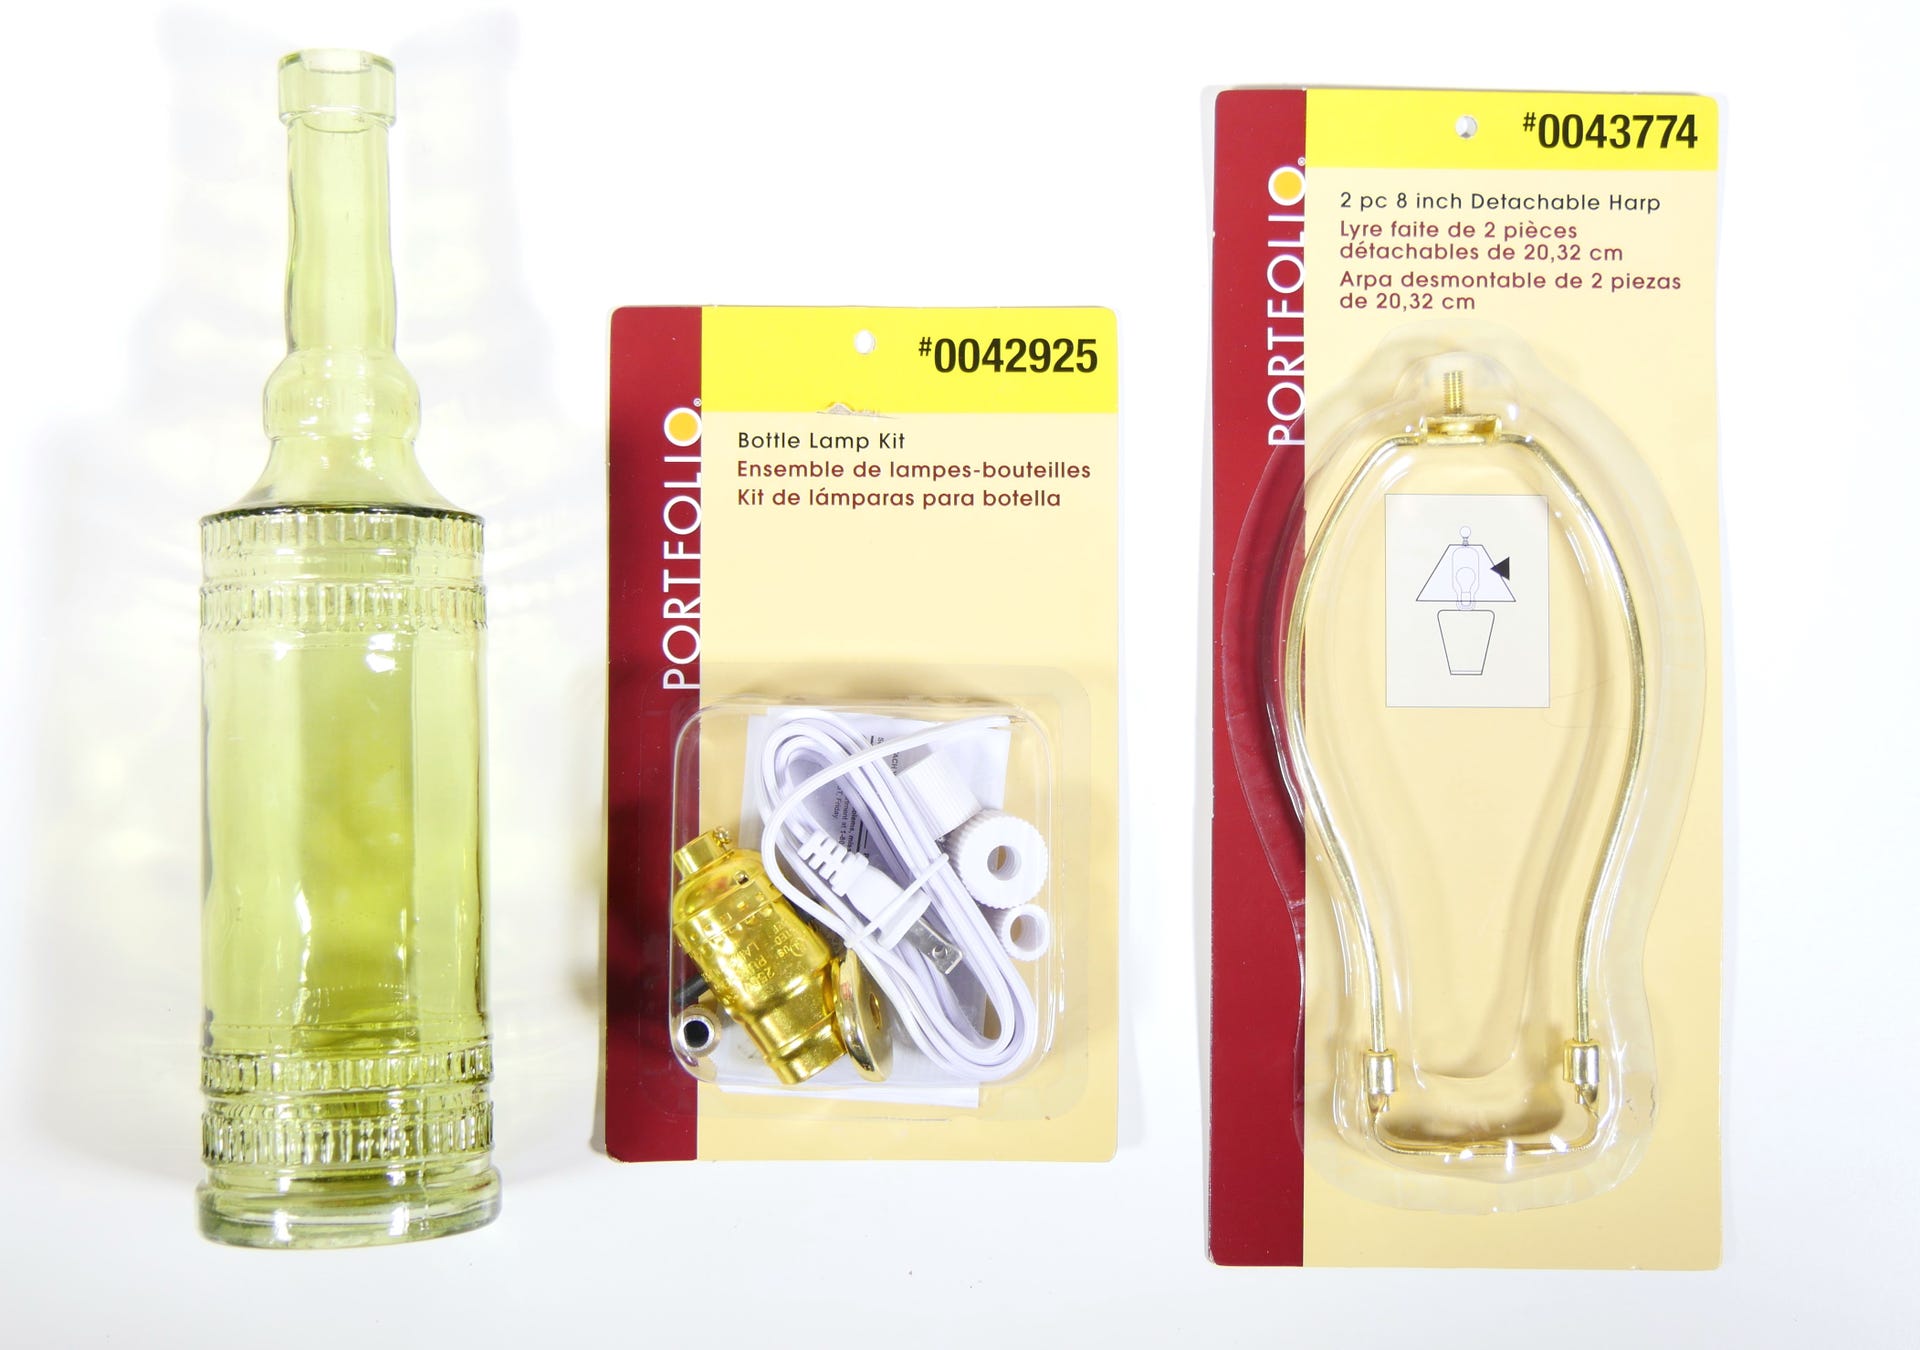
After threading the screw into the adapter, work the adapter down into the bottle neck, making sure the side with the nut is on the top. Once the adapter is fully inserted into the neck of the bottle, place the included ring on the screw. The ring is purely for aesthetics, to cover the adapter and make the finished product look more polished.
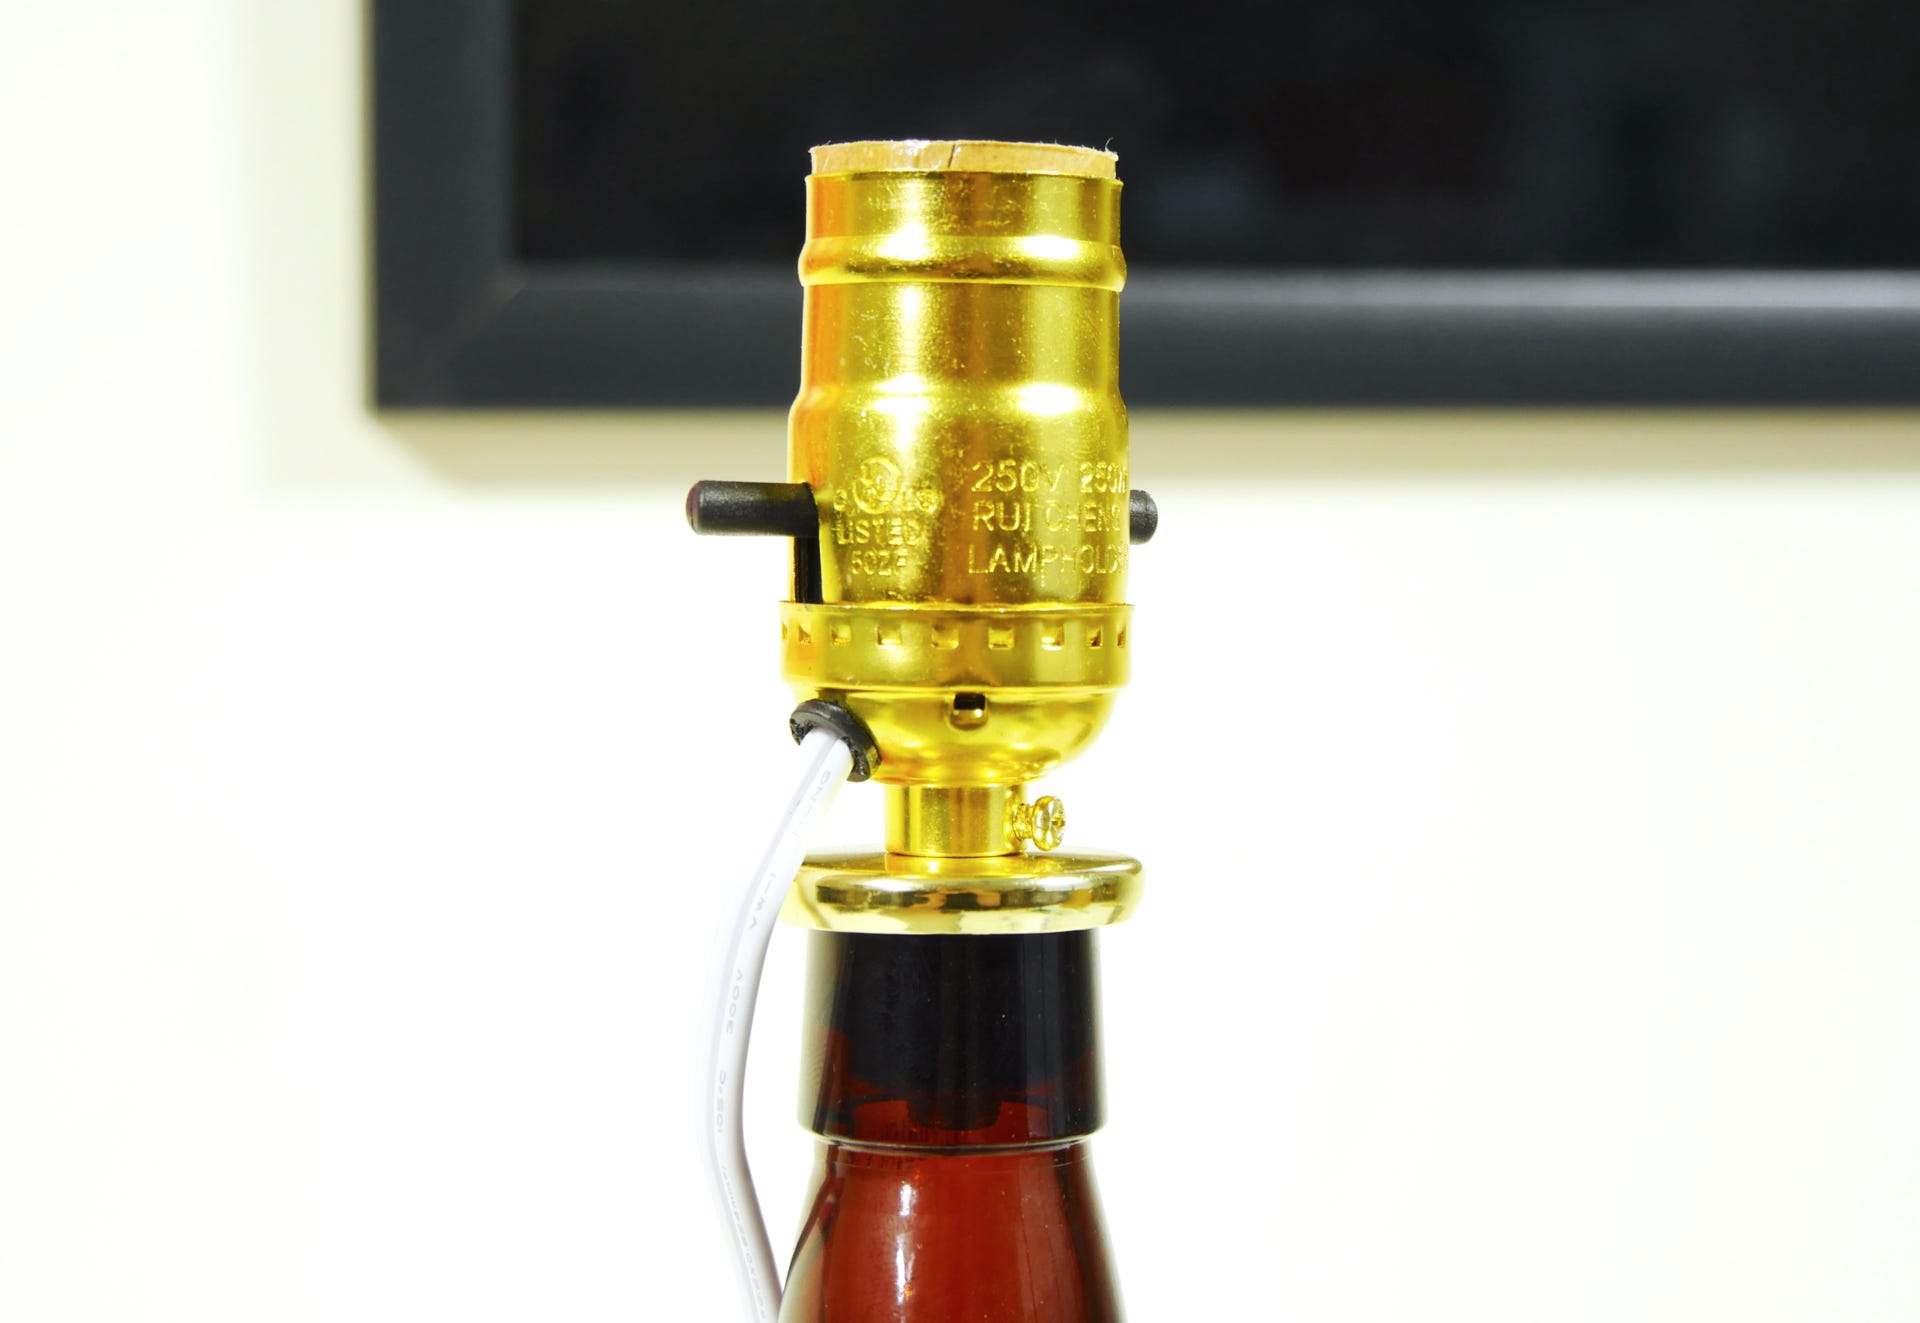
The socket for the light bulb comes in three separate parts. The base, which mounts onto the screw you have now inserted into the bottle neck; the socket with the power switch; and the power cord.
You will need to attach the power cord to the socket. Do this by threading the loose ends of the cord through the black plastic channel on the base of the socket. Pull approximately 2 inches (5.1cm) of the power cord through the channel and tie an overhand knot with the cord to keep it from sliding out of the socket. Gently pull the two leads at the end of the cord apart. Your documentation will note which of the two leads are neutral and positive.
Use a Phillips head screwdriver to loosen the neutral terminal, place the exposed wire of the neutral wire under the head of the screw and tighten the screw onto the wire. (In my case, the neutral terminal was a silver screw and the neutral wire was ribbed.) Repeat this step for the positive terminal and lead which, in my case was the brass screw and smooth wire.

Once you have the wires properly connected to the socket, slide the top part of the socket down onto the base until you hear a click. Screw the base of the socket onto the adapter in the bottle, and use the locking screw to hold the entire socket assembly in place.
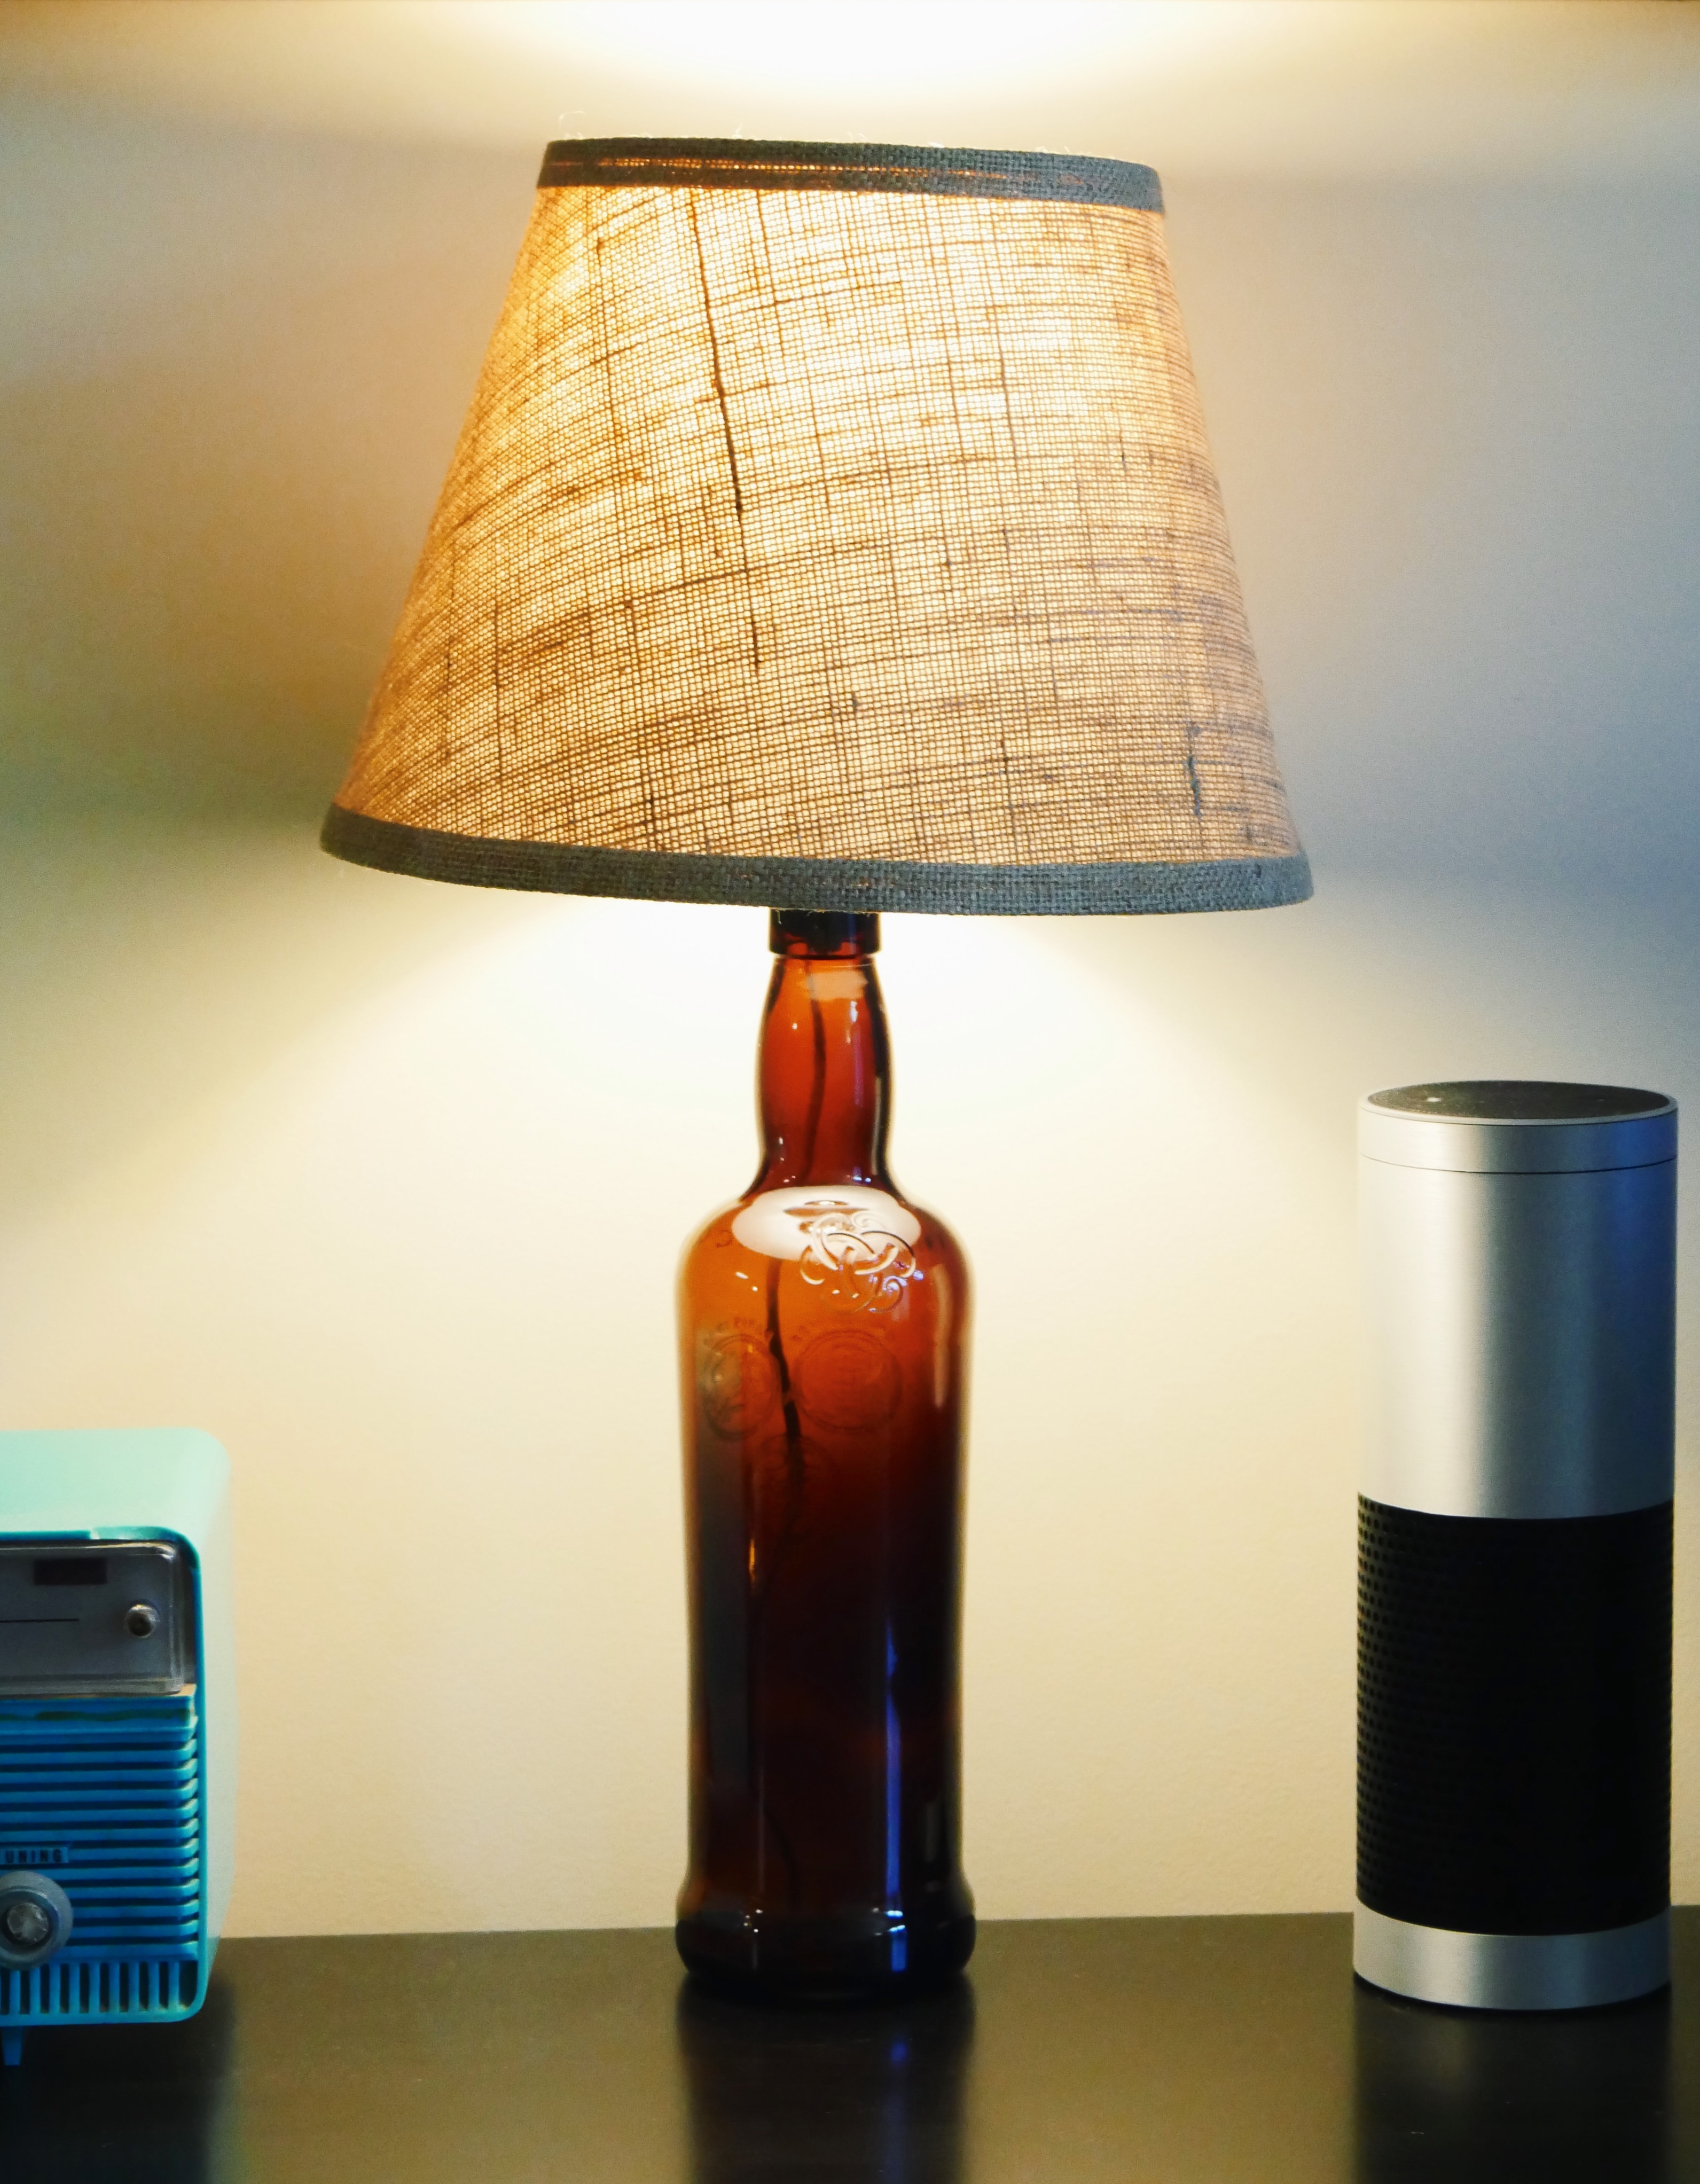
Finally, place the lamp shade on top of the socket and screw in a light bulb. Flip on the power switch and the lamp should turn on.
In total, I spent about $22 (£15, AU$30) on this project. You can typically find a cheap lamp for less money, but if you're looking to decorate with a bottle that has meaning or looks really neat, $22 and a few minutes of your time is a pretty small investment for a unique and functional piece of decor.