7 tips for podcasting on the cheap
Ready to dip your toe -- er, voice -- into the wonderful world of podcasting? You can do it for next to nothing. Here's how.


Just as anyone with a keyboard and an opinion can start a blog, anyone with a voice can start a podcast. Ideally it should be a nice voice with something original to say, but that's up to you to work out.
One big question facing novice podcasters is how to get started -- or, more accurately, how much to get started. Surely you need a fancy microphone, a mixing board, a soundproof studio and several audio engineers?
Nope. You do need a microphone, but beyond that you might be surprised how little gear -- and expense -- is required to start a podcast.
I should know: I started two this year. Battlestar Recaptica is an episodic recap of the criminally underappreciated TV series "Battlestar Galactica" (the one that ran 2005-2008); Challenge of the Week gives you small but achievable goals on your way to becoming a more awesome person.
It cost me less than $100 to launch both, though I could have spent $0. Let's take a look at some dirt-cheap podcasting tools and, where applicable, their totally free alternatives.
1. Microphone
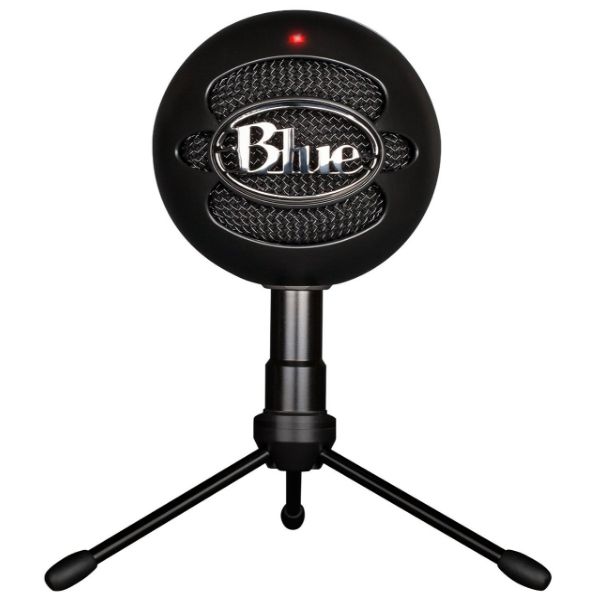
The Snowball Ice, a great starter microphone for under $50.
There's one thing standing between your mouth and your listeners' ears, and that's a microphone. Consequently, you want the best microphone you can get.
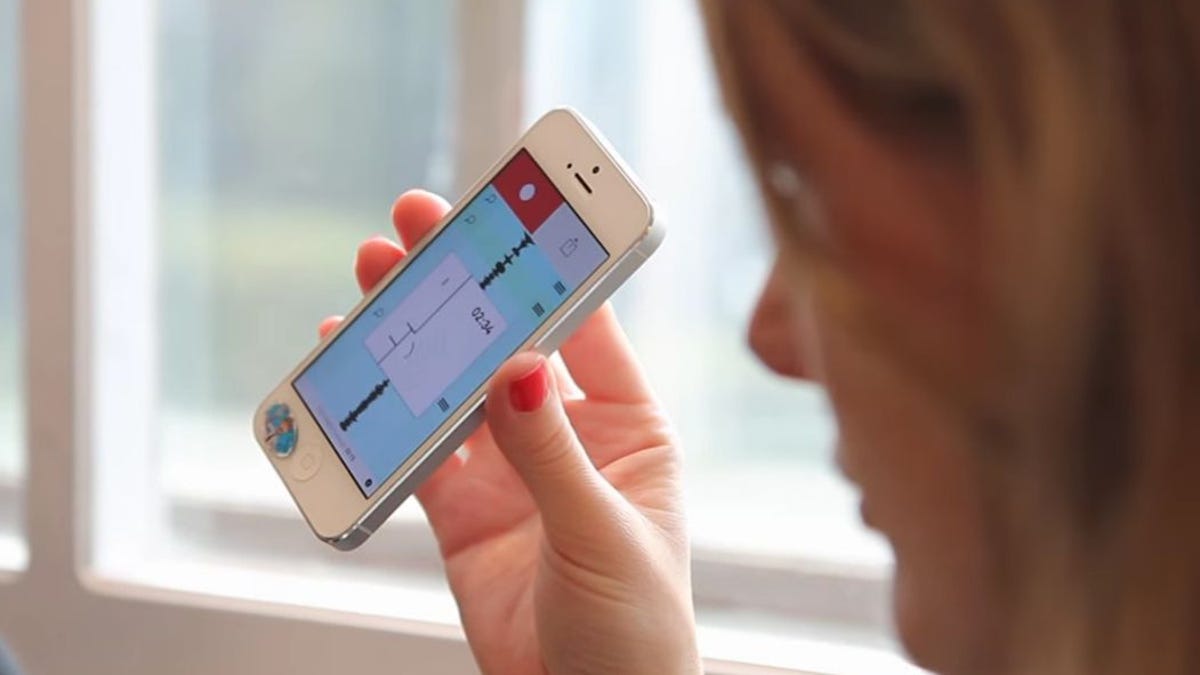
That said, you can capture pretty solid audio using little more than your smartphone and the headset (i.e., earphones with inline microphone that came with it). Just make sure you're not moving around, so it doesn't brush against your body while you're recording.
Or perhaps you have a gaming headset lying around. My advice: Start by using whatever microphone you currently have, then see if the audio quality satisfies your needs. Even if the mic itself is mediocre, you can achieve decent results by recording in a quiet place (see below) and adding some mastering finishing touches (see further below).
I don't advise using the microphone built into your laptop, because it'll pick up way too much ambient noise. The same is true for the microphone built into your phone, though at least you can hold that closer to your mouth for louder, clearer recording. If you go the smartphone route, at least use the aforementioned headset or an inexpensive wired lapel mic.
If you're planning to sit at a desk or table, it's probably worth investing in a desktop microphone. I like the Blue Microphones Snowball Ice, which runs about $40-$50. It plugs into a USB port and comes with a stand. It's a cardioid mic, meaning it's designed to capture the sound directly in front of it (i.e., your voice) and filter out surrounding sounds. Planning a lot of face-to-face interviews? Opt for a microphone that offers multiple audio patterns, including bi- and omnidirectional. Blue Microphone's Yeti is a top-rated and popular choice; it sells online for $90-$110.
2. Soundproofing
A fancy microphone won't do you much good if you can't find a quiet place to record. Indeed, even the most secluded corner of your house might not prove immune to ambient noise: the AC kicking on, neighborhood dogs barking, the sound of kids playing in another room.
An even bigger issue: echo. I tried four different rooms, and the resulting audio always suffered from mild to moderate echo. Anecdotally, I've heard of people recording from inside a closet, where hanging clothes do a great job of soundproofing, but it's a little challenging to get Wi-Fi (or, even better, Ethernet) in a closet. (Plus, there's also the risk of getting locked in, as described in this great story at the top of a This American Life episode.)
Here's what I did: In a corner of my basement, I hung blankets on the three surrounding walls, then positioned myself facing those walls. The result was a vast improvement in sound quality. Did the decor suffer? Of course, but such is the price of art. Total actual cost: $0.
3. Calls and call recording

In an ideal world, you and all your podcast co-hosts and guests would be in the same room around the same microphone. But that's not always an option, which is why you need a way to remotely connect with and record other people.
The connection part is pretty easy thanks to Skype. Microsoft's voice-over-IP software works on Windows, Mac, iOS and Android, and calls between Skype users (even globally) are free. You just need to be sure you have the fastest possible Internet connection, so if you're using a laptop, plug it directly into your router (via Ethernet cable) instead of relying on Wi-Fi. In my experience, Skype gets a little garbled at times, even under the best circumstances.
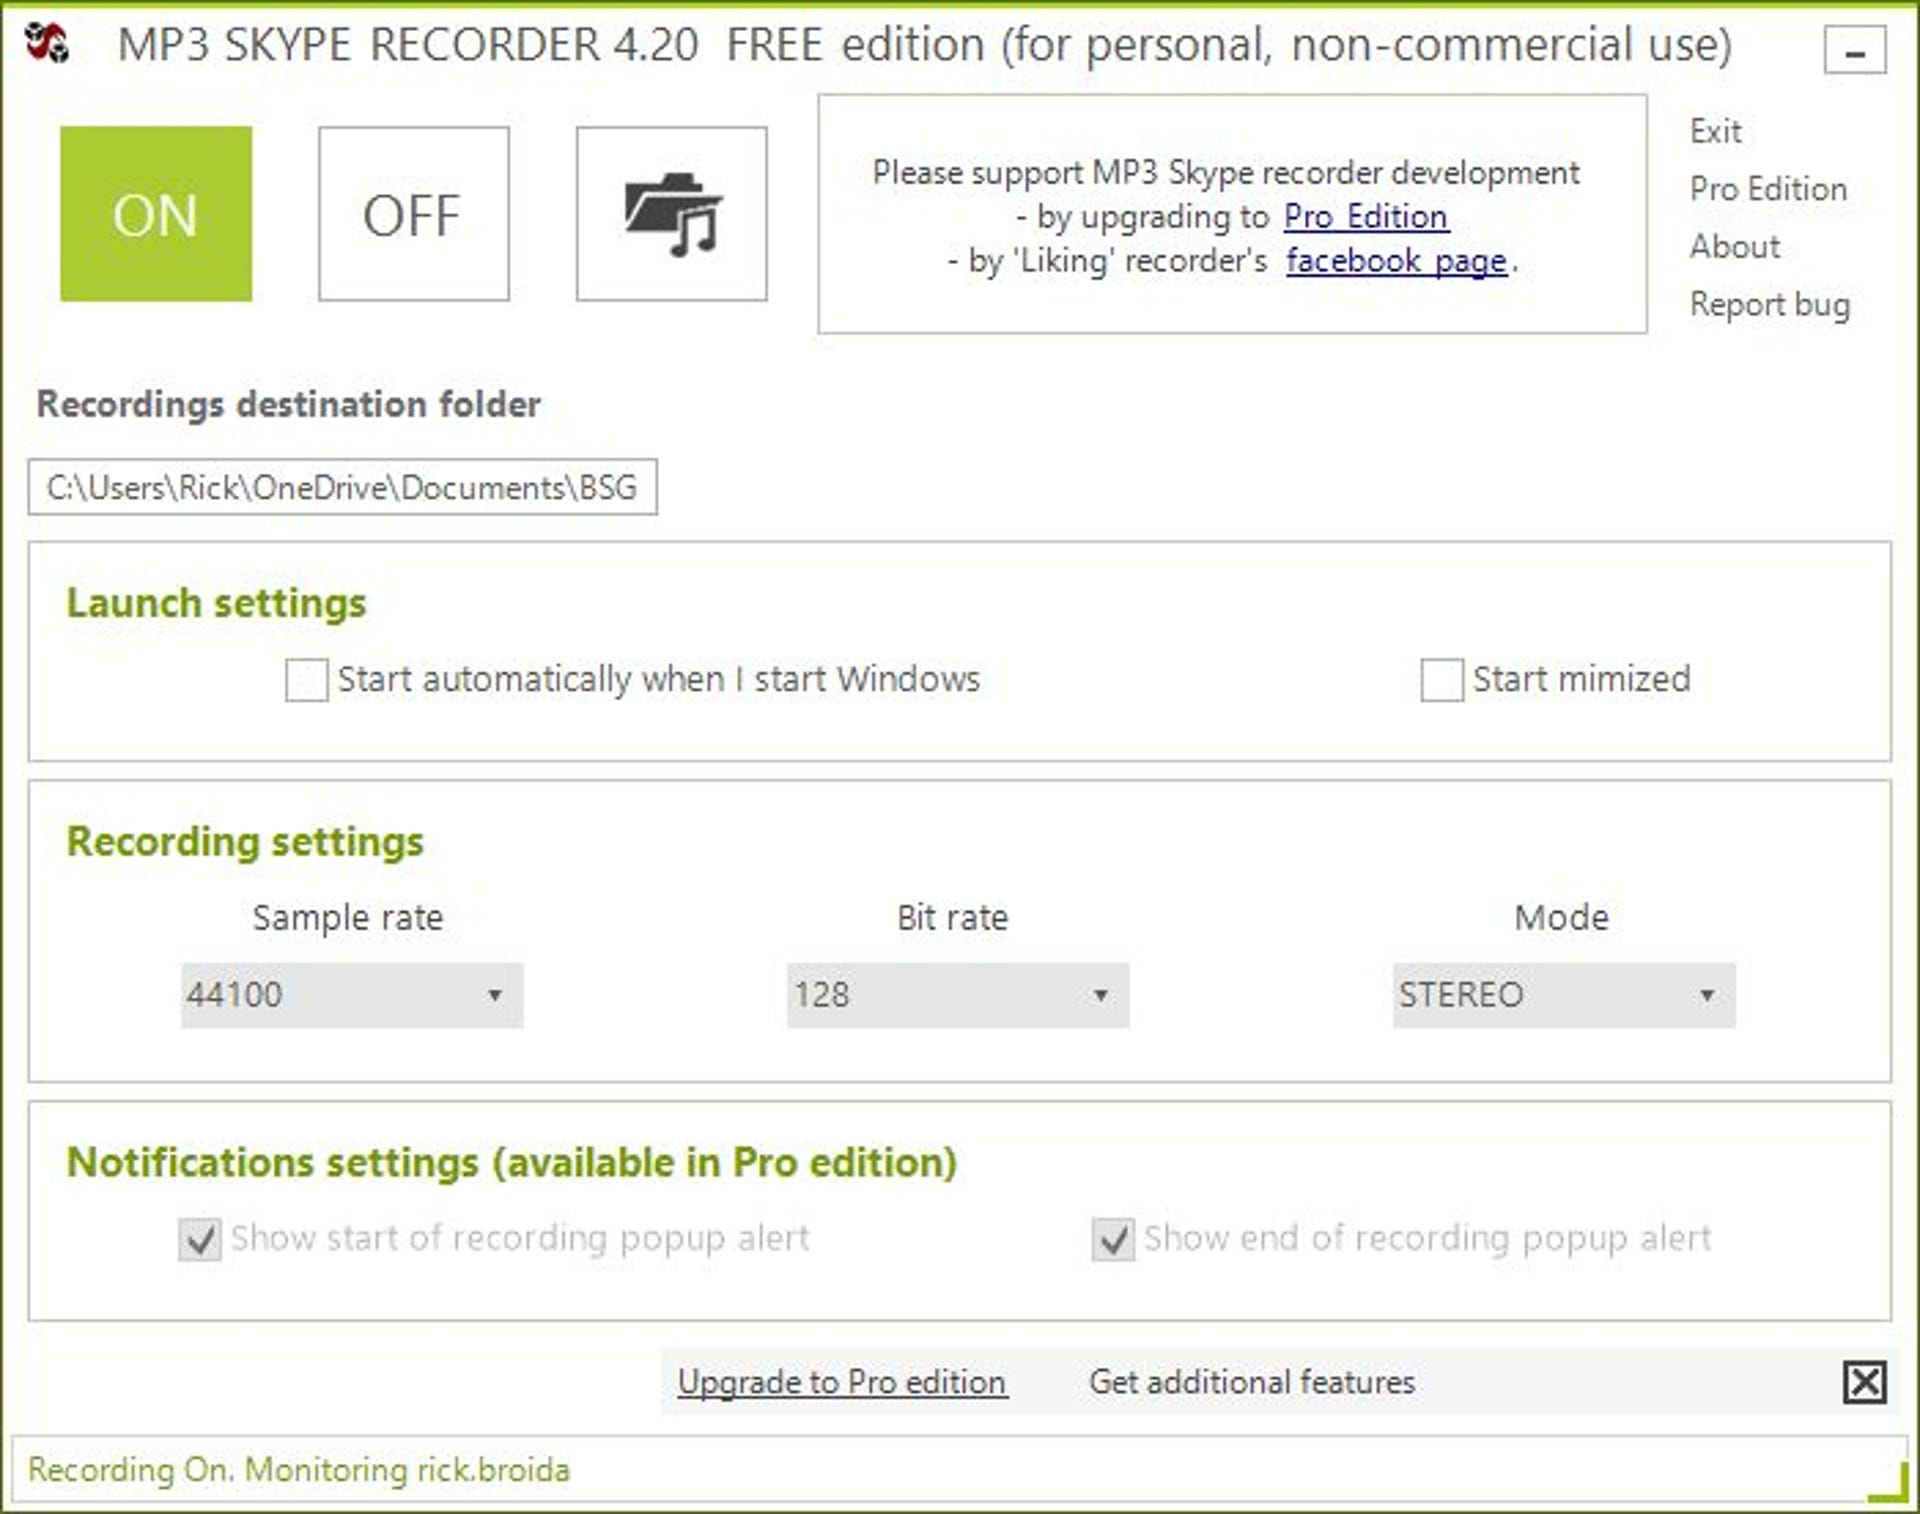
To record your calls, I recommend MP3 Skype Recorder. It's free for personal use, or about $10 if you have pro intentions for your podcast. The resulting audio file is separated into two channels, which makes for much easier editing.
4. Editing
Once you've recorded your show, you'll need to edit it. And when it comes to free audio-editing software, there are few options better than Audacity. This open-source editor is available for Windows, Mac and Linux, and it can easily handle basic editing.
It's not the easiest program to learn, however, so you may want to spend some time with the Audacity manuals and tutorials. But my podcasting partner has been using the program to edit all our shows (including adding music fade-ins and -outs), and the results have been superb.
5. Mastering
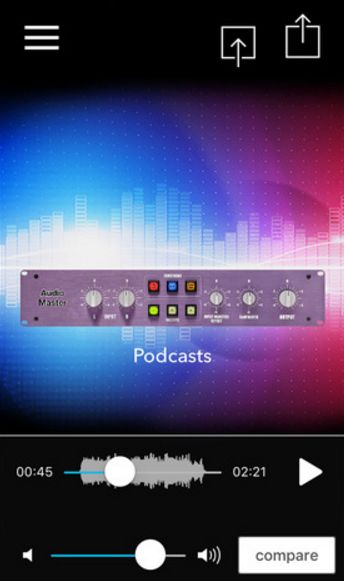

AudioMaster for iOS promises to give your podcast an aural spit-shine.
It's one thing to have an MP3 or similar audio file that's edited, and another to have a file that's "mastered" -- meaning enhanced and ready for distribution.
Future Moments' AudioMaster is an iOS app designed to "boost the volume and overall mix of any audio file," and while it was designed primarily with musicians in mind, it also has a "podcasts" setting. Just import your file, let the app do its thing, then export it for publishing.
AudioMaster gives you one free trial; you can unlock unlimited mastering for just $4.99. I haven't found an equivalent app for Android, but there's a Web service called Auphonic that performs algorithmic audio improvements (leveling, noise and hiss reduction, etc.). It'll do two hours' worth of this post-production per month for free; a subscription costs $11 monthly and includes up to 100 hours.
6. Artwork
If you're old enough to remember album covers, you'll understand me when I say your podcast needs an "album cover" -- by which I mean a bit of thumbnail artwork that'll appear alongside it in iTunes and/or other podcast hubs.
If you're an artistic type, by all means do your thing and create something cool. If you're not, you can use any number of free tools (Paint for Windows, Keynote for Mac, Pixlr on the Web) to create your cover art. Doesn't have to be fancy, just has to be clean and readable.
iTunes requires an image that's at least 1,400 by 1,400 pixels, but you'll want to zoom way out of your finished design to make sure it still looks good (because iTunes and other podcast sites display artwork much smaller).
Want examples of what works? See what others have created on iTunes and elsewhere.
7. Publishing
Ready to share your podcast with the world? You need a place that can host your recordings and, ideally, supply an RSS feed for the likes of iTunes.

Archive.org will host your podcast for free.
Look no further than Archive.org, which is already home to zillions of podcasts. It provides free hosting and the aforementioned RSS feed.
My podcasting partner and I went with Podbean, which charges $3-$9 per month depending on the plan you choose. Among other things, it gives you a website for your podcast, a player that can be embedded on other sites and stats so you can see how your podcast is performing.
Do you know of any other tips for podcasting on the cheap? Make your voice heard -- in the comments section, of course.