 Why You Can Trust CNET
 So you're setting up an external hard drive. Formatting facts for Windows and Mac
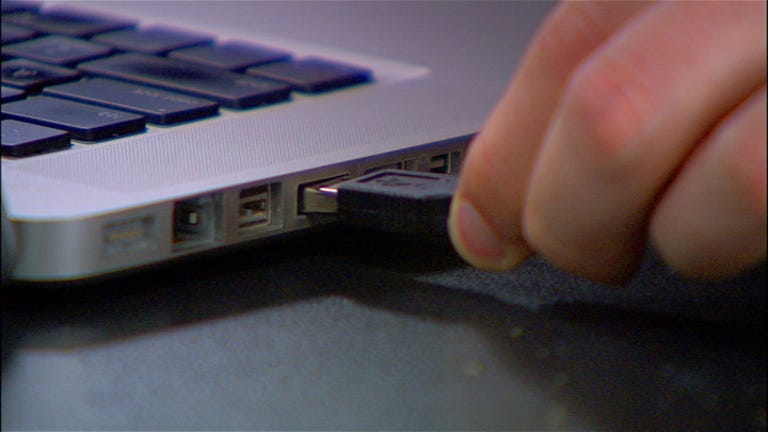
Mounting an external hard drive isn't as simple as plugging it in. We'll walk you through some decisions you need to make.


What you need to know about using an external drive on Mac or Windows.
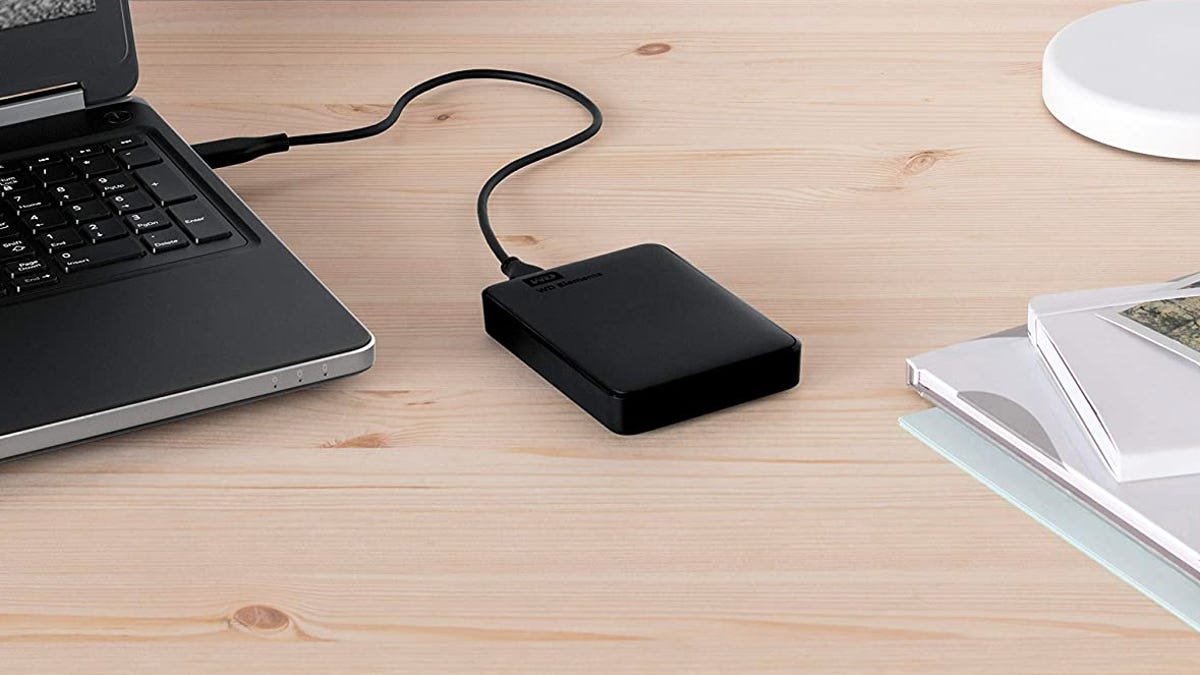
Formatting an external drive forces you to make some important decisions that will affect how and where you can use the drive, including whether it'll work on a PC, Mac or both. Manufacturers often advertise that their external drives are compatible with both operating systems out of the box, and for the most part, that's accurate. However, it's more nuanced than that.
For example, if you're going to use an external drive to back up your PC, you'll want to make sure it uses NTFS formatting. Or if you want to back up your Mac, you're going to want that drive formatted in either HFS+ or AFPS, depending on which version of MacOS you're using.
See? It can get confusing and complicated fast. Don't fret, though. Below I'll break down the different formats, and explain their place in the grand scheme of external drives.
What are the different format types?
The file format standard you use for your external drive will depend on how you plan on using the drive. But before I can dig into what makes sense when, look over this quick rundown of the different standards and which OS each one is compatible with.
exFAT (Extensible FIle Allocation Table)
- Natively read/write exFAT on Windows and MacOS
NTFS (Windows NT File System)
- Natively read/write NTFS on Windows.
- Full NTFS support on Mac requires paid third-party app
HFS+ (Hierarchical File System, aka Mac OS Extended)
- Natively read/write HFS+ on MacOS up to Mac OS X Sierra
- Required for local Time Machine backups
APFS (Hierarchical File System, aka Mac OS Extended)
- Natively read/write HFS+ on MacOS High Sierra and newer
- Required for local Time Machine backups
It comes down to which OS are you going to use the drive with?
So isn't exFAT the obvious solution?
According to the list above, formatting your hard drive to exFAT so that you can read and write on either a PC or Mac seems like the obvious solution. And if that's how you plan on using your drive, then you're right -- exFAT is the way to go. However, if you plan on only using a drive on your Mac and it has MacOS High Sierra or newer installed, you'll want to stick to Apple's APFS format. And the same can be said for a Windows HD, if you only plan on connecting it to a PC, then NTFS is the way to go.

Mac or PC? That is the question.
OK, what are my alternatives to using exFAT?
The good news is, it's not exFAT or nothing. The alternative solutions do require more tinkering.
Option 1: Format to NTFS and buy this app for your Mac
If you keep your hard drive's out-of-the-box NTFS format, you'll be able to read the drive when it's connected to a Mac, but you won't be able to write to it. In other words, you can look at files saved on the drive, but you can't save any new files from your Mac. In order to enable read/write access, you'll need to purchase a third-party solution such as Paragon NTFS. It's $20, and is compatible with all Macs, even the more recently announced M1 Macs.
Option 2: Format to APFS and use a different Paragon app
Conversely, you can format the HD to APFS and use Paragon's APFS for Windows to read and write to the Mac-formatted hard drive. The only downside is that it's $50. With it installed, you'll be able to read/write to APFS drives on a Windows PC.
You aren't stuck with your drive formatted for one platform forever.
Option 3: Create two partitions on your hard drive to use with each OS, separately.
This solution is a little different than the previous two because instead of having one hard drive that works with both machines, you're splitting your HD into two sections, each dedicated to a different OS. For example, if you have a 1TB hard drive, 500GB of storage can be used with your Windows computer, and 500 will be dedicated to your Mac computer.
You won't be able to write to the Mac side from your Windows computer, and vice versa, but it's a good solution for people who want all the advantages each format has to offer for its respective system.
To do that, connect the empty external HD to your Mac and launch Disk Utility. Select the drive from the left sidebar, then click the Partition tab. Click the + sign to add a second partition, then drag the lines to adjust the size of each partition. For example, you might want more storage for your Mac than you do for your PC.
Name one partition Windows and change its format to exFAT. Then click the second partition, name it Mac and change its format to APFS. Give your settings a final lookover and click Apply.
Going forward, you should be able to use the drive and its dual partitions on their respective operating systems.
Now that you have your drive formatted based on how you plan to use it, take a few minutes and make sure you're backing up your computer. We have a guide for backing up a Mac, as well as backing up a PC.