Light painting with robot vacuum cleaners
Learn how to create beautiful long exposure photos while cleaning your house using a robot vacuum cleaner.


- Webby Award honoree, 2x Gold Telly Award winner

Robot vacuum cleaners are brilliant minions, selflessly sucking up your dust with nary a complaint. But did you know that you can also use them to create gorgeous light-painting photos?
Light painting is a technique that uses long exposures to create light streaks and trails that actually look like you are painting a scene with light. The beauty of light painting is that it's generally all done in-camera and you can use almost any light source you have -- including the LED lights on top of many robot vacuums.
What you need
- A dSLR
- Tripod
- Remote shutter release
- Robot vacuum cleaner
- Extra LED lights (optional)
Step 1: Set up the scene
The best part about using robot vacuums for light painting is that you can do it in any room in your house. Choose a space without too much ambient light from doors or windows; night time is ideal.
To keep the shutter open for longer than the maximum shutter length (usually around 30 seconds) you will need to use bulb mode on your dSLR. This is either found on the mode dial, or scroll through your slower selectable shutter speeds to find bulb mode.

Bulb mode will give you control over ISO and aperture, while the shutter speed is whatever length you choose. Keep your ISO low, around 100. Set your aperture to a mid-value, somewhere between f/5.6 and f/11 to start with. Focus the image where you desire.
Having a wide-angle lens (or a wide focal length) helps you to capture more of the vacuum's trail around the room.
Set up the vacuum's barriers or guards to make sure it doesn't veer into the tripod during the clean. You may also want to set the cleaner to keep on moving until the battery is nearly depleted if you want to go away and make a cup of tea during the long exposure.
Step 2: Take photos
Now comes the fun part. Turn off the overhead lights, kick back, and enjoy the light show!
Press the shutter button on the remote and lock it into place so you can keep the exposure going until you want it to stop.
Depending on the strength of the built-in lights on the robot cleaner, you may need to adjust the time the shutter stays open.
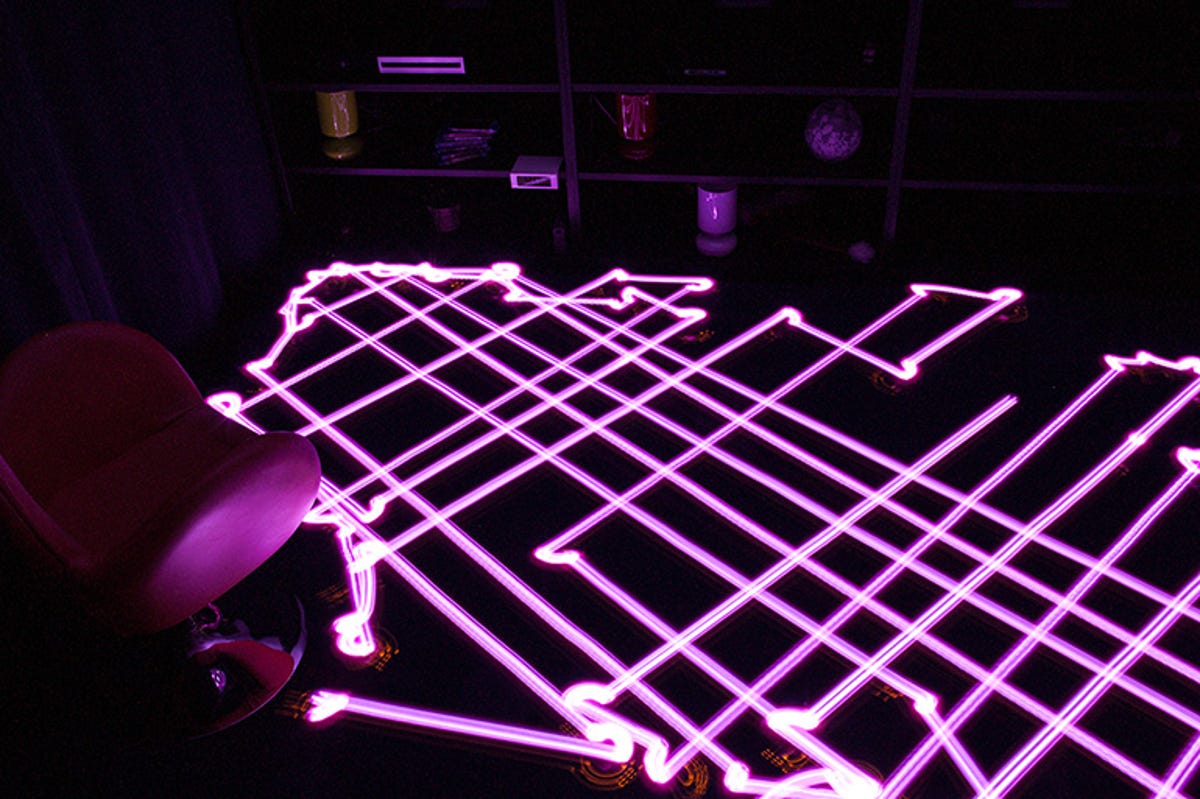
Experiment with different modes, apertures and shutter times for various effects. For example in the photo below I set the Samsung NaviBot to spot clean a particular area and took a 42-second exposure at f/5.6 to capture the trail.

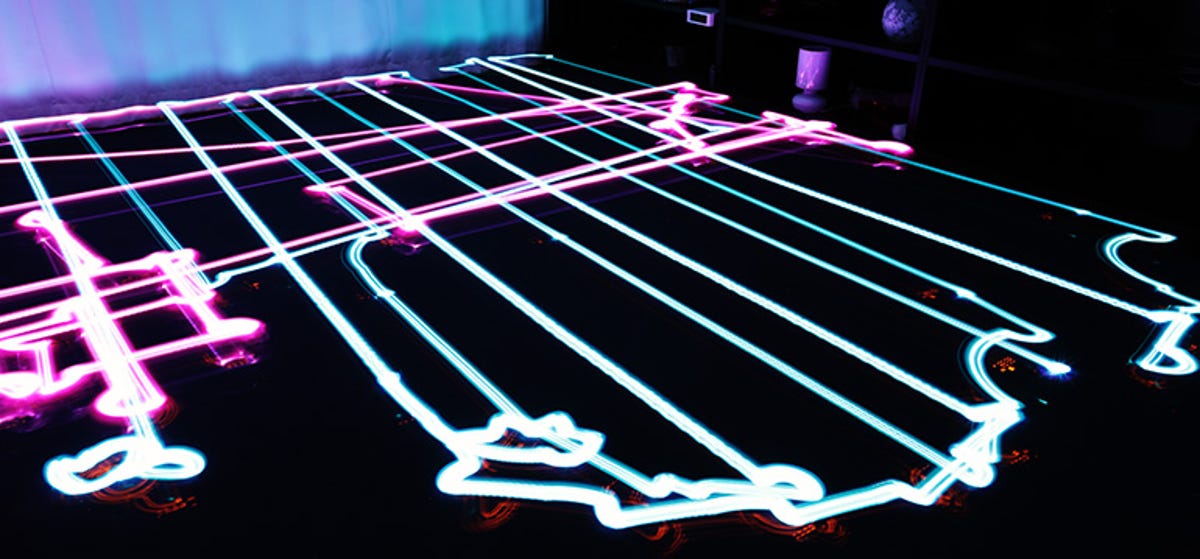
For a little extra fun, if you have access to more than one cleaner, set them both going at the same time to get even more light trails. Alternatively, if you only have one cleaner, you can stack multiple exposures on top of each other in post-processing to create different effects.
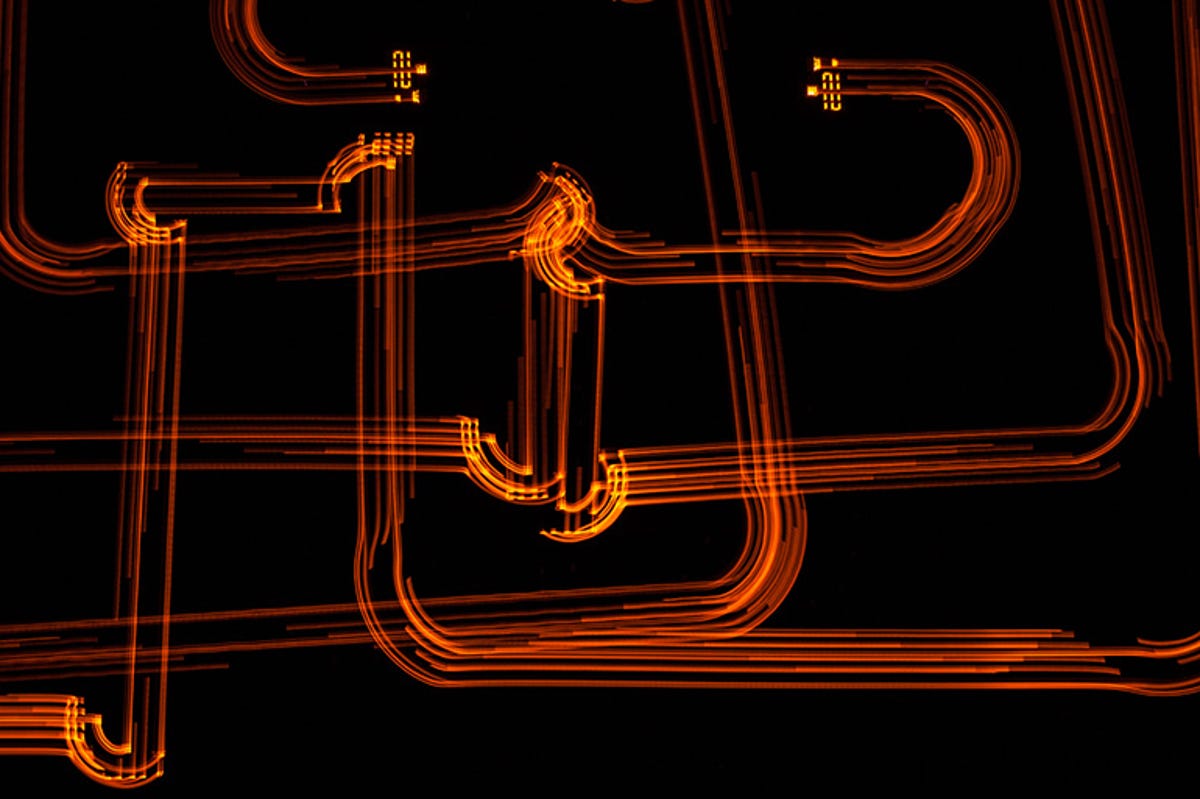
If the vacuum's LED lights are not strong enough, you can attach a brighter, battery-powered LED to the top. For a different look, put some coloured cellophane on the light.
The results are only limited by your imagination, so get your robot vacuum painting with light! For more inspiration, check out the Roomba Art group on Flickr.