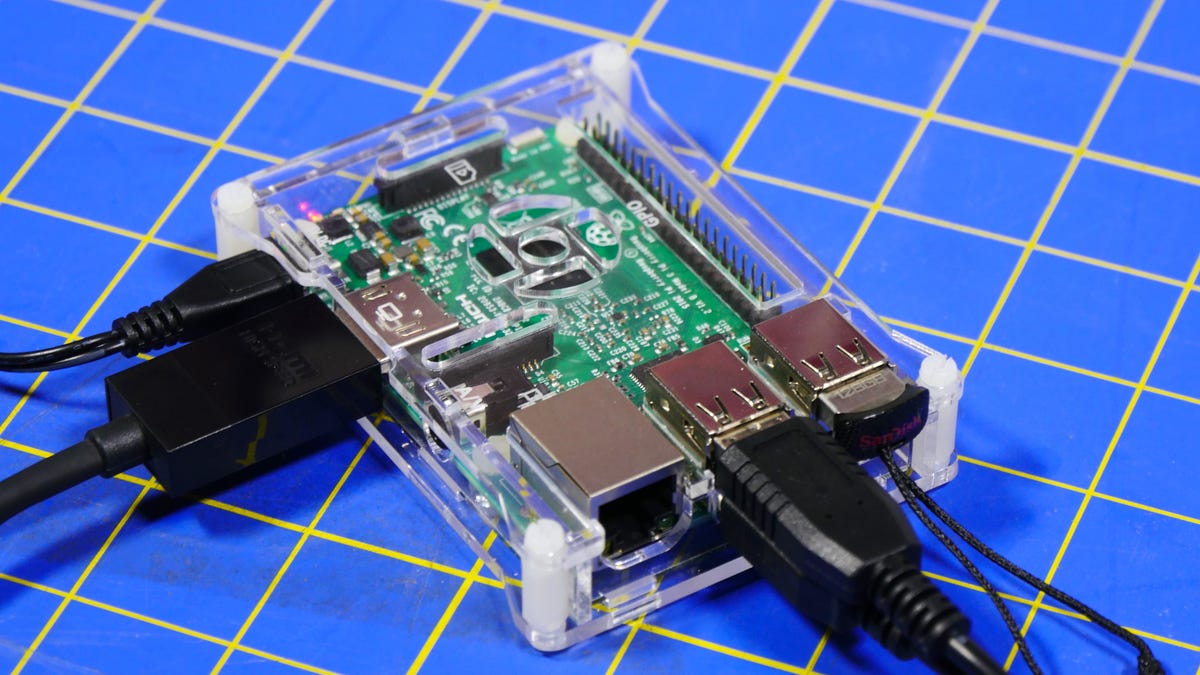
How to install different operating systems on Raspberry Pi
NOOBS is the built-in operating system installer for Raspberry Pi. But if you already know which operating system you want to use, there's a quicker way to get your Pi up and running.

The Raspberry Pi is the ultimate, affordable computer for anyone who likes to tinker and doesn't mind doing some legwork to get it up and running.
If you order a Raspberry Pi without an SD card preloaded with New Out Of Box Software (NOOBS), you will need to provide your own SD card and manually install an operating system.
There are many to choose from -- like Raspbian or OSMC for media streaming-- and they're all quick and easy to install. There are even operating systems that turn your Raspberry Pi into a music streamer.
Here's how to install (aka "flash") an OS to the Raspberry Pi without NOOBS.
What you'll need
Begin by downloading the software that you want to install on the Raspberry Pi. In this case, we're using Raspbian, a Raspberry Pi-optimized version of the Linux distribution called Debian, which you can find by going to raspberrypi.org/downloads. Click Raspbian (instead of NOOBS) and download the full Raspbian Jessie ZIP. The file is approximately 1.3GB, so it may take several minutes to download, depending on your internet speeds.
You'll also need a freshly-formatted SD card (microSD cards are required for the Raspberry Pi 2 or 3). The format used by Raspberry Pi is FAT32 (or MS-DOS), not exFAT. If you have an SD card larger than 32GB, make sure it is using the proper format, as anything larger than 32GB defaults to exFAT.
To do this on a Mac, open Disk Utility, select the drive you want to format, click Erase. Choose MS-DOS (FAT) for the format and click Erase.
On Windows, it's recommended that you use the SD Association's Formatting Tool, which is available free of charge at sdcard.org. Open SDFormatter and, according to Raspberry Pi Foundation, you "need to set FORMAT SIZE ADJUSTMENT option to ON" in the program's settings to ensure you format the entire SD card.
Installing Raspbian with Mac or Windows
To install Raspbian, you will need to write the operating system image file onto the SD card.
Start by uncompressing the ZIP file you downloaded from raspberrypi.org. To do this from a Mac, install The Unarchiver and double-click the ZIP file. From Windows, right-click the file, select Extract All, choose a destination for the extracted files and click Extract.
After it's done unzipping, it's time to write the image.
Mac
- Open Terminal by locating the app in Launchpad or by pressing command + spacebar and searching for the app in Spotlight.
- Change the directory you're working in to the location of the extracted image. For example, if you extracted the Raspbian image to your desktop, type cd Desktop/ and press enter.
- Identify the disk by typing diskutil list and pressing enter. Look for the name of the SD card you're using (it will appear the same in Terminal as it does on the desktop) and locate its identifier, which will look something like disk2 or disk3, depending on how many devices you have connected to your Mac.
- Make sure you have the right storage device identifier and type the command diskutil unmountDisk /dev/[disk identifier] and press return. The command should look something like diskutil unmountDisk /dev/disk2.
- Finally, write the image to the disk using the command sudo dd bs=1m if=[image].img of=/dev/r[disk identifier] and press return. The complete command will look something like sudo dd bs=1m if=2016-03-18-raspbian-jessie.img of=/dev/rdisk2. You will need to enter the administrator password to your computer and press enter once more.
Windows
The process for Windows is a bit more straightforward. You will first need to download Win32 Disk Imager from SourceForge.
- Once Win32 Disk Imager is installed, run it as an administrator by right-clicking the program icon and selecting Run as administrator.
- Select the image file you extracted from the Raspbian ZIP file.
- Select the correct storage drive by choosing the drive letter in the dropdown menu below Device. Be completely certain you selected the correct drive before proceeding.
- Click Write.
This process will take several minutes to complete, but once the image is finished writing to the the SD card, you can eject the drive, insert it into the Raspberry Pi and power it on.
The first boot will take longer than usual, but you will have a working version of Raspbian installed.
Ready for more? Turn your Raspberry Pi into a music streaming device or get started on one of these 25 Raspberry Pi projects.

