How to use Windows 10's new Snap Assist
Snapping windows is quicker and easier in Windows 10.


Window-snapping, which was first introduced in Windows 7, is a pretty convenient feature for quickly maximizing your screen's real estate. The feature lets you "snap" a window to one side of your screen without having to move it around and resize it manually.
In Windows 10, Microsoft has improved the snap feature to include more options. You can now snap windows so they take up the full half or just a quarter of the screen, and a handy little Snap Assist tool lets you snap windows even more quickly than before.
Snap with the mouse
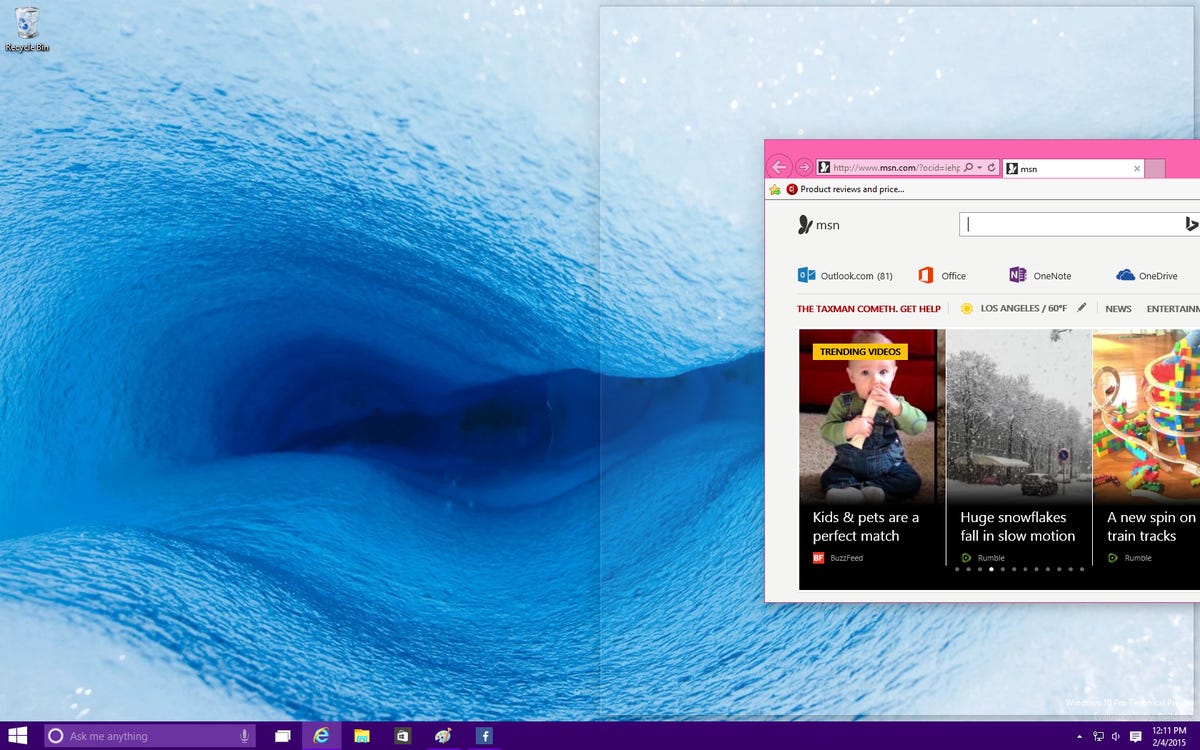
To snap a window, click its title bar and drag it to the edge of your screen. An outline will appear to show you where the window will snap to once you drop it. Drag it to the left or right side of your screen to snap it to the left or right half of the screen. You can also drag it to a corner to snap it to the corresponding quadrant, or drag it to the top of your screen to get a full-size window.
Snap with the keyboard
You can also snap windows using keyboard shortcuts. To snap a window with the keyboard, select the window you want to snap and press Windows Key + Left Arrow or Windows Key + Right Arrow to snap that window to the left or right side of your screen. If you want to snap it into one of the quadrants, first snap it to the left or right side of the screen and then press Windows Key + Up Arrow or Windows Key + Down Arrow to get it into the top or bottom corner. Once the window is in its smallest possible state (a quarter of the screen), you can move it around using Windows Key + Arrow Keys.
In a previous build of Windows 10, you could also vertically snap windows into either the upper or lower half of the screen, but in this build it's no longer possible. Now if you select a window and press Windows Key + Up Arrow, you'll maximize the window. If you press Windows Key + Down Arrow, you'll minimize it.
Use Snap Assist

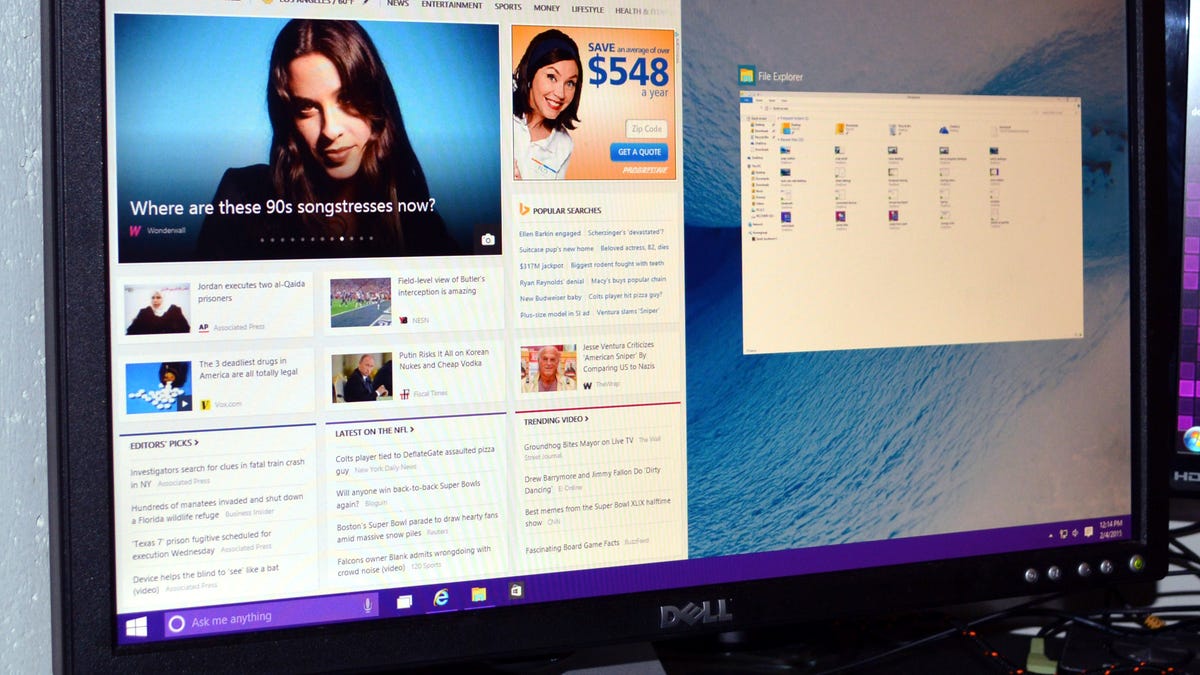
If you snap a window with the mouse or the keyboard and you're left with a partially empty screen, Windows 10's Snap Assist feature will pop up. For example, let's say you snap a window to the right half of your screen, leaving the left half of your screen blank. If you have any other open windows, Snap Assist will bring them up as thumbnails in the empty left half of your screen. All you have to do is click on a thumbnail, and that window will open in the left half of your screen.

Once you've snapped a window into the empty half of your screen, you can resize both windows by clicking and dragging the dividing line. Resize the window on the right side to the size you want it to be, then let go of the mouse button. The left window will resize itself to fit alongside it, so you won't have any empty screen space.
Snap Assist comes up when you leave half or one quarter of your screen empty, but not if you leave three quarters of your screen empty. This is probably because Snap Assist tries to fill the empty space in one go, and you can't fill three quarters of the screen with a single window.
Editors' note: This How To post was originally published on February 4, 2015 and was updated on November 17, 2015 to reflect new information regarding Windows 10 Build 10586.