How to use Preview in OS X Lion to digitally sign documents
Printing a document, signing it, scanning it and then e-mailing it back to someone is a hassle. OS X Lion has added a new feature that will allow you to digitally sign a document using Preview.


The ability to digitally sign a document is sure to save you some time. Apple has rolled out a new feature in OS X Lion's Preview app that allows you to create a digital signature using your FaceTime camera, and then sign a document with relative ease.
To get started you will need to open a PDF document in Preview, preferably a document you want to sign, but it doesn't matter as we will be saving the digital signature for future use.
While viewing a document in Preview, click on the Marker icon to view the annotations toolbar.
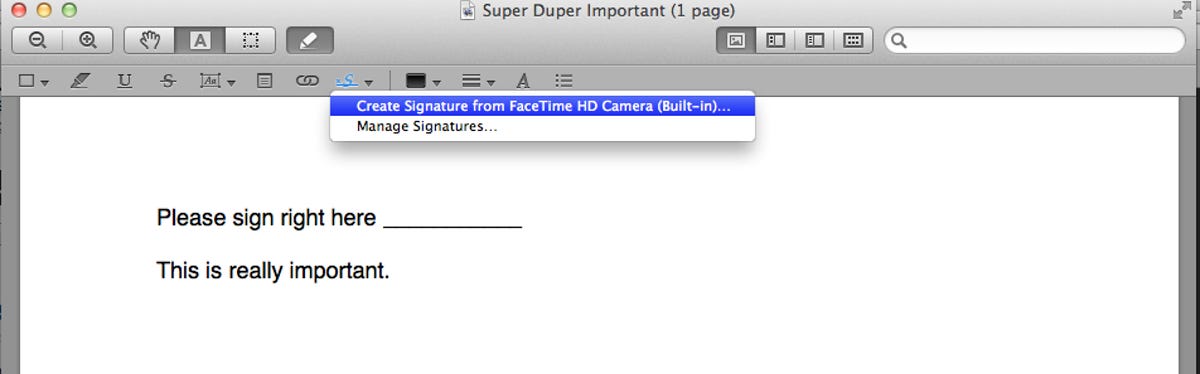
Click on the icon that looks like this:
From here, you will be given the option to create a new signature using your Mac's built-in camera. Select this option.

The camera on your Mac will then turn on, and you will be presented with a screen and instructions similar to that pictured above. Make sure to create your example signature on a blank piece of paper, using dark ink for best results.
Once you are happy with your example signature, hold it up to your Mac's camera, resting the bottom of your signature on the blue line. You see a preview of the signature show up after it has been digitized. If you wish to save your signature for future use, leave the box checked in the bottom-left-hand corner. Once you are happy with the outcome, click on Accept.

You will be returned to your document; click on the same signature icon that we clicked on previously. Now you will see your digital signature listed, ready to be placed into your document. Select the signature you would like to use in the document.
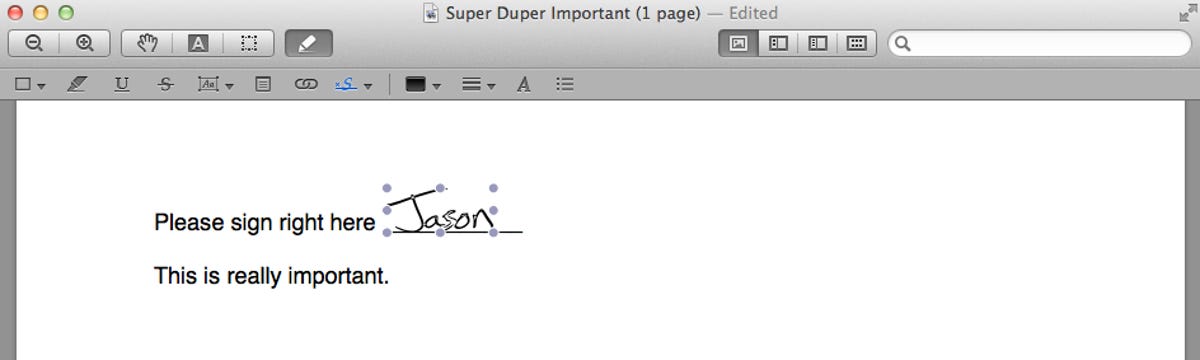
After selecting your signature, you will notice your mouse icon turn into crosshairs. You can now draw your signature on to the document. The size of the box that you draw represents the size of the signature that will be placed onto the document. Don't worry if you get the size wrong the first try, you can click and drag any corner or side of the signature to resize it. If you need to move the digital signature, click and drag the middle of the signature.
This is a great new addition, albeit a small one, to OS X Lion. For professionals who are always on the go, or those of us who find ourselves without a scanner to scan signed documents, this is the perfect solution.