How to use iPhoto Places
iPhoto Places can be used with or without GPS-enabled cameras. Learn how with this brief tutorial.

If you have a GPS-enabled camera or pretty much any recent smartphone, using iPhoto Places is seamless. iPhoto will pull in the GPS information when you import photos to your iPhoto library. But for older cameras without GPS, you can assign a place to photos and events in iPhoto.
Places was introduced with iPhoto '09. For this tutorial, I am using iPhoto '11. To assign a place to a non-geotagged photo, first highlight the photo or photos or an event in iPhoto and then click the Info button in the lower right corner. The information pane will appear to the right of your photos, and it will let you add a title and description to your photo along with information for Faces and Places, as seen in the image to the right.
To add a place, click on Assign a Place above the map and type in your place. iPhoto will list locations as you type. You can enter a city and state or get more specific and use your street name. Places does not seem to recognize many street addresses, but after you assign a place and iPhoto drops a red pin onto the map, you can move the pin to the exact spot on the street where the picture was taken, if you are particular about your coordinates or take a lot of shots in the same city or town and want to organize your photos under separate red pins.
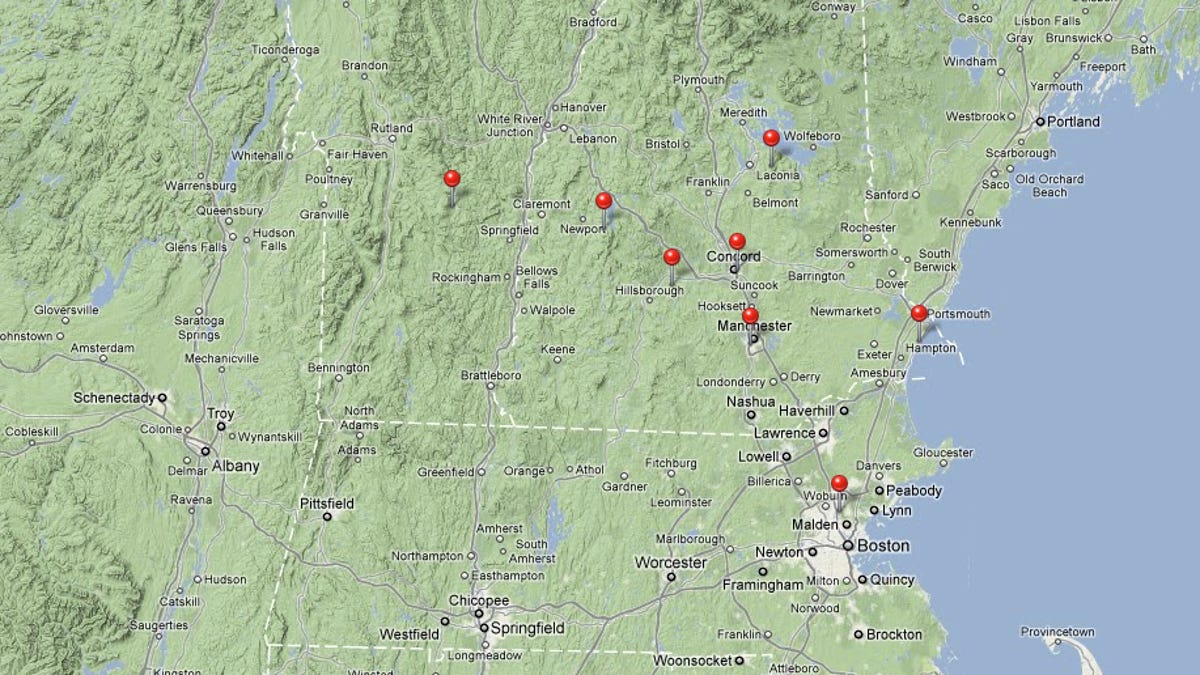
To view your photos by location, click on the Places link in the left-hand column of iPhoto. You'll be presented with a map with red pins where you've either assigned a place or taken photos with an iPhone or another GPS-enabled camera. Click on a red pin, and you'll be able to browse all of the photos taken at that location. Again, unless you've separated your photos be street address, all the photos taken in that location will be grouped together, sorted chronologically.
Lastly, if you are uncomfortable with adding geographical information in iPhoto to photos you take with a GPS-enabled camera, you can turn it off in iPhoto preferences. Follow this path: iPhoto > Preferences > Advanced and then choose Never for Look Up Places.

