How to use Apple TV to control your smart-home gear
There are smart-home controls built right into your iPhone or iPad, but if you want Siri to turn your stuff on and off when you're not at home, you'll need to add an Apple TV to your setup. Here's how to do it.


- 10 years product testing experience with the CNET Home team

There's a whole universe of connected home gadgets that want to smarten up your living space -- and a growing number of them work with Apple HomeKit , the set of smart of smart home protocols built right into your iPhone and iPad.
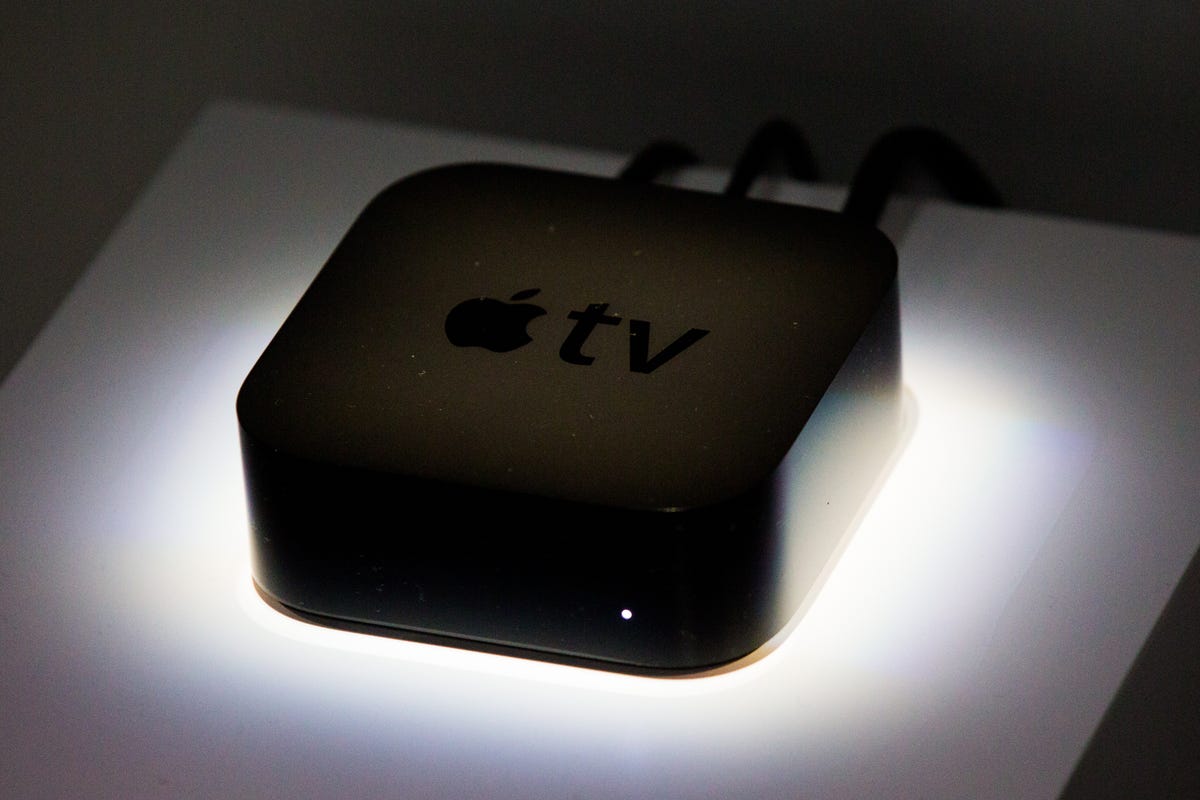
Apple TV
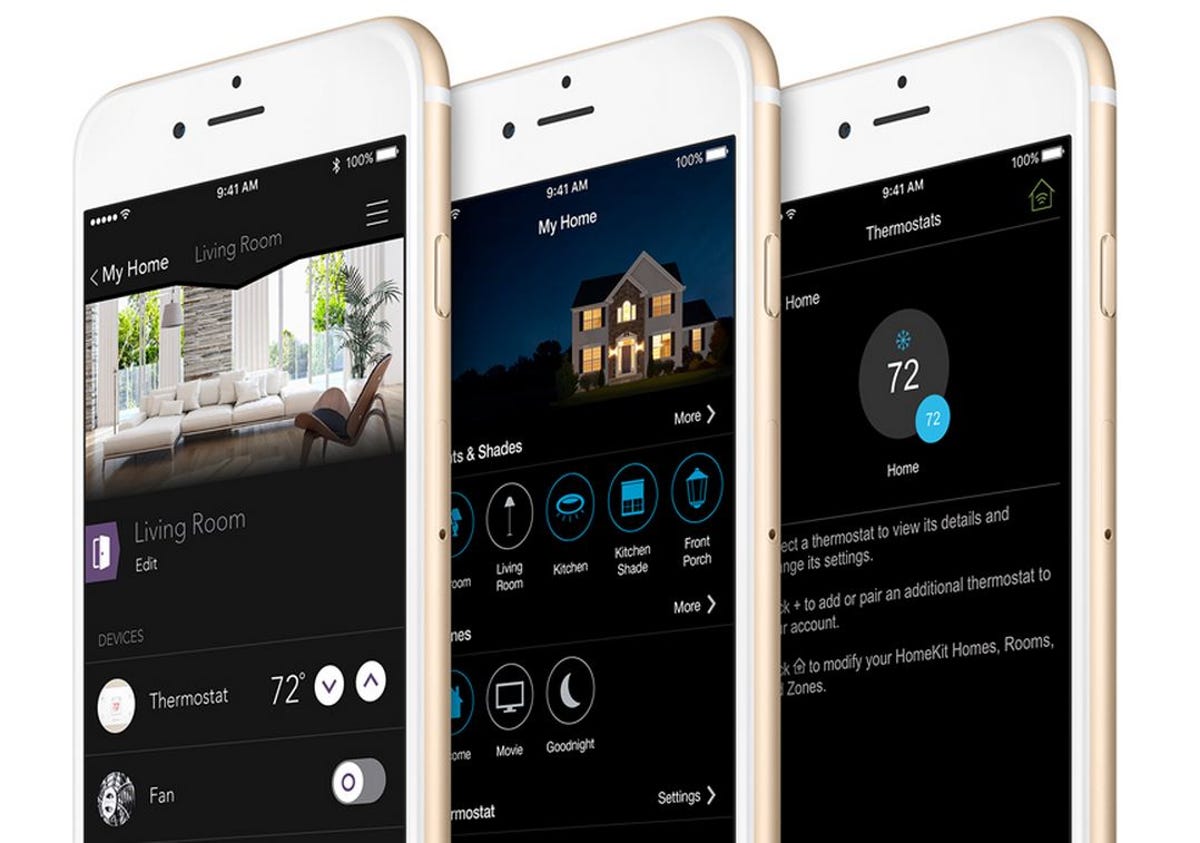
HomeKit provides a sort of standardized vocabulary that helps devices talk with one another, and with Siri, Apple's AI virtual assistant. It's one of HomeKit's marquee draws -- install HomeKit-compatible lights , locks , and other smart home gear in your home, and you'll be able to to control all of it using voice commands.
There's a small catch, though -- those Siri commands won't work from beyond your home's Wi-Fi network unless you've got a third-generation Apple TV or later. The reason comes down to security. Apple wants to ensure that none of the smart home gadgets it controls becomes a vulnerable point in your home network. If you're going to send in commands from outside of the home, it needs to authenticate that it's really you sending the commands.
That's where Apple TV comes in. Sync it up with your home network and with your iCloud account, and it'll serve as something of a smart home bouncer. When you send a Siri command from afar, it'll check the credentials before letting it in.
Adding Apple TV to your setup can also be a handy way to extend the reach of smart home gadgets that use Bluetooth to send and receive information (the HomeKit-compatible Schlage Sense deadbolt is just one example). You can't connect with those gadgets from outside of the limited Bluetooth range, but with HomeKit, you can use Apple TV as a relay point -- it'll receive your commands from afar over Wi-Fi, then pass the command in question to the device in question via Bluetooth.
Thankfully, getting all of this up and running is a piece of cake -- and if you've already got an Apple TV installed at home, then you're probably already good to go.
1. Update your iOS devices
First things first: if you want to use HomeKit, then you need to be sure that your devices are up to date with the latest version of iOS. HomeKit was introduced with iOS 8, but it's been updated steadily ever since -- for full features and compatibility, you'll want to go ahead and get your software current.
2. Pick your HomeKit poison
It goes without saying (I hope), but you can't take advantage of HomeKit's smart home controls unless you've actually got a smart home to control. That means you need HomeKit-compatible devices under your roof.
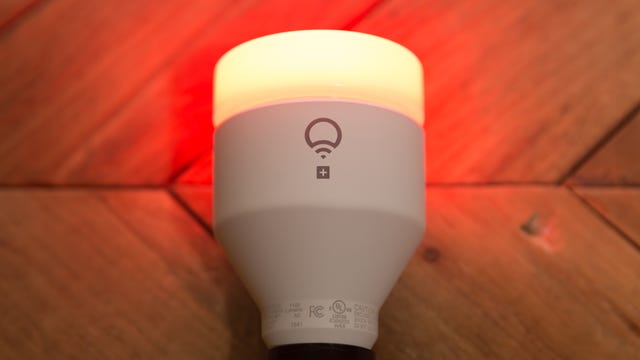
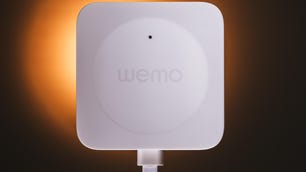
As said before, the list of options is continuing to grow, but there are already a few big names out there. The latest version of Philips Hue's color-changing smart bulb starter pack will work with HomeKit, for instance. You could also keep things simple and start with a smart switch from iDevices that'll let you automate anything with a plug on it.
Keep an eye out for this badge on the product packaging before you make your purchase.
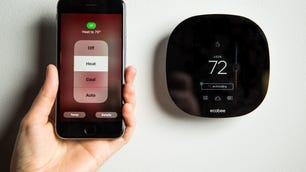
Whatever it is, just keep an eye out for the "Works with Apple HomeKit" badge on the product packaging. You don't want to accidentally drop $200 on the old, non-HomeKit-compatible version of that Philips Hue kit , for instance. Some HomeKit products, like the August Smart Lock and the Ecobee3 thermostat , are just identical versions of existing, non-HomeKit-compatible models that add in Apple's HomeKit chipset. That HomeKit badge on the packaging will help you be sure that you're buying the right model.


3. Install your gadget and download the app
Every HomeKit device is going to come with its own control app -- you'll want to be sure and download it, and then follow its instructions to get your gadget installed.
When you go to set your gadget up, the app will ask you if it can sync with your home data. Say OK -- that's its way of asking if it can join up with your larger HomeKit setup. Once you do, it'll ask you which "home" you're adding it to.
If it's your first gadget, you'll need to create one -- just pick a name like "Ry's House," and you'll be all set. HomeKit will save this home profile in your iCloud account; you'll be able to add more devices to it as you expand your setup. You'll also be able to add additional "homes" if you want to manage devices in more than one location.
4. Go into HomeKit's settings and allow remote access
At this point, you're all set to start playing with smart home gear and controlling it using Siri, but in order for those Siri commands to work when you're away from home, we'll need to bring Apple TV into play. To do that, we'll need to head to the settings.

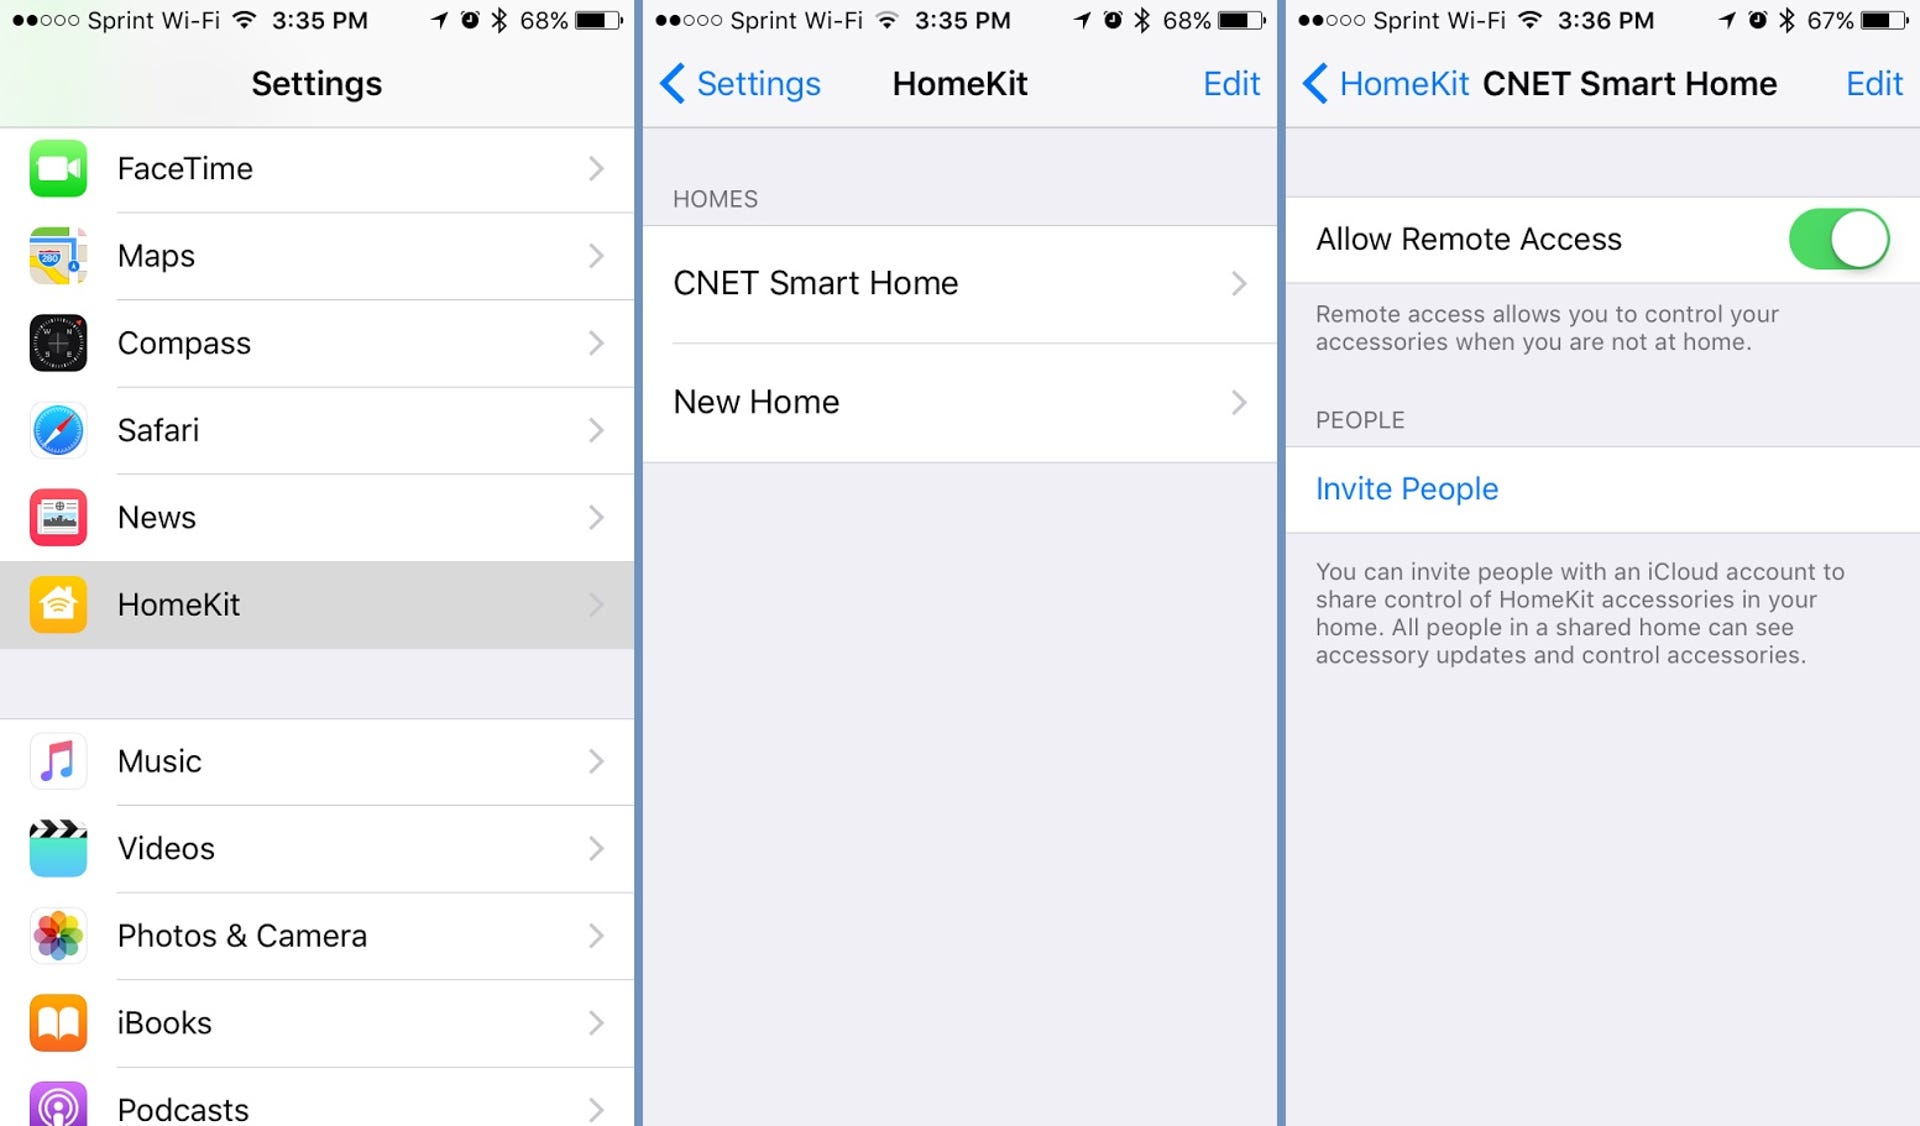
Scroll down a bit, and you'll find the little yellow house icon representing HomeKit. Tap your way in, and you'll see a list of the homes you've set up, along with the option to set up a new one. Go ahead and tap on your existing home's profile.
This is where you'll go if you want to give additional users control of your stuff, but for now, we're just interested in that slider right at the top. Go ahead and side it over into the on position if it isn't there already. You'll need to be at home and connected to your home's Wi-Fi network in order to do this, by the way. Remember that emphasis on security I mentioned?

5. Connect Apple TV to your iCloud account
That home profile you created is tied to the same iCloud account you use with iTunes and for App Store purchases. So, in order for Apple TV to access your HomeKit gear, it'll need to have access to your iCloud account.
If you've already got an Apple TV, then there's a very good chance that you've already set this up in order to make purchases and sync with your phone or tablet. If you haven't yet, doing so is simple. On the main screen, navigate over to the gear icon that represents the system settings. Scroll down to "iCloud," then enter your account's email and password when prompted.
Once you've done that, you're all set -- your Apple TV should automatically begin functioning as an overseer of your smart home gear. Note that it's designed to work seamlessly as a background player, which means that you won't find a graphical smart home interface native to Apple TV. The door is open for third-party app developers to make something happen, though, so controlling devices and tweaking automation recipes right on your TV screen might not be too far off.