How to upgrade the aluminum Mac Mini
Apple has made it easier than ever to upgrade the hard drive and memory in the Mac Mini. Here’s what you need to know to get the job done.


Has the hard drive in your Mac Mini filled up, or even worse, died? Is it taking longer for programs to load? It may be time for an upgrade, but don't worry -- there is no need to go out and buy a new computer. Simply swap out the old components for newer ones.
Believe it or not, Apple actually made it a lot easier to swap out the hard drive, and even the memory when it redesigned the Mac Mini in 2010. Newer models include a removable cover that gives quick and easy access to the internal components. Here's what you need to know to get the job done:
This how-to guide is for Mac Mini models from 2010 to 2013. To learn how to replace the hard drive in earlier Mac Mini models, check out CNET's how-to guide for models from 2005 to 2009.
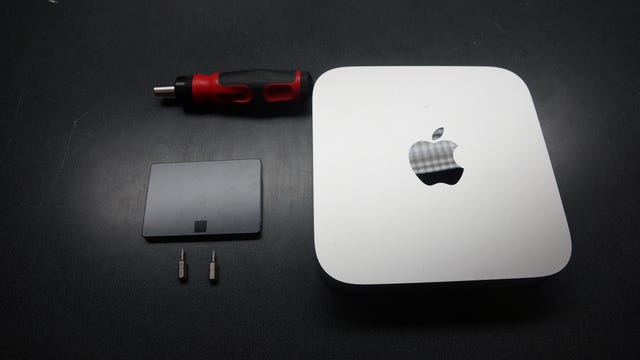
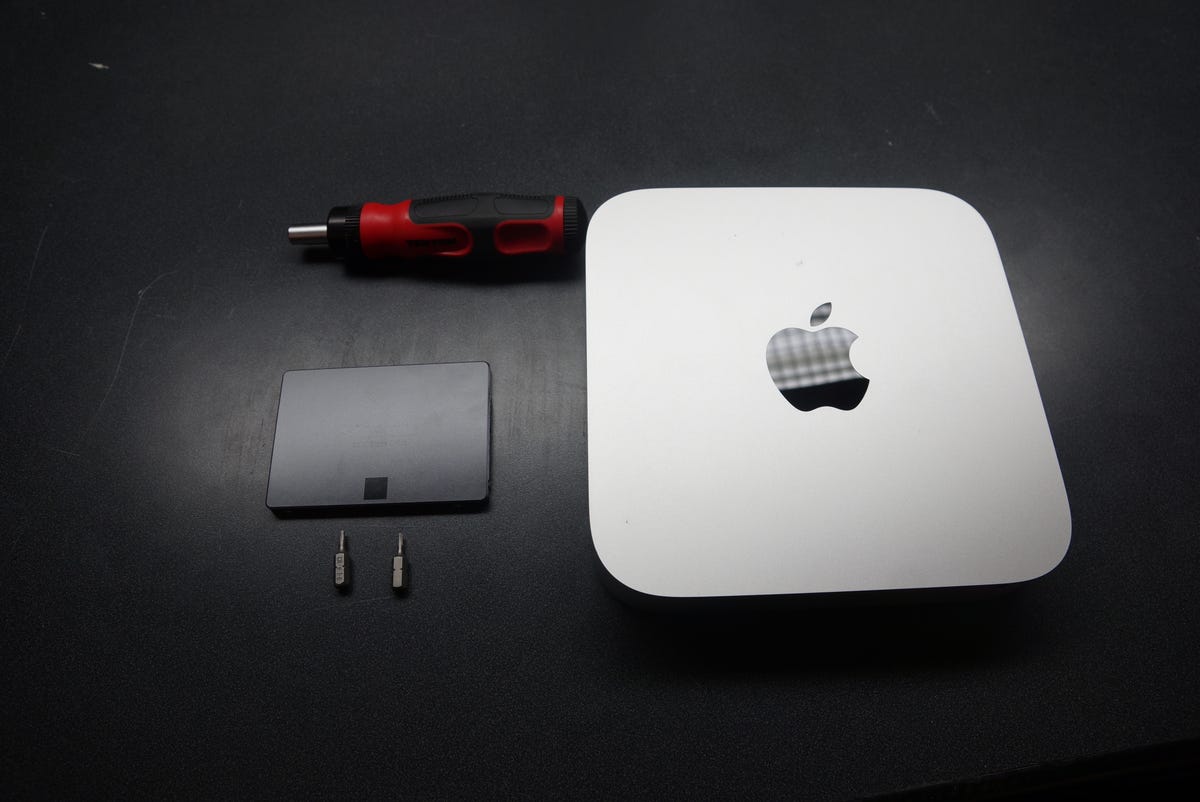
The tools
You will need a 2.5-inch hard drive or solid-state drive with a height of no more than 9.5mm, and both a T6 and a T8 screwdriver.
As always, be sure to work on a static-free surface, and to discharge any electrostatic build-up before handling any internal components. You should also transfer your old data to your new hard drive using a program such as Time Machine or Super Duper, which can be used to clone your old drive.
The process
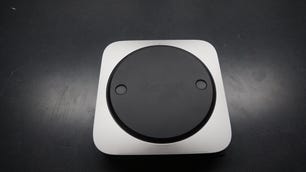
Flip the Mac Mini over and remove the black cover by twisting it counterclockwise. If you are only interested in replacing the computer's memory, simply spread the clips that keep the memory sticks in place and swap them out.
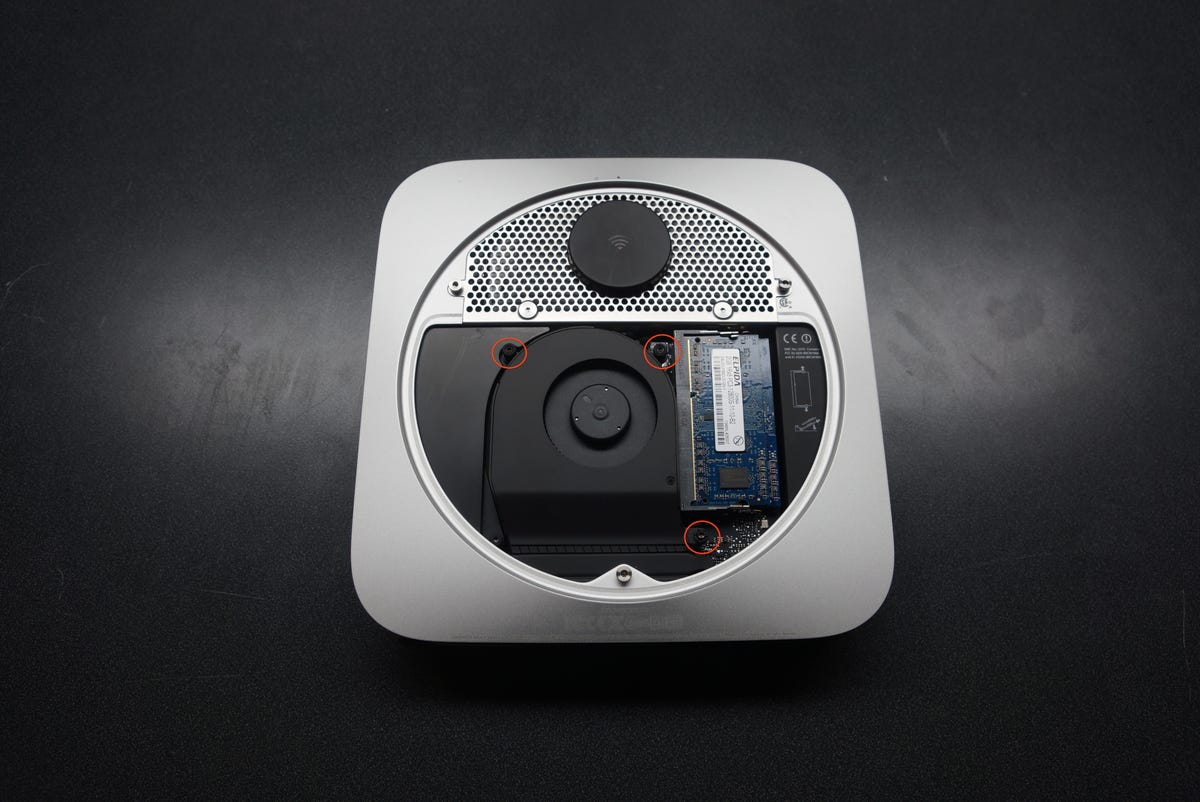
To access the hard drive, you need to remove the three T6 screws that keep the fan in place. Once done, gently lift the fan out of the case and remove the cable connecting it to the motherboard. On the left-hand side, you will see a plastic cover. This is held in with a T6 screw on the lower right-hand side; remove the screw, then shimmy the cover out of the case.
The hard drive is located under the antenna grill, which is held in place with four T8 screws. Remove the screws and lift the grill out of the Mac Mini. Be careful, though, because it's attached to the case.
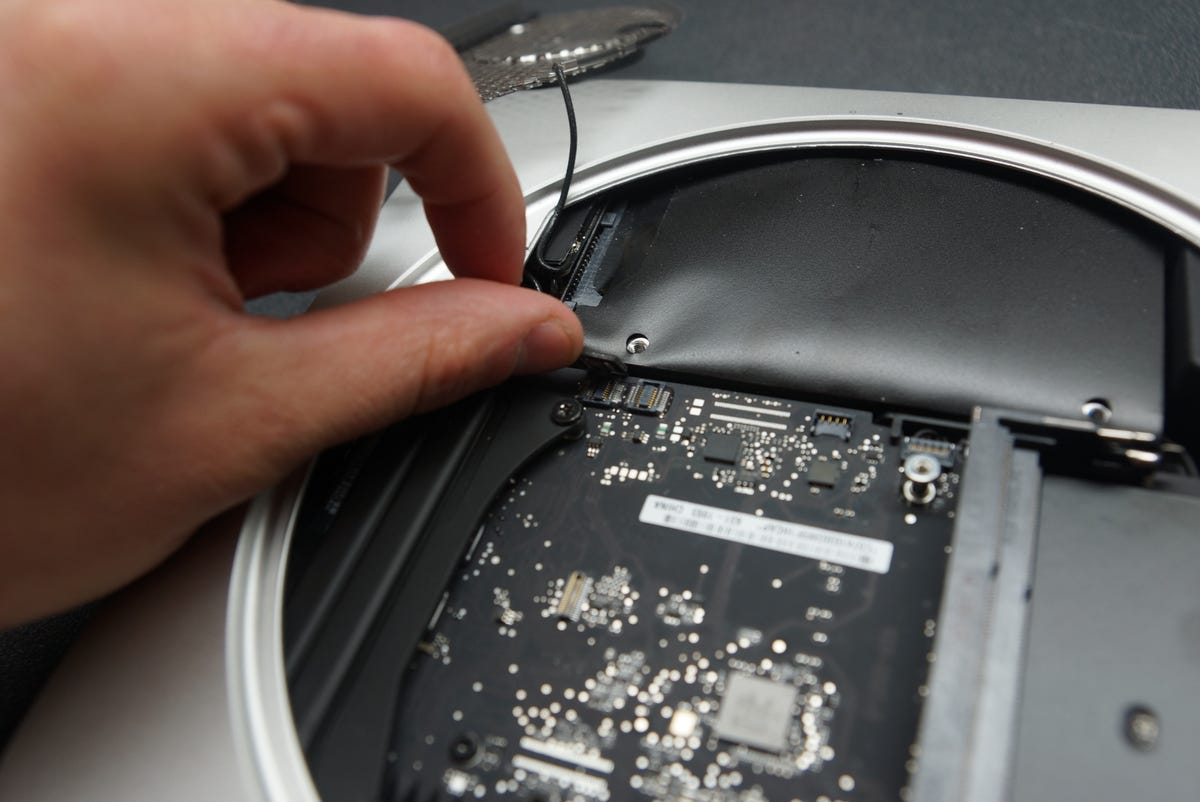
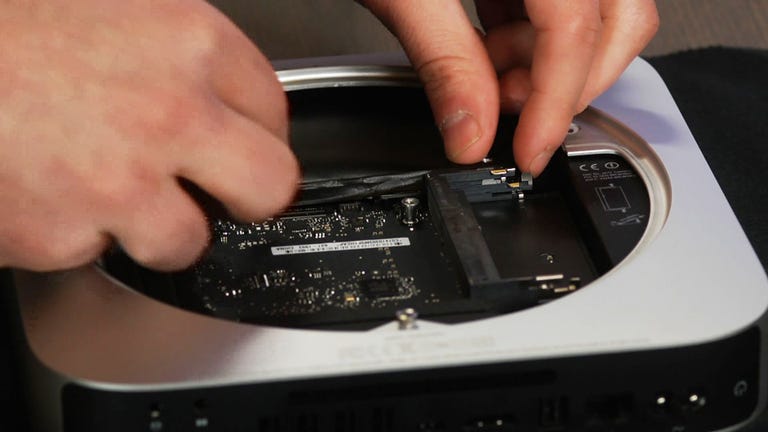
The drive connector must be disconnected from motherboard before you remove it from the case. Once it's out, remove the two T8 screws from the side of the drive and screw them into your new one. Gently peel the black protective cover off of the drive and remove the connector. Then, attach the hard drive connector to your new drive and replace the black protective cover.
Getting the drive back into the Mac Mini can be tricky. You will notice that there are two slots for the screws to sit in. You want to make sure the screws are in the top two slots and not the bottom. Try using a pair of tweezers or another small tool if you are having trouble. After getting the drive in place, don't forget to reattach the connector to the motherboard.
Replace the four T8 screws and the antenna grill, followed by the plastic guard and the T6 screw that keeps it in place. Reconnect the fan to the motherboard, and secure it with the three T6 screws. Lastly, place the cover back on the device and turn it clockwise to lock it in.
For step-by-step photos of the entire process, check out our gallery below.