How to take a screenshot in any version of Windows
Here are all of the different ways to capture your screen on a device running Windows.


Taking a screenshot is nothing new. The feature has been available across numerous platforms and devices for well over a decade. How to actually take a screenshot, however, remains one of the most frequently asked questions. Whether you're running Windows XP or the brand-new Windows 10 operating system, these are all the ways you can take a screenshot:
Take a screenshot in Windows XP
There are only two ways to take a screenshot in Windows XP. A tap of the Print Screen button will copy an image of your entire screen. This image must then be pasted (this can be done by pressing the Control and V keys at the same time) in a program like Paint, at which point you will also be able to save the image.
The other option is to capture a specific window. You can do this by pressing the Alt and Print Screen keys at the same time. You will, once again, have to open Paint, paste the image, and Save it.
On a majority of keyboards, the Print Screen key can be found in the upper-right corner. It will likely be labeled as either PrtScn or PrtSc.
Take a screenshot in Windows Vista and Windows 7
In addition to the two Print Screen methods detailed above, Windows Vista and Windows 7 users can also utilize the Snipping Tool. This feature is available on all versions of Windows, with the exception of Starter and Basic editions, and Windows XP.
To open the program, click the Start button, select All Programs, followed by Accessories, and select the Snipping tool from the list. The Snipping tool lets you take a screenshot of a specific area of the screen (similar to the OS X command with the Command, Shift, and number 4 keys). Open the program, click New, select the area of the screen you would like to capture, and then click Save.
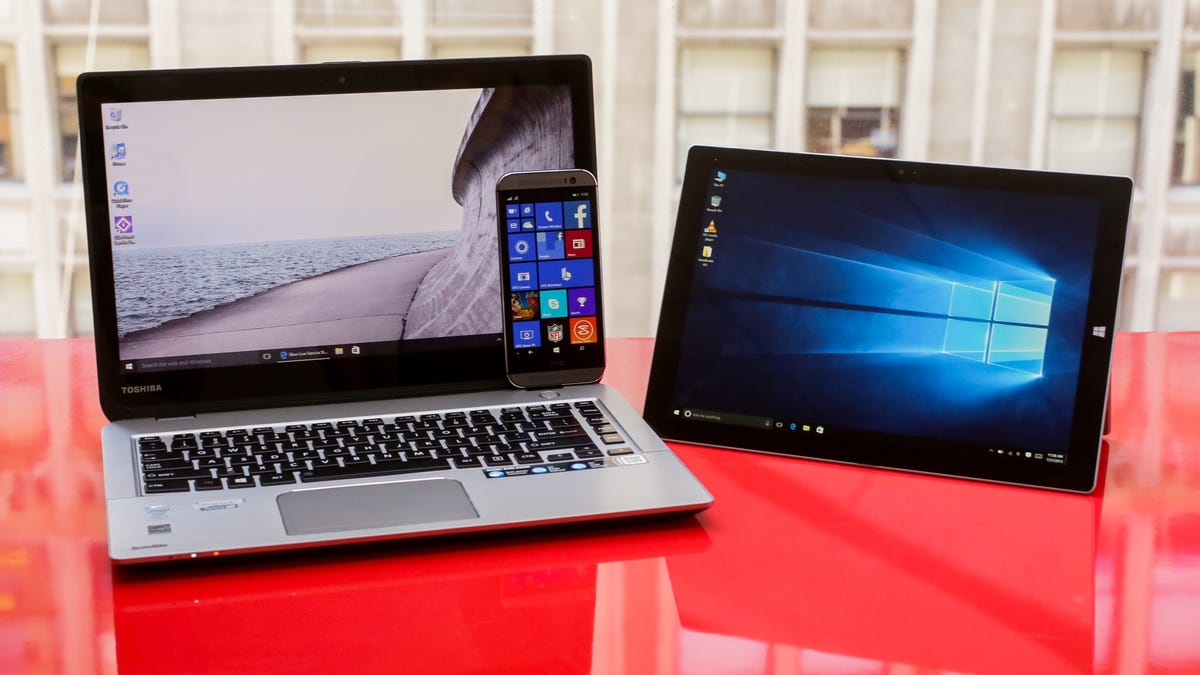
Take a screenshot in Windows 10 and Windows 8
Users with a Windows 10 or Windows 8 machine have the added ability to take screenshots that automatically save to a special folder. Pressing both the Windows and Print Screen key at the same time will capture the entire screen. This image will automatically be saved to a Screenshot folder inside of the Pictures library.
The Print Screen methods from Windows XP and the Snipping tool can also be utilized in
and Windows 8. You can search for the Snipping Tool on the Start screen in Windows 8 or in the search field next to the Start button in Windows 10.Take a screenshot on a Windows tablet or smartphone
Windows tablet owners can take a screenshot by pressing both the Windows button and Volume-down key at the same time. You will find the image in the Screenshots folder in the Pictures library.
On Windows Phone 8.1, this can be done by pressing the Power button and Volume-up key together, while Windows Phone 8 devices can take a screenshot by pressing the Start button and Power button at the same time. Screenshots are automatically saved in the Photos Hub section.