Organize your desktop like a Mac expert with Spaces
Learn how to improve your multitasking ways by employing OS X's Mission Control and Spaces features.


Welcome to Mac Mondays! Each Monday, the team at CNET How To will go in-depth on ways you can improve your Mac. We'll talk performance upgrades (for old and new models), hardware hacks, and workflow tips. This is where you'll go to find out how to release your Mac's potential and make the most of your purchase.
I often feel cramped on my 13-inch MacBook Pro, but I've found a solution that doesn't involve upgrading to the 15-inch model or anchoring myself to a large desktop display.
With OS X 10.5 Leopard, virtual desktops were introduced. Apple calls them Spaces, and they let you create multiple desktops. It's like having multiple monitors -- without the monitors.
Since setting up Spaces, my workflow is easier to organize. It lets me separate my apps instead of cramming them into one desktop where they are layered on top or one another and constantly minimized and then called back into action. With Spaces, my apps stay out of each other's way and remain easily accessible.
Setting up Spaces
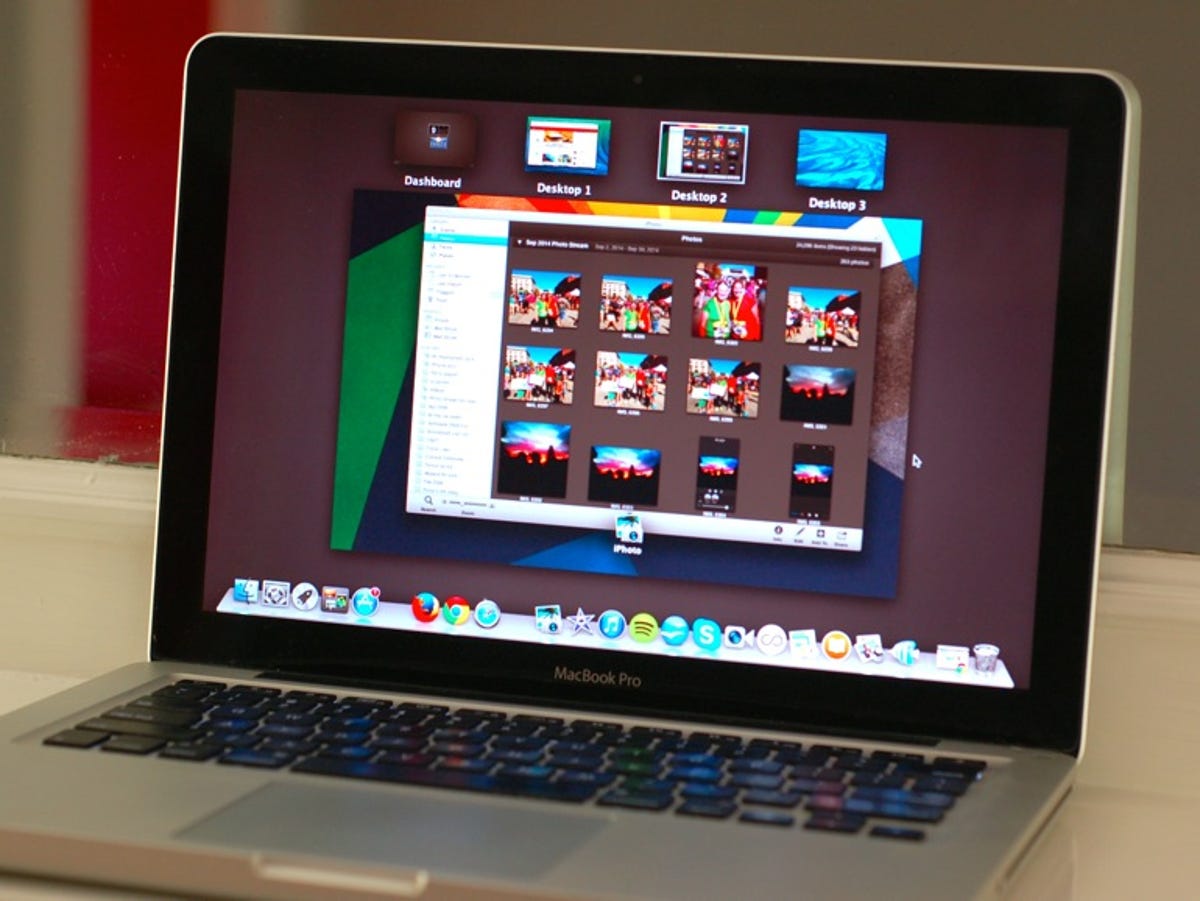
To set up Spaces, first enter Mission Control. There are two ways to do this:
- Press the F3 key
- Swipe up with three or four fingers (depending how you have gestures set up on your trackpad)
- Assign a Hot Corner to Mission Control via System Preferences > Mission Control
Once you're in Mission Control, move your cursor to the upper-right corner and you'll see a large "+" button that lets you add a new space. To delete a space, hover your cursor over its thumbnail and click the X button. You can also drag a thumbnail to reorder your Spaces.
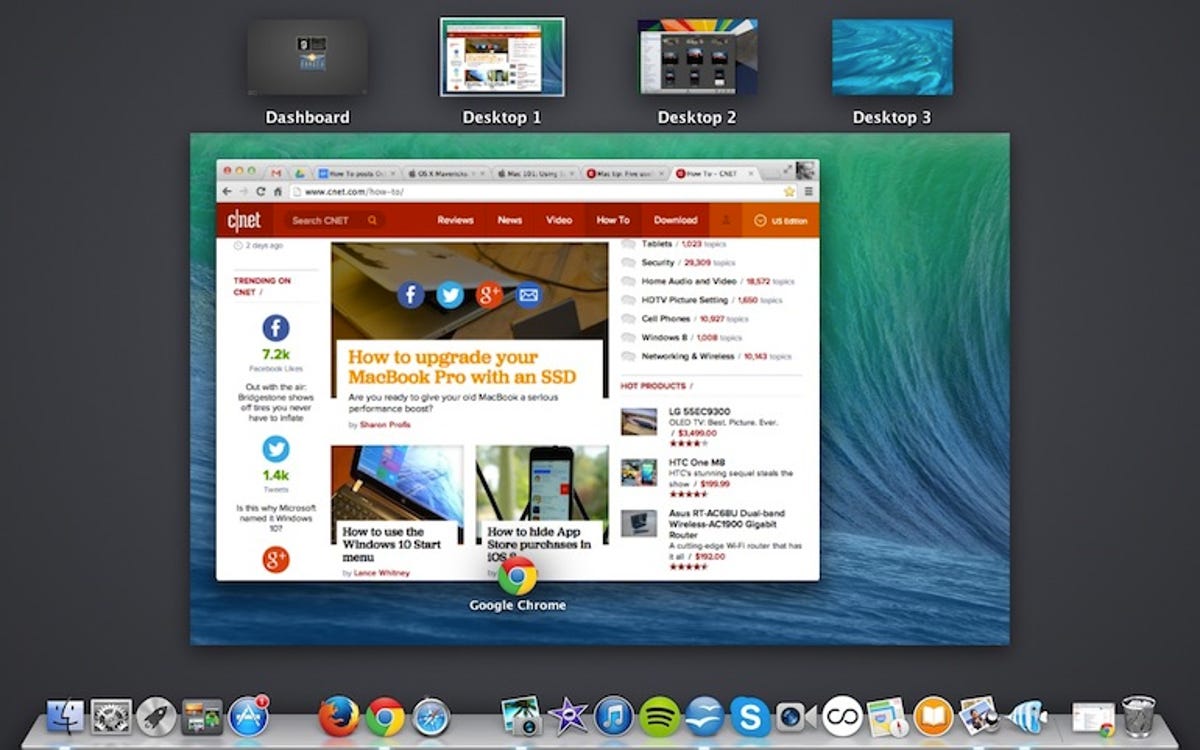
Tip: Assign a different desktop background to each space to easily keep track of your desktops.
Navigating and managing Spaces
You don't have to enter Mission Control every time you want to switch between Spaces. There are two easier ways: swipe sideways on the trackpad with three or four fingers (depending on how you set up gestures).
For the keyboard enthusiasts among us, you can press the Control key and either sideways arrow key, or you can choose a space by hitting Control and a number key -- that is, Control-1 to go to your first space, Control-2 for your second, and so on.
To really embed Spaces into your workflow, use these tips:
- To move an app or window to a different Space, enter Mission Control and drag the window into the desired Space.
- To move an open window to an adjacent space, drag the window to the side of your display until your cursor is at the edge and, after a beat, you will slide to the next space where you can drop the window.
- Assign an app to always open in a specific space. To do this, right-click an app in the Dock. Choose Options > This Desktop to have the app always open in the current space. Alternatively, you can choose All Desktops for an app that you'd like to appear no matter which space you are viewing, or Options > None to have an app open only in the space you are currently using.