How to recover deleted photos from a memory card
Just deleted an important batch of images from your memory card? Never fear, here's how to undelete them for Mac and PC users.


- Webby Award honoree, 2x Gold Telly Award winner

"Uh oh."
Those are probably the first two words you'll utter when you realise your photos have disappeared. If you've accidentally formatted your card or you suspect it has become corrupted, there are ways to recover your images. Here's how to get started.
You will need a card reader, a computer, the memory card in question and nerves of steel.
Step 1: Don't do anything to your memory card once you realise photos have been deleted. This means, don't take any more photos on the card and remove it from the camera immediately.
Step 2: Select a recovery suite. The software mentioned in this tutorial is Recuva for Windows and PhotoRec for Mac, which are both free options.
Bear in mind that there are plenty of other options out there, and you may already have one that was included with your memory card, if it was from vendors such as Lexar or SanDisk.
Step 3: Install and set up the software on your PC or Mac.
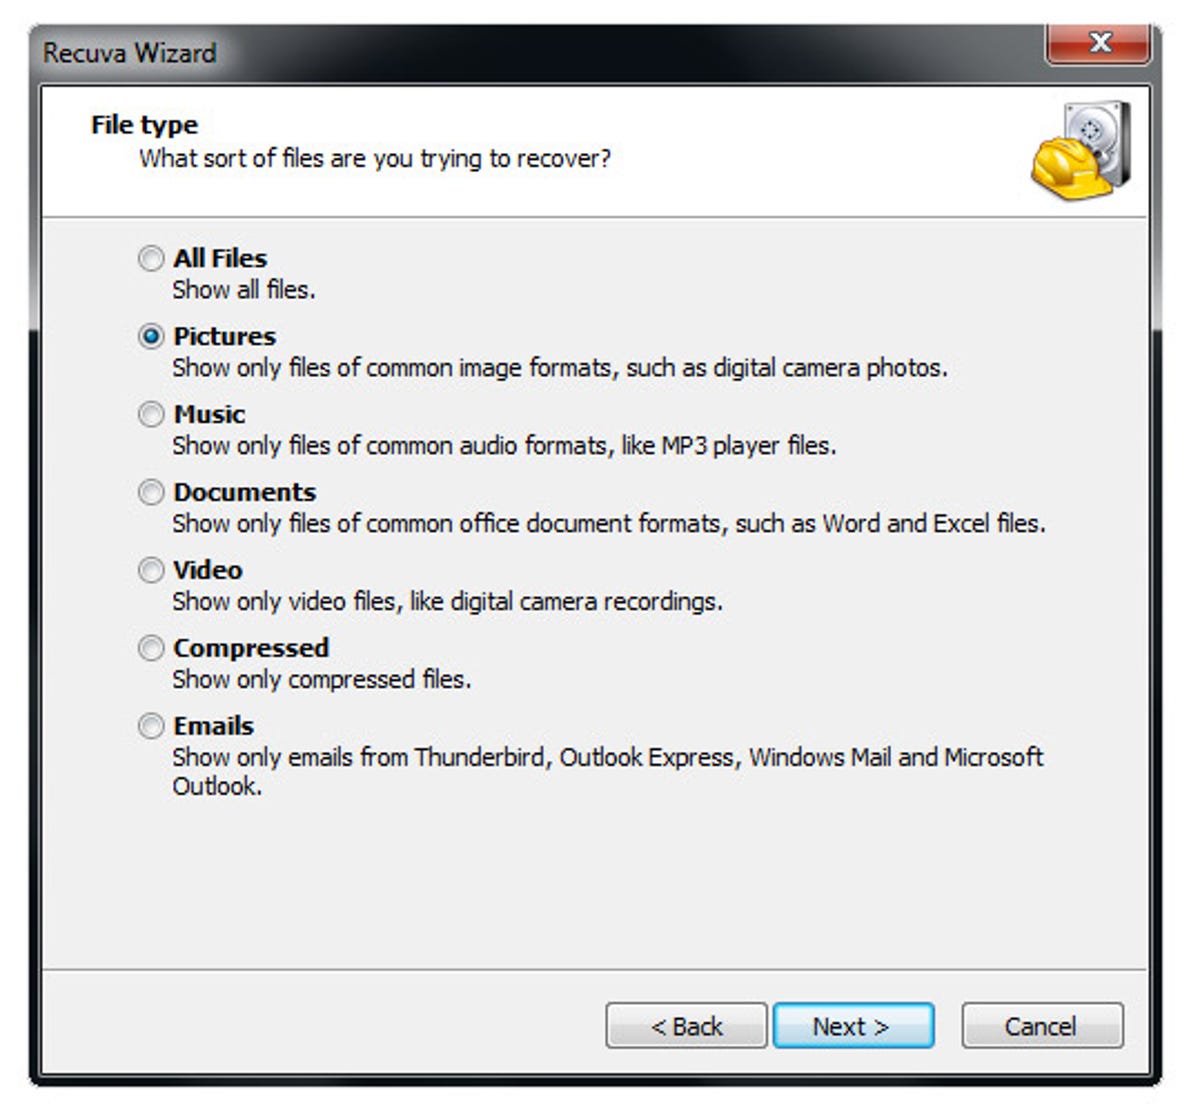
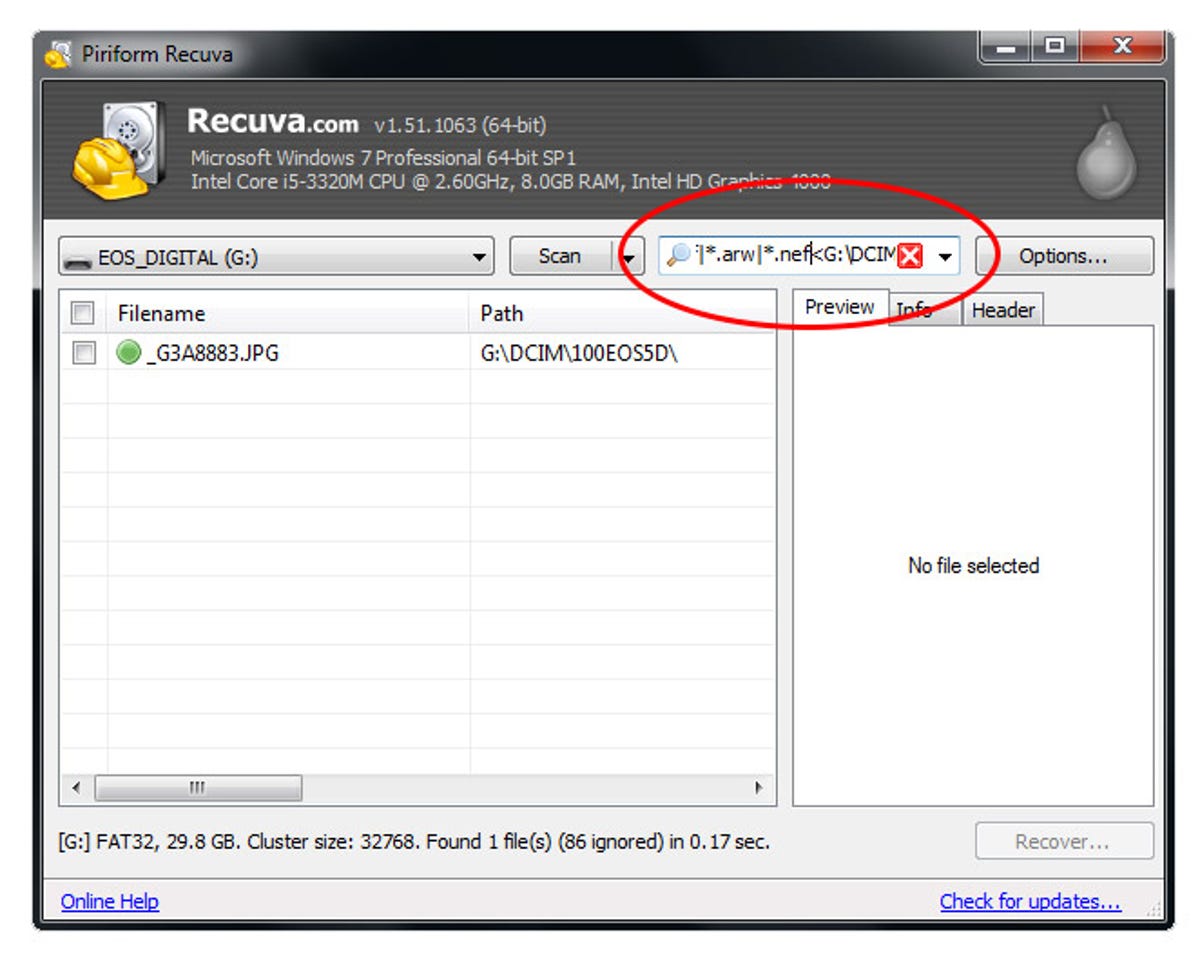
Step 4: Let's start with Recuva first. Start up the program and choose what sorts of files you want to try and retrieve. In this tutorial we're looking for photos, but Recuva also gives you the option of finding a number of other file types.
Click through the menu until you reach the screen telling you in which location to look. Plug your card reader into your computer and select the root directory of where your camera stores its image files -- provided it hasn't disappeared when the card was formatted or the pictures were deleted. This is typically a folder called DCIM, or the name of the camera manufacturer or model.
For PhotoRec, the process looks a little more complicated, as it's a command-line interface rather than a graphical one. Don't be scared off though, as it's quite easy to use once you get accustomed to it.
Start up PhotoRec and enter your Mac password if prompted, so the program can have access to all drives. Then, select the drive that you want to recover (i.e. your memory card) using the arrow keys to highlight the correct option. It may not be named how you expect, so use the size to give you an indication of which drive is the right one.
Press enter to proceed, and choose the FAT16/32 partition in order to scan the directory structure set up by your camera. Press enter to keep going to the next menu, and select the Other option (FAT/NTFS).
Continue to the next screen using the enter key. This next selection will tell the program where to look for the files. If you suspect the memory card is corrupted, use the "Whole" selection. Otherwise for deleted files, select "Free". Hit enter again and select where to save the recovered files -- use the C key to confirm. Then, start the recovery process.
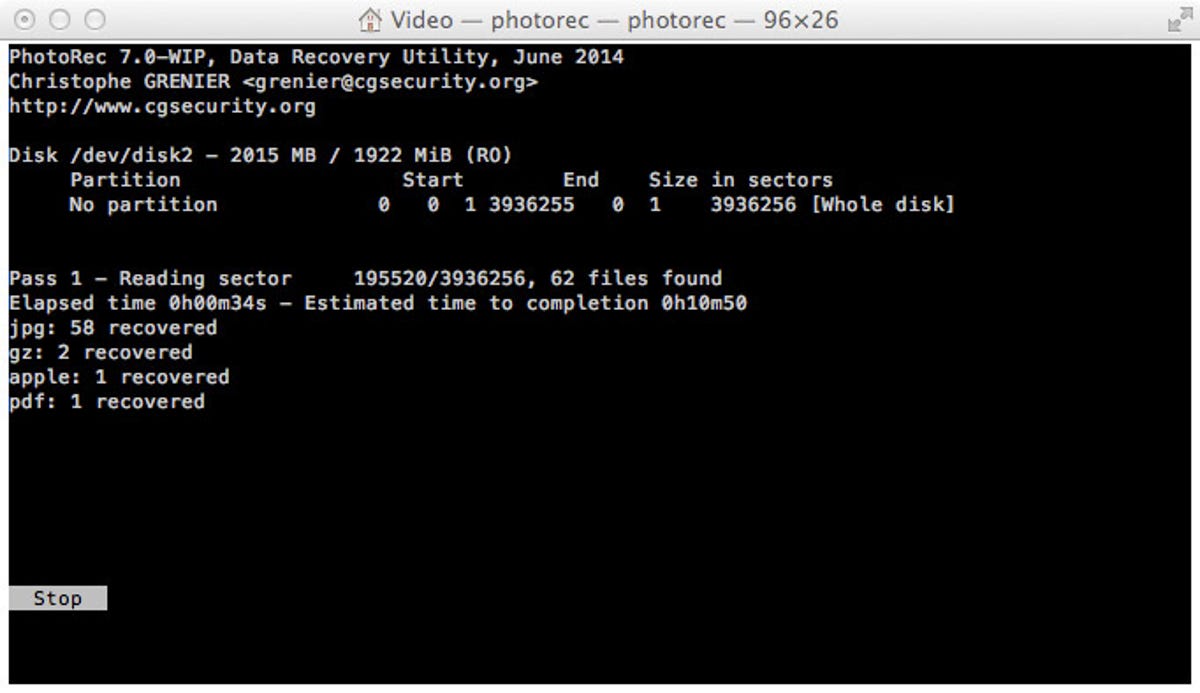
Step 5: Run the scan and see what files it turns up. Hopefully you will get some results here, which means the software has found your images.
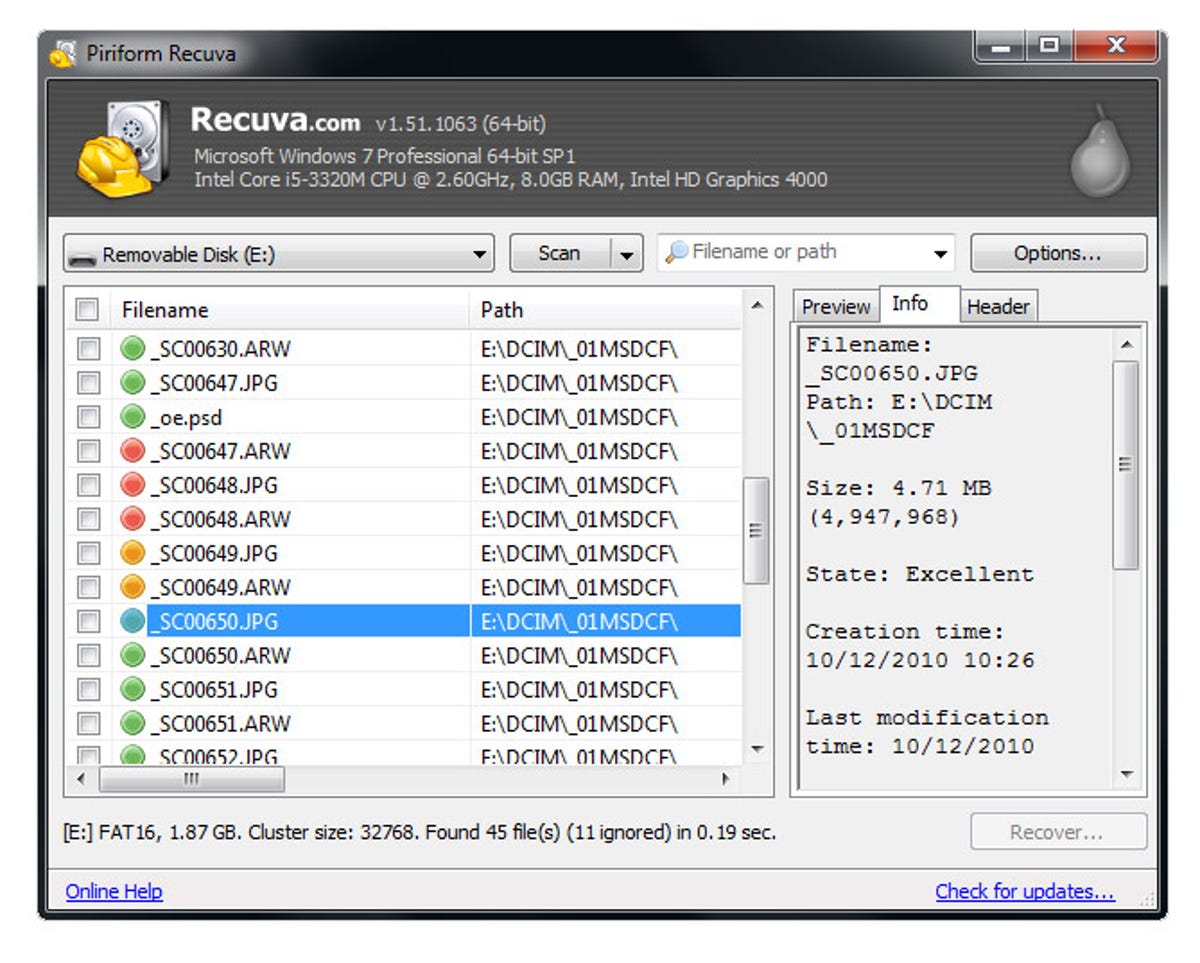
If you chose to search only for pictures in step 4, it will only show up standard file formats like JPEG. If you're looking for raw files and they're not showing up, there is one more step you can do.
In Recuva, click "Switch to advanced mode", which will show you what file types the software is looking for. All you have to do is add the file extension of your camera's raw format. This is typically something like .CR2, .NEF or .ARW depending on your camera brand. If in doubt, check your camera manual.
In PhotoRec, you can choose the types of files to search for using the "FileOpts" command from the main menu. Some proprietary raw formats will be found under the general .tiff extension, so make sure this is selected.
Step 6: For Recuva, select all the images you want to restore, and click the "Recover" button. Choose a place you want to restore the files to. You will want to choose somewhere you can access easily, like the desktop or your pictures folder. It's best not to save them back to the memory card.
For PhotoRec, you will have already chosen a recovery location in a previous step. Navigate to the folder in Finder to see what's there.
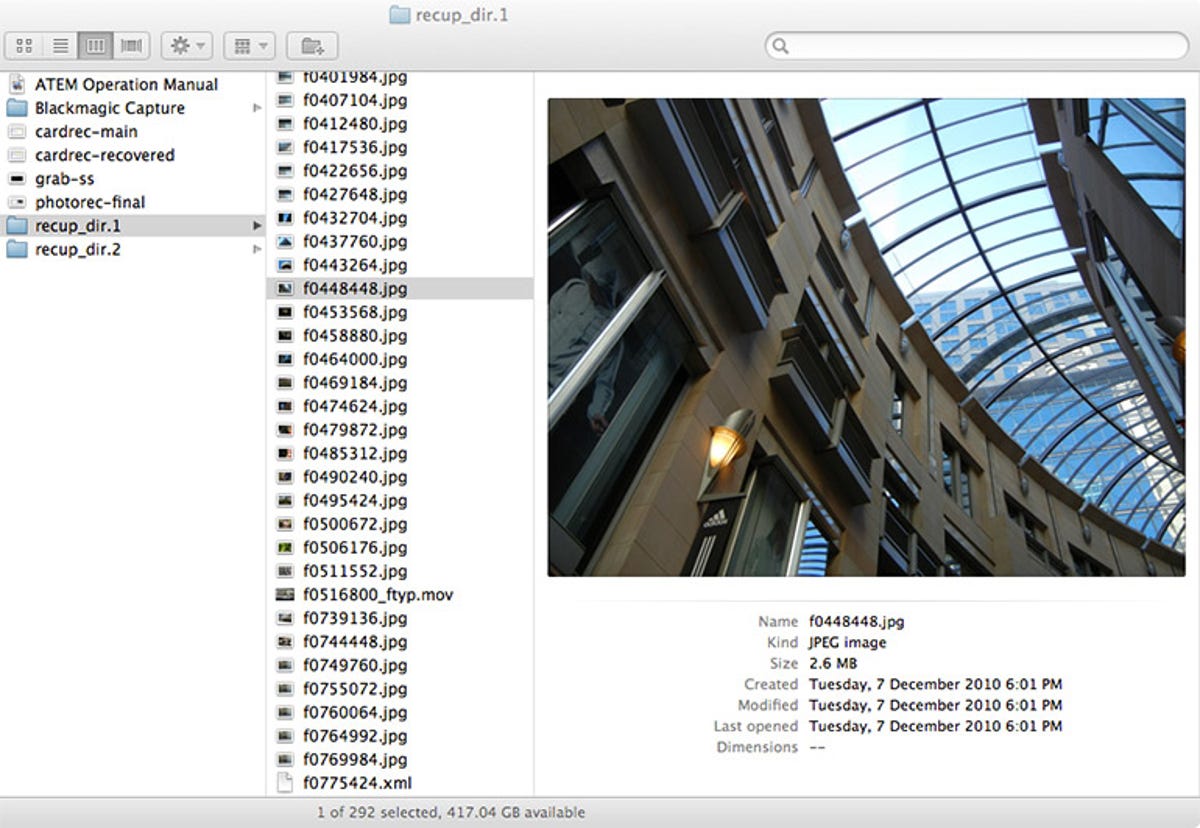
Step 7: Check the files that have been recovered, then back them up!
Hopefully these steps will have recovered your images. If not, there are other options to try, including paid software, as well as professional data recovery services.