How to navigate the new layout of Photos for Mac
Get the lay of the land of the new Photos for Mac app and find out what's new and what's missing.


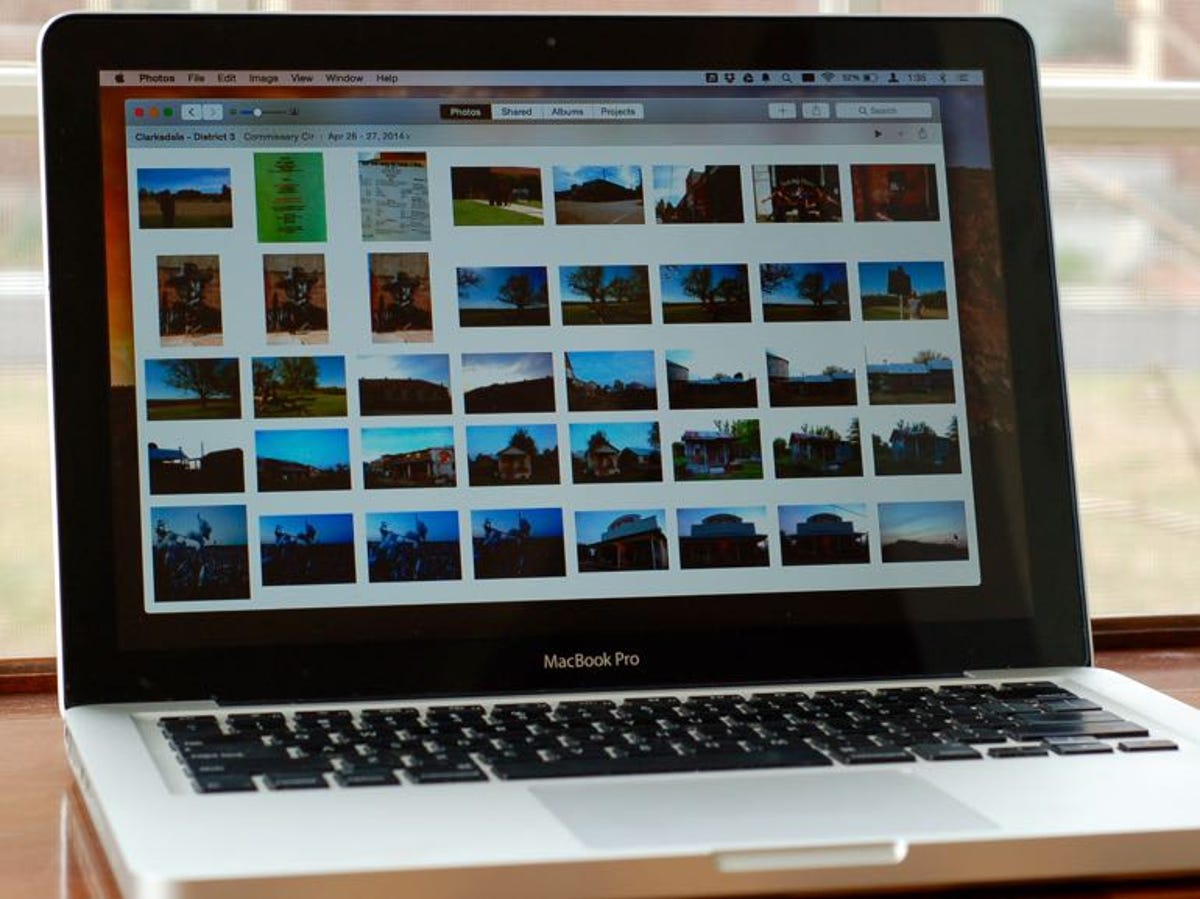
Photos for Mac looks different from iPhoto but the transition to the new OS X application shouldn't be too jarring for iPhone and iPad users. Photos for Mac features a similar layout and structure to the iOS Photos app. Your photos are grouped into Years, Collections and Moments. In addition, there is a new toolbar at the top that lets you see a bigger grid of thumbnails. And there is a new way to mark your favorite photos that does not include stars or flags. Let's have a look at the new layout.
Just as with you get with the Photos app for iOS, Photos for Mac groups your photos into Years, Collections and Moments. Use the two arrow buttons in the upper-right corner to switch between the Years, Collections and Moments views. If you miss iPhoto's sidebar, you can replace these four buttons with a sidebar by going to View > Show Sidebar.
The Years view provides tiny thumbnails so you can quickly jump from one end of your library to another, which is greatly appreciated for navigating large libraries. Jump down a level to the Collections view to see slightly large thumbnails of photos group by date but with location information showing in the header for each grouping. In both the Years and Collections view, you can hold down the trackpad and mouse over the tiny thumbnails to scrub your library, seeing small previews as you mouse about. Jump down one more level to the Moments view, where you'll see even larger thumbnails and even smaller groupings of photos. In the Moments view, there is a small slider at the top of the app that lets you adjust the size of the thumbnails.
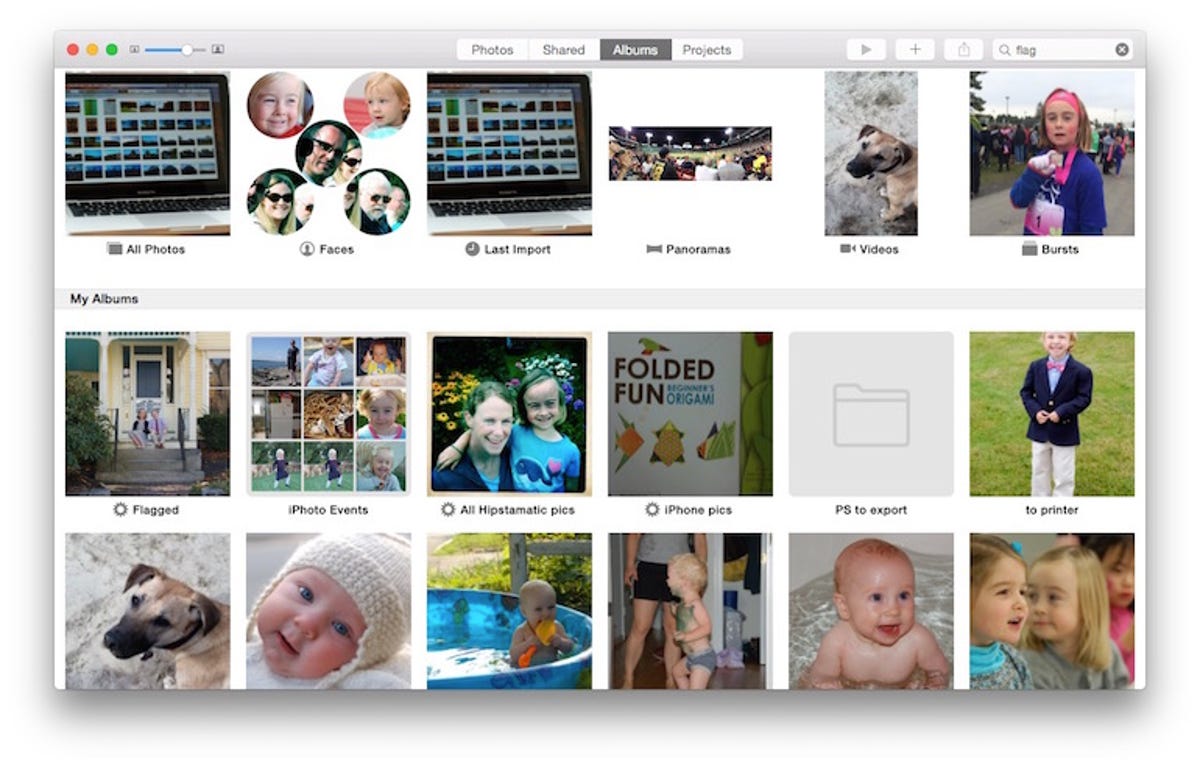
At the top of the Photos window are four main buttons: Photos, Shared, Albums and Projects. If you have turned on iCloud Photo Sharing in Preferences, you can see the albums you shared with other people via iCloud and see albums others have shared with you in the Shared view. The Albums view shows you any albums and smart albums you had previously created in iPhoto -- they make the leap to the Photos app. In addition, Photos creates albums for the Panoramas, Bursts and Videos you took on your iPhone, plus Faces and Last Import albums. On the Projects view you'll be able to work on photo books, cards, calendars and slideshows and any you created in iPhoto are included in the Photos app.
What Photos leaves behind are iPhoto's star ratings and flags. If you got in the habit of rating your photos on a five-point star scale or flagging them, you'll now need to make due with the binary heart system that shows you either love a photo or not. You can, however, use the search box in the upper-right corner to search for photos to which you previously gave a star rating. A keyboard search for "1 star" will, for example, return results of photos rated as a single star. Similarly, you can't flag photo but a "flagged" keyword search will show you all of the photos previously flagged in iPhoto.
To get started, learn how to migrate from iPhoto to Photos for Mac.