How to develop Android apps
If Apple's strict app approval process puts you off developing apps, why not start by learning to code for Android? Read this how-to guide.
Google's Android mobile operating system is perfect for coders who want to develop phone applications, without going through the rigmarole of Apple's approval system. This guide will set you up with the right software and tools to effortlessly code your killer app idea.
No matter how good you are at programming, if you can't wrap your head around Android's software development kit (SDK), your apps might as well be written in Shakespeare. So follow these steps and start getting to grips with the process.
Java Development Kit
The first thing you'll need to begin writing Java applications (the basis of Android apps), is the Java Development Kit (JDK), provided by Oracle at this link.
You've probably picked up Java Runtime Environment (JRE) in one of its myriad forms over the course of your daily Internet doings, which allows you to run applets on your computer. You'd do well to uninstall the version of JRE you have at present in case it clashes with the JDK version you're downloading. Luckily, the installation above includes the latest and greatest JRE version, which will definitely be compatible, saving you the arduous task of re-installing it later.
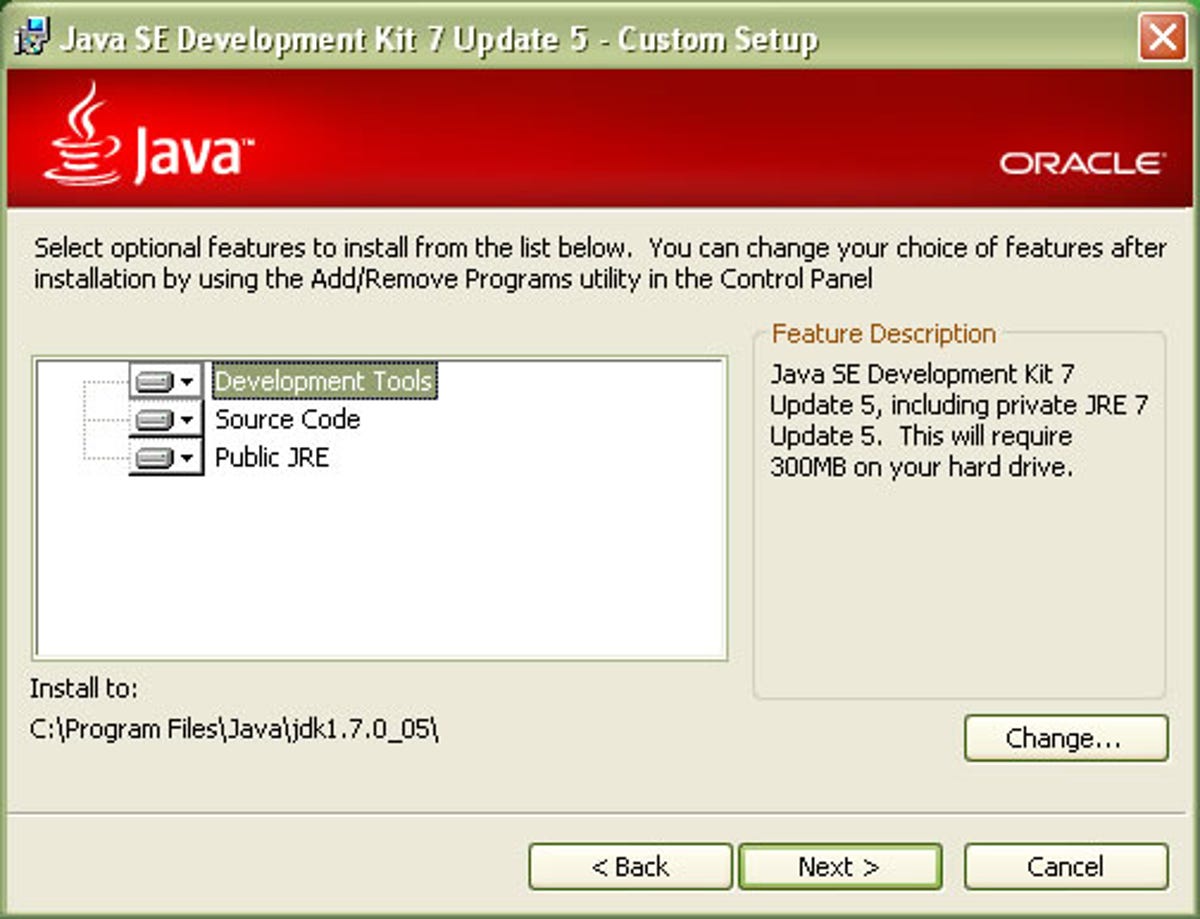
Download and run the installer, make sure 'Development Tools', 'Source Code' and 'Public JRE' are included in the custom install window as seen below (your view may vary). Click 'Next', read the licence agreement if you've got a lot of time on your hands, let it do its thing and you're good to go.
While most integrated development environment (IDE) applications -- detailed in the next step -- come with their own compiler, it's generally useful to configure your newly installed Java compiler to Command Prompt so you can use it if required.
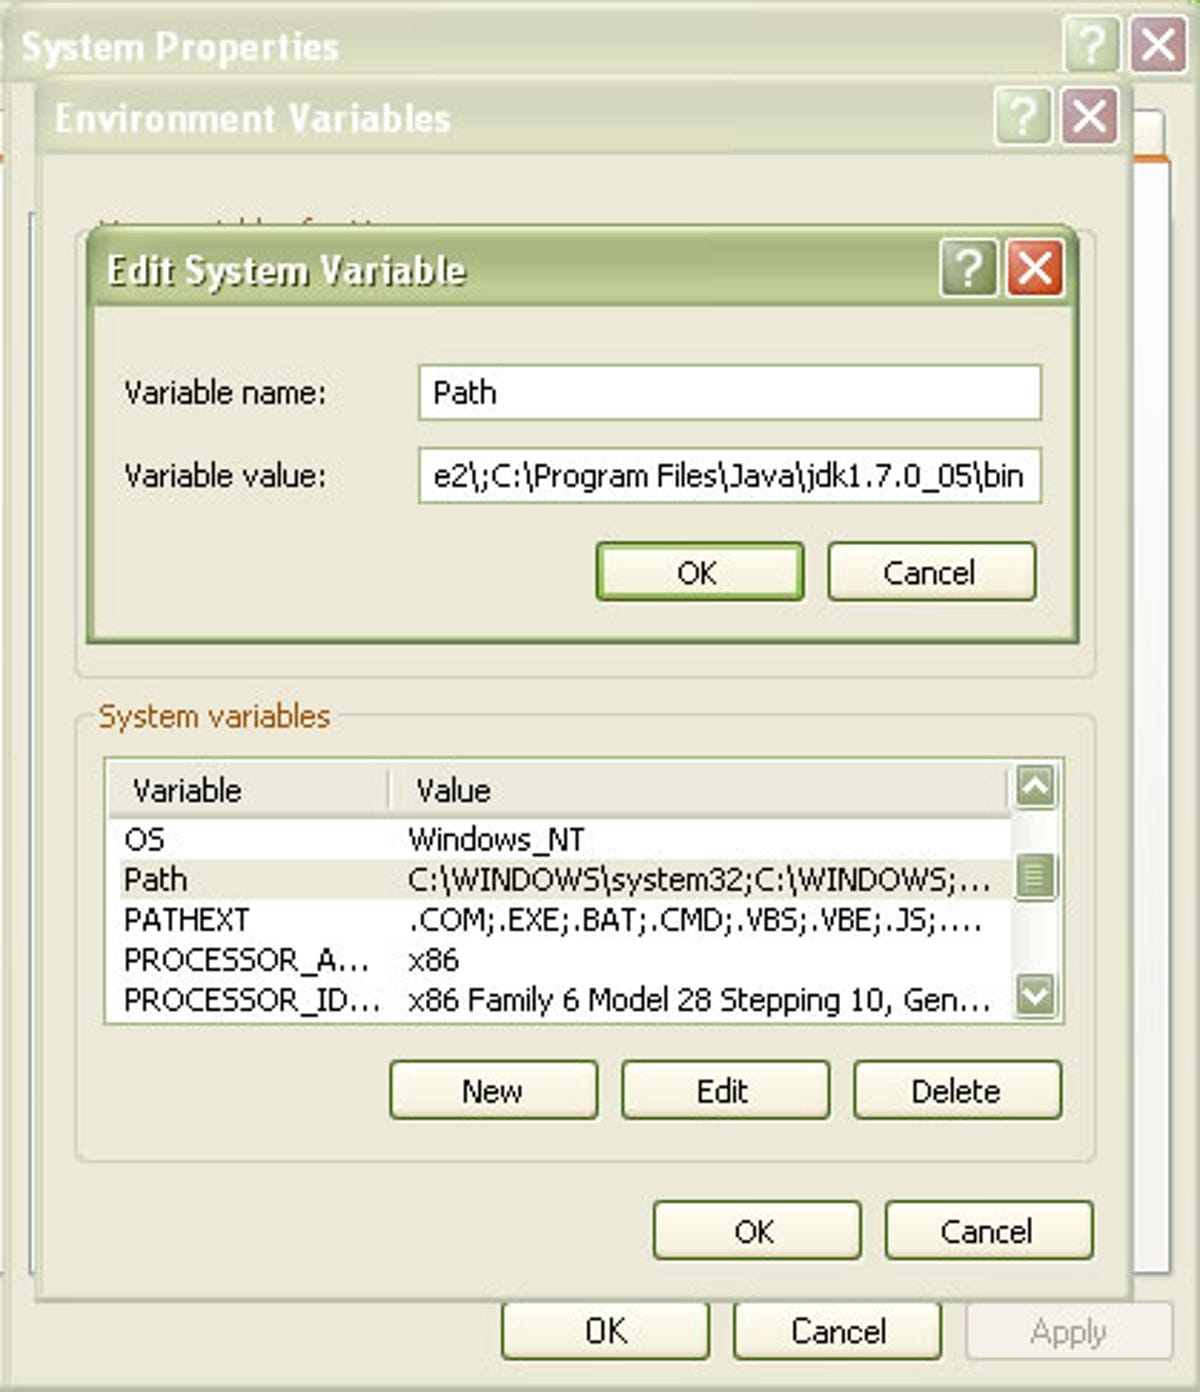
For Windows, navigate to System via Control Panel and select the advanced settings. From here, select 'Environment Variables' and locate the variable named 'Path'. Add the file path of the 'bin' directory of your new Java install, as per the example below.
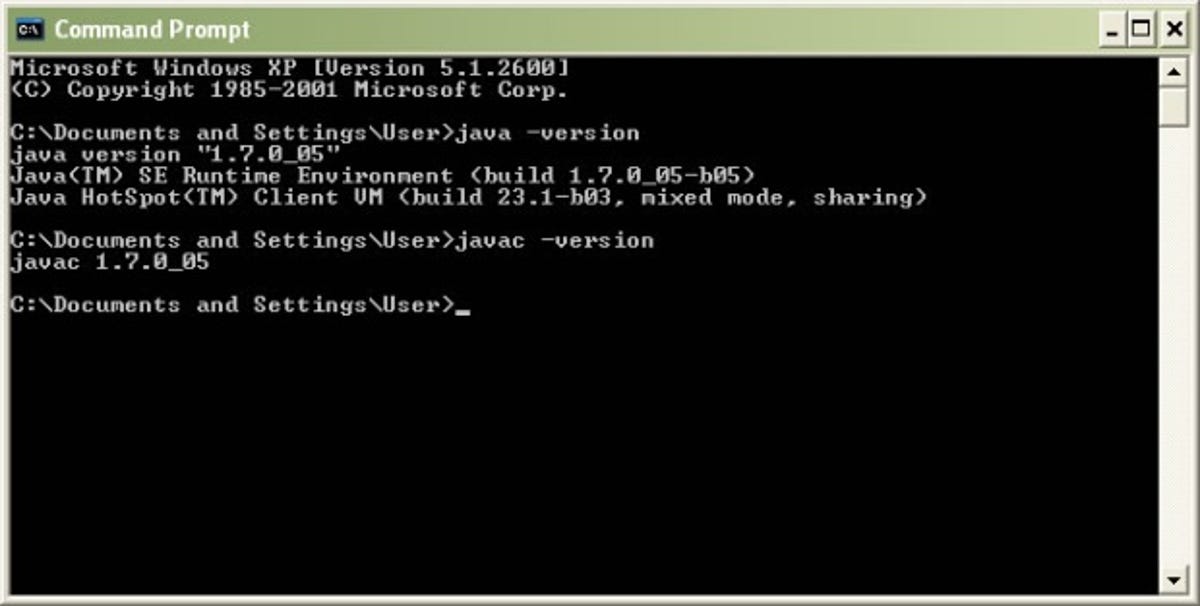
Use the commands 'java -version' and 'javac -version' to check all has gone swimmingly and you should get something along the lines of:
Install an IDE
Integrated development environment software is used extensively by seasoned coders and newbies alike to develop programs. For the uninitiated, an IDE is an application that aids programmers in writing code by providing a compendious set of tools, such as debuggers, a compiler and more.
While there's a wide range of IDE applications available, for this demonstration we'll be using the free software Eclipse, since Google provides a plug-in for it that integrates the Android SDK. Follow this link and find the correct version for your system.
This part varies substantially, but the version I downloaded came as a zip file which, after extracting, included the file 'eclipse.exe' that ran without having to go through any installation. If your version requires an install, follow the steps with default settings since no specific configuration is needed. On first run, you'll be asked to identify a 'Workbench', where your code and related files will be stored. Anywhere convenient will suffice.
Once complete, you should see something not dissimilar to this:
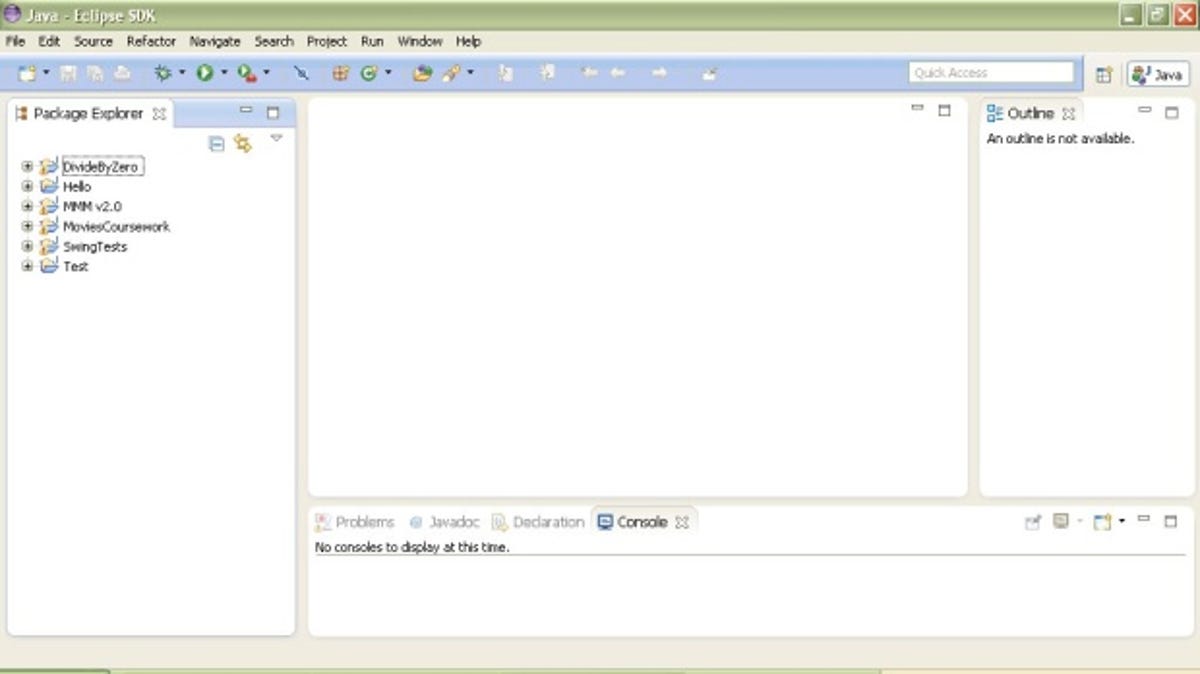
If you want to get more familiar with Eclipse before proceeding, open the Help window and look into the Workbench User Guide. There's also a Java Development User Guide that can give you guidance on the basics of Java if you're unacquainted with the language.
Get Android Software Development Kit
Go to this link and select 'Get the SDK'. On the next page, follow the link to install the Android SDK for your system.
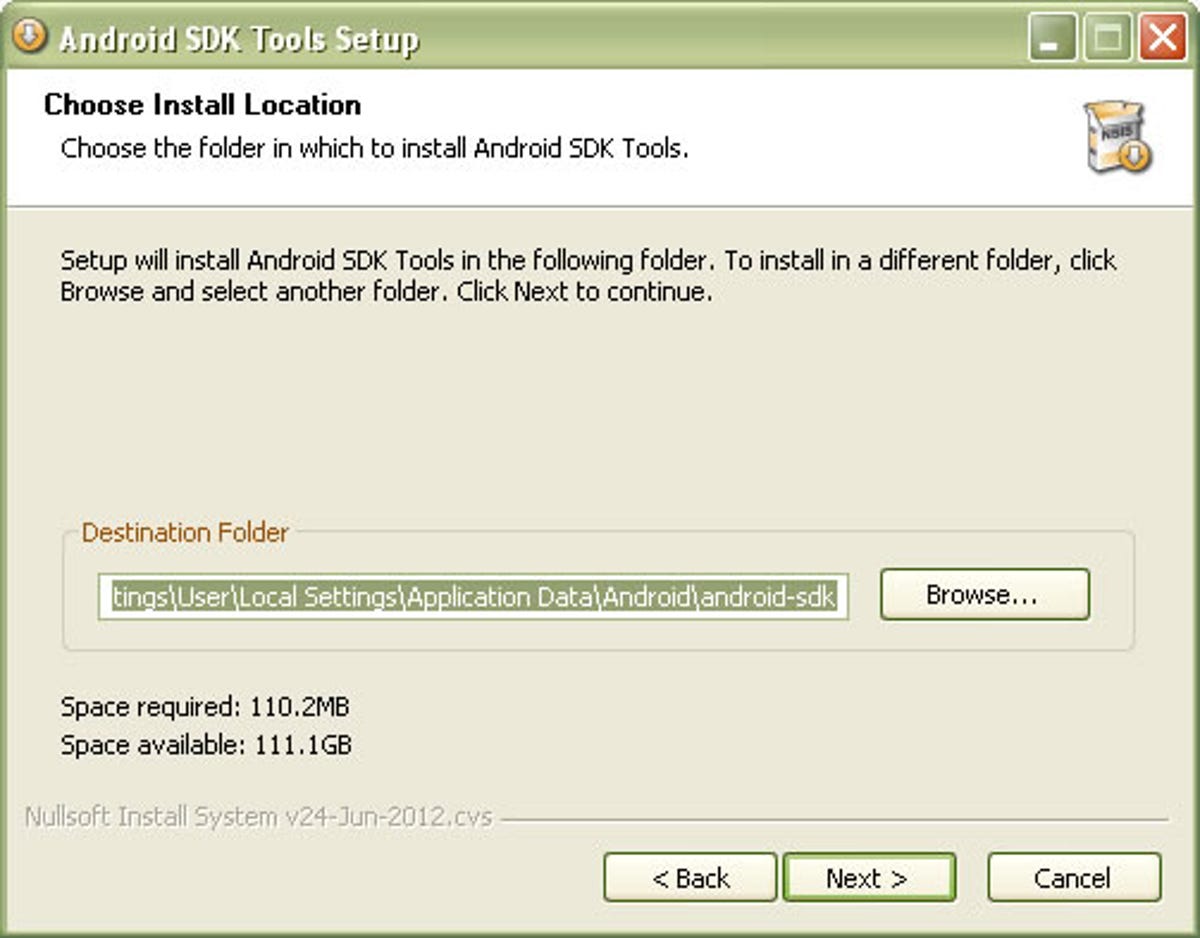
Once the executable file has finished downloading, run the installation. When you get to the window below, make a note of the directory it's being installed to (or change it if you wish).
When the installation is complete, open the Android SDK Manager and you'll be presented with the screen below:
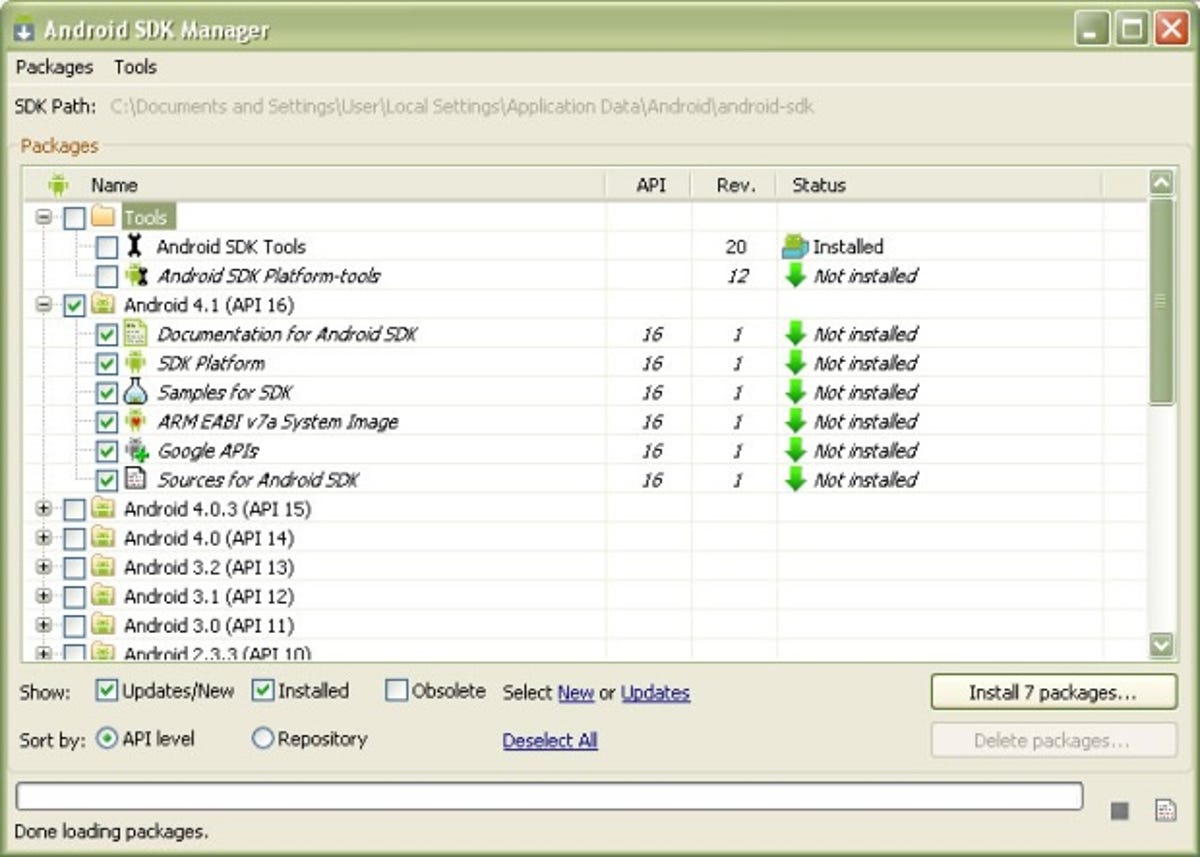
Click on the button to install all the necessary packages and resources that weren't included in the original install.
Install the Android Development Tools plugin
As mentioned, Google has provided a specially made Android SDK plugin for Eclipse, which can be added directly from within the IDE itself.
In Eclipse, go to 'Help' and select 'Install New Software'. Click the 'Add' button and you'll be taken to a window to add the online software repository that holds the ADT plugin. Give it a descriptive name and enter the following URL into the 'Location' box:
- http://dl-ssl.google.com/android/eclipse
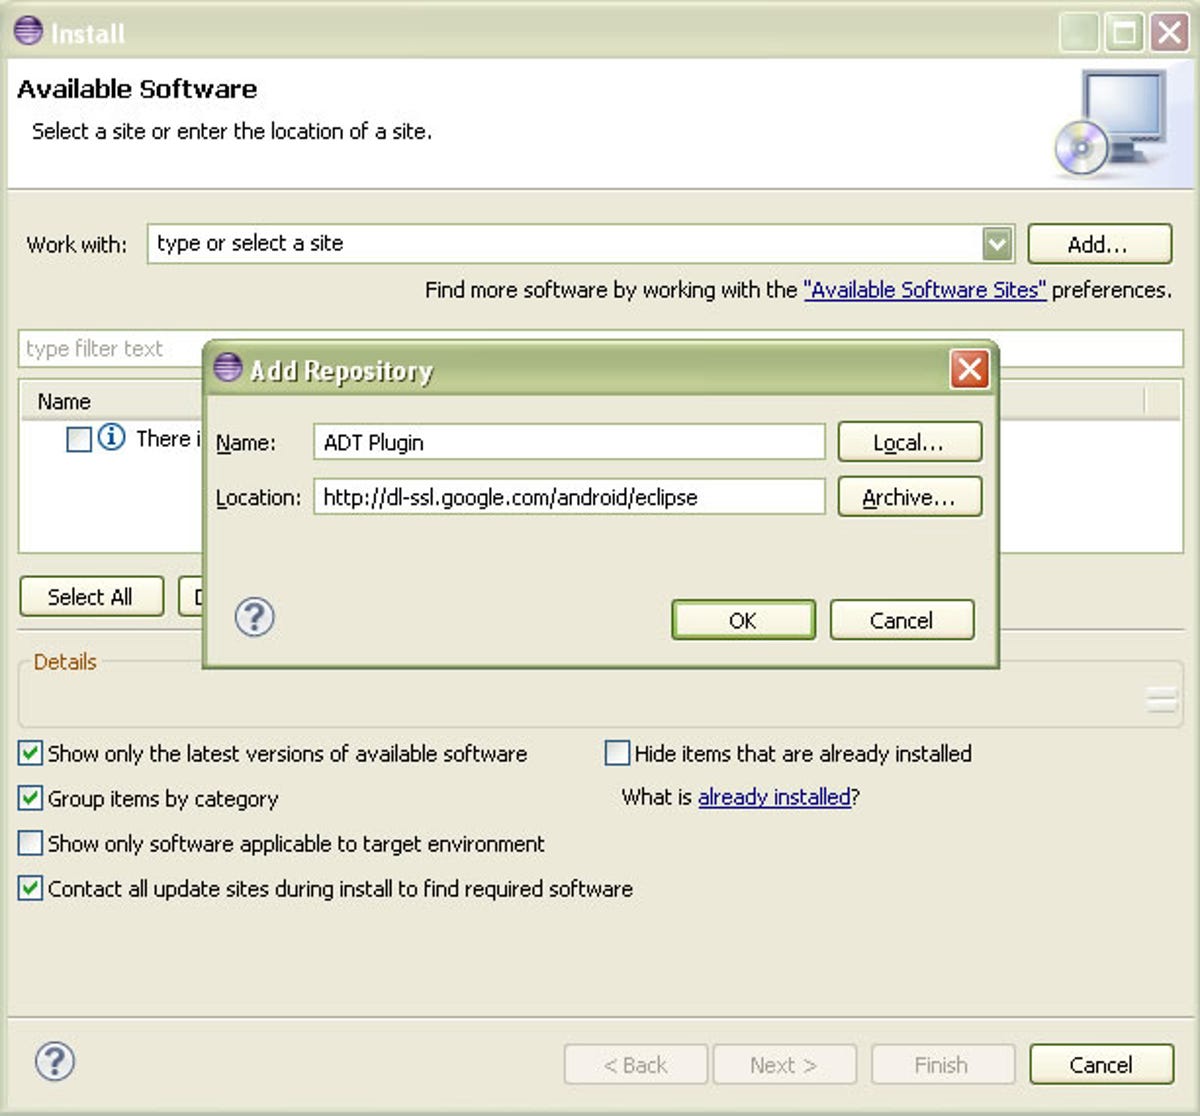
Click 'OK'. Select the newly added repository and tick 'Developer Tools'.
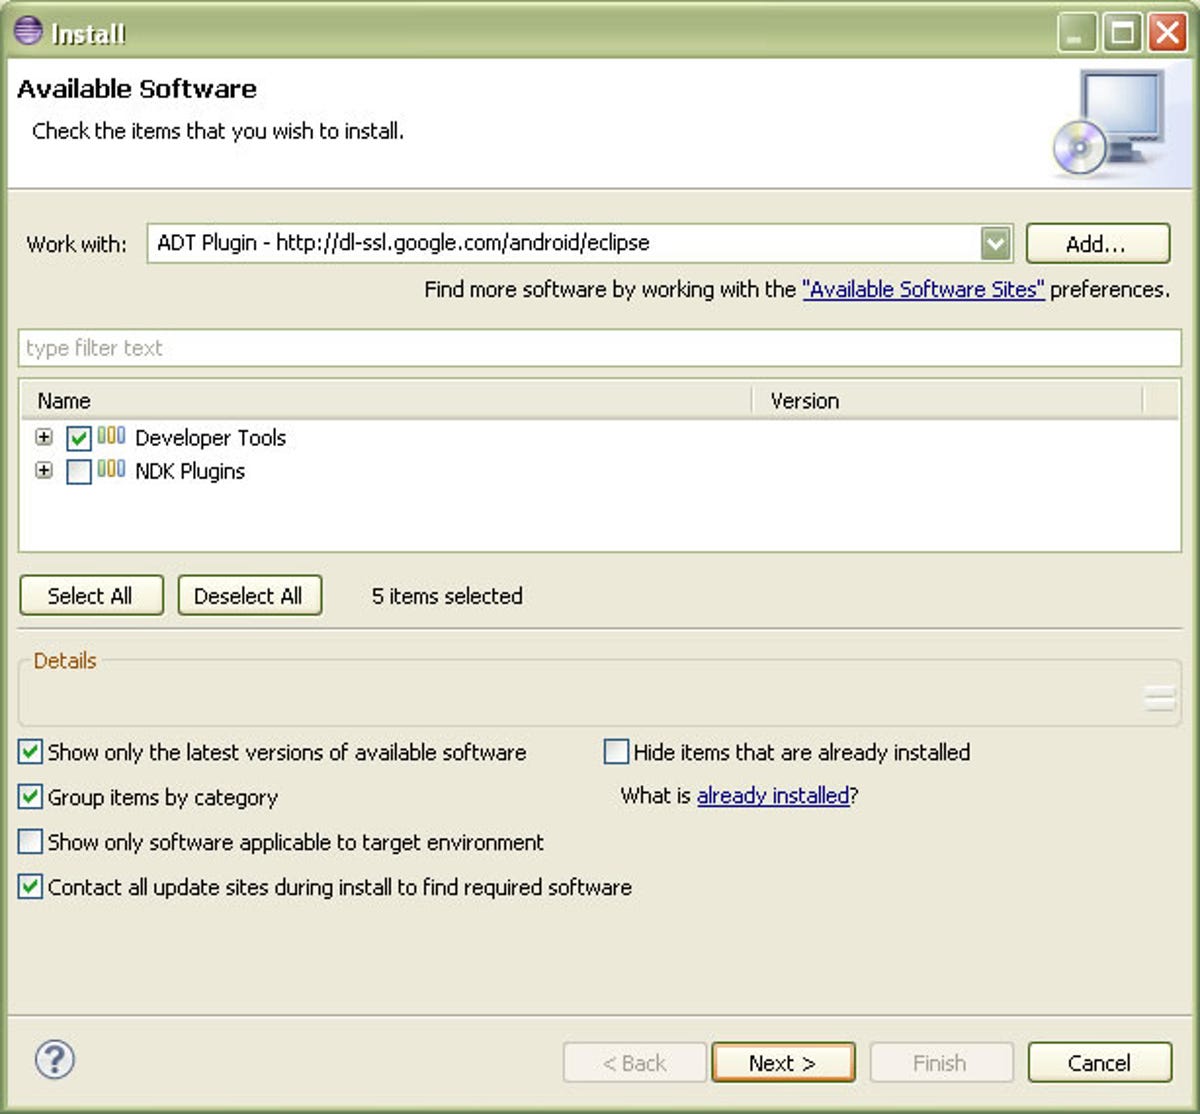
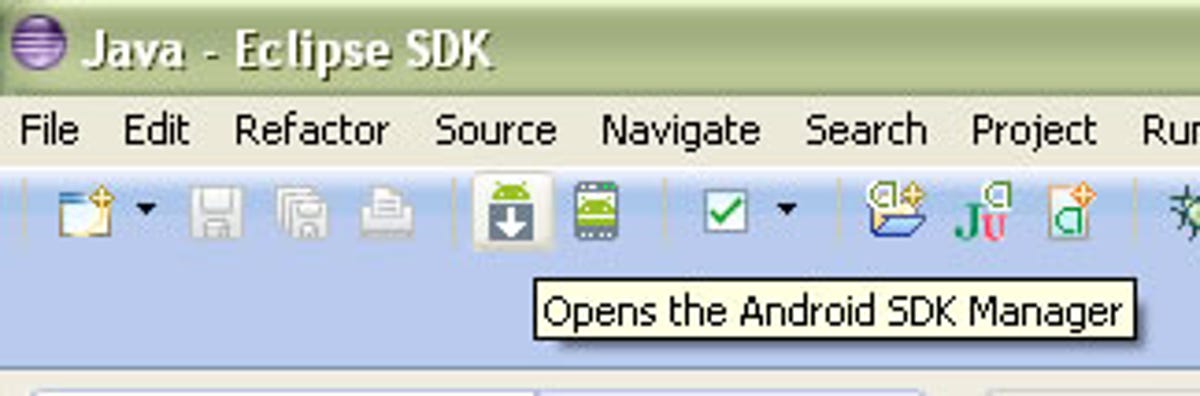
Click 'Next' and follow the steps to install the plugin files. When complete, these two icons should appear in Eclipse's toolbar:
Now go to 'Window' and 'Preferences', select the 'Android' section and ensure the SDK Location is the same as the SDK directory you noted down earlier. You should get results like this:
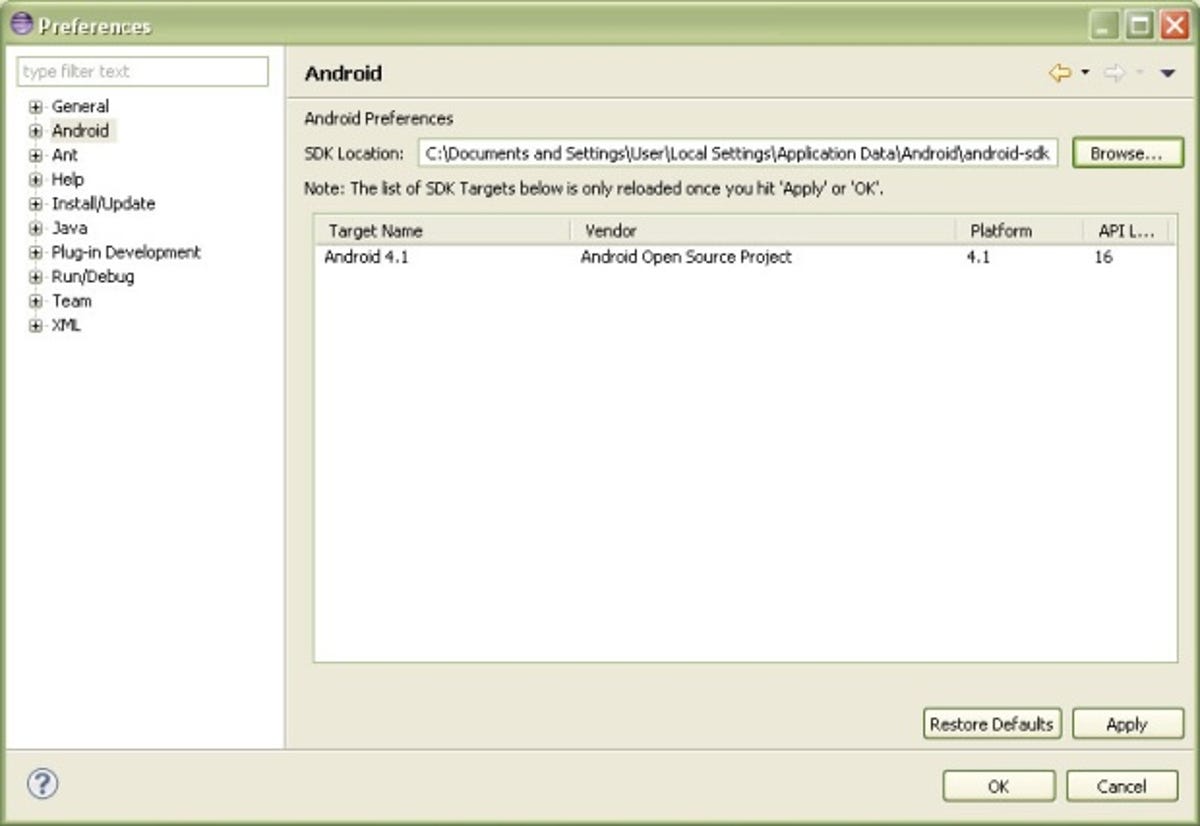
You are now the proud owner of the Android Development Tools plugin.
Setting up the Android emulator
Though it helps, you don't need to actually own an Android device in order to create apps for them, because Google chucks in an emulator of its mobile OS alongside the SDK. Before you start coding, it's worth setting up an Android Virtual Device (AVD) so that you've got a test platform ready and waiting.
In the ADT toolbar that you added in the last step, select the right-hand button with the phone icon. This opens the AVD manager as seen below:
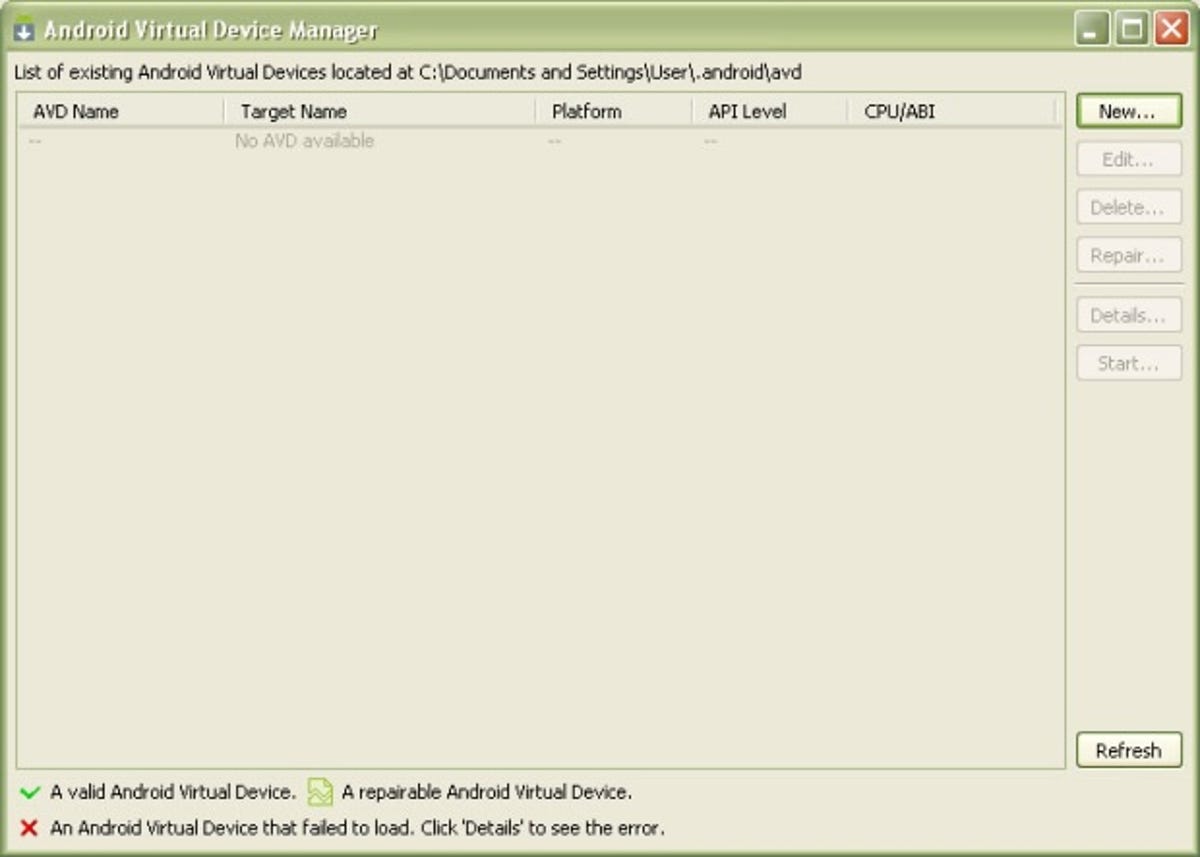
Now we will create a new virtual device. This example will create a generic device but there are resources detailing the configurations for specific Android devices online. Select 'New' and you'll be presented with a blank version of the window below:
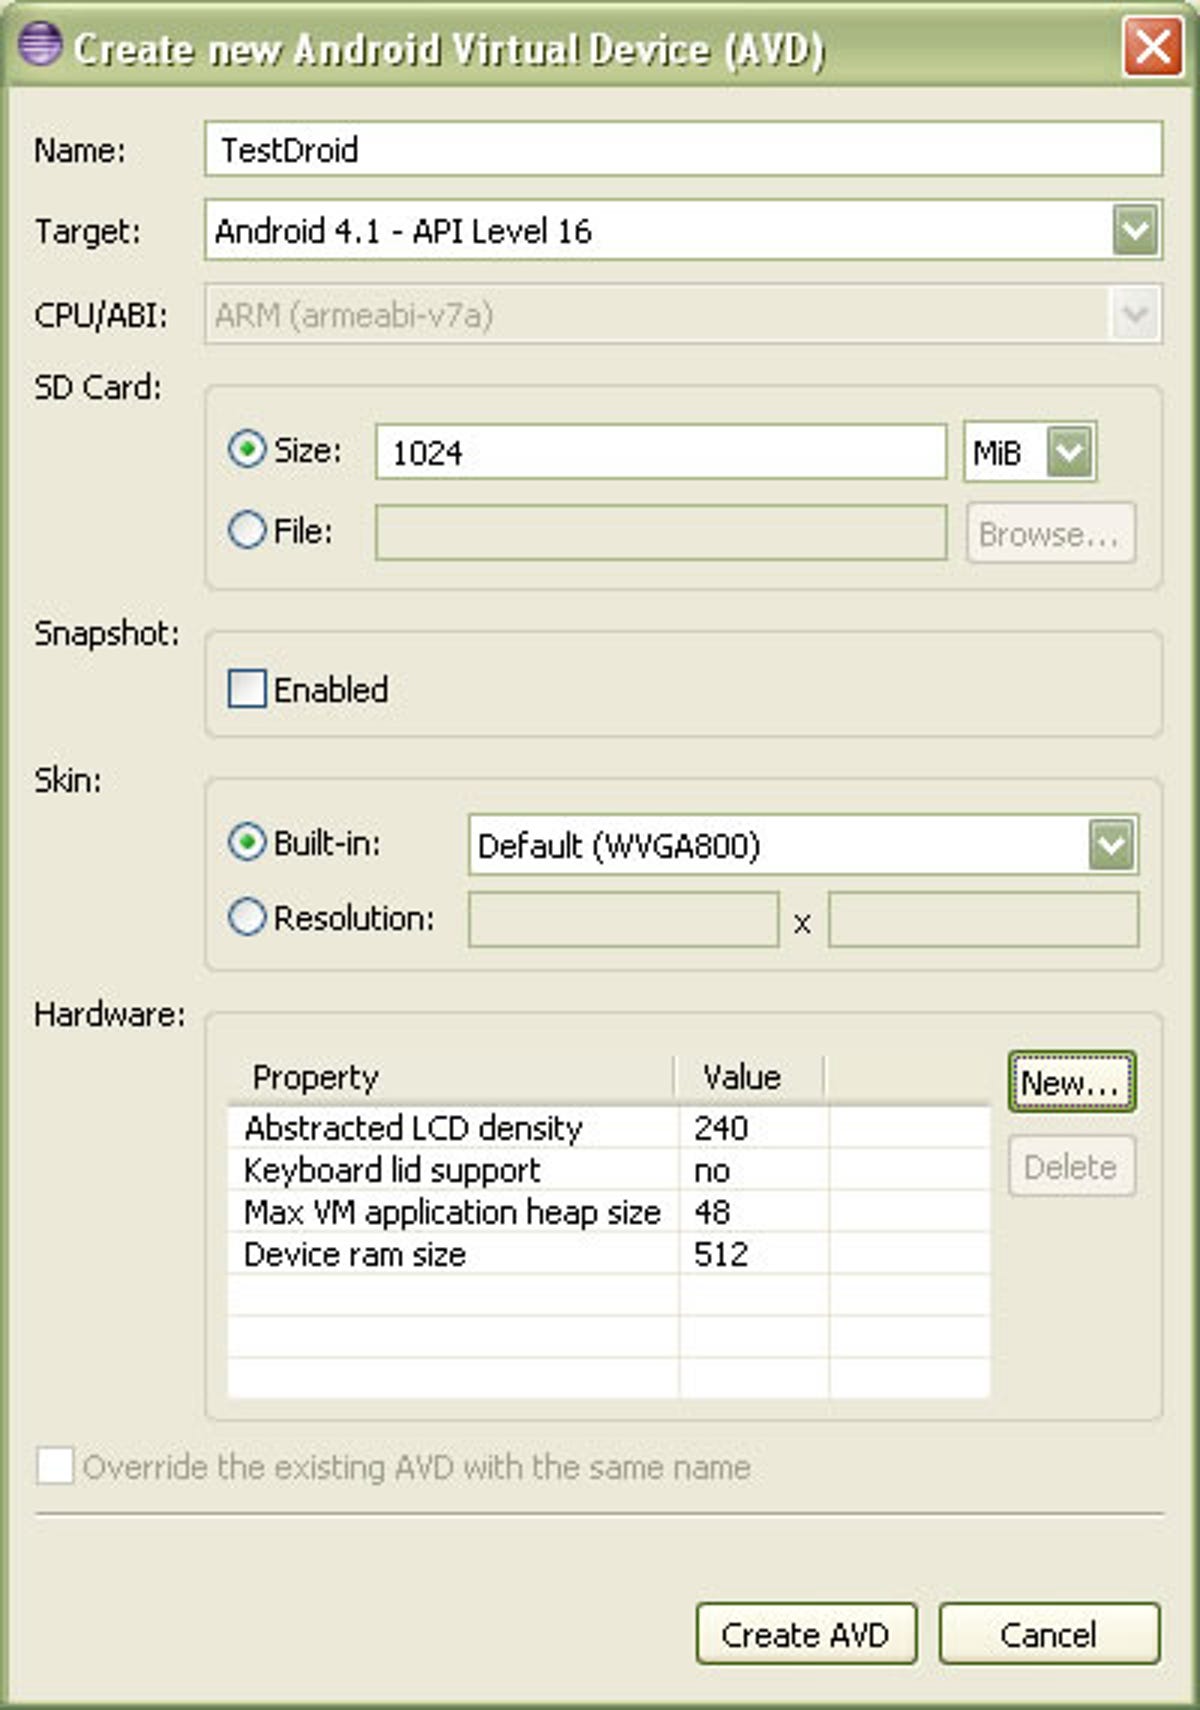
- Name: If you're going to test on multiple device configurations, you'll need something descriptive. Otherwise, a generic name will work fine.
- Target: This is the version of Android that the emulator will run. In most cases, your only option at present is the latest version of Android that came as part of the SDK install. However, if you want to test on earlier versions (which would be wise, given the diversity of versions still in use), then use the SDK manager to install additional versions.
- SD card: Indicating the amount of additional storage the device will use. By default, the virtual device has 194 megabytes of 'internal' storage alongside the SD card, so you can use this control to dictate the approximate storage of the device as a whole.
- Skin: You can use this control to install the appearance and configuration of a specific device (e.g. HTC One X) around the display. But for our purposes, the default value is fine.
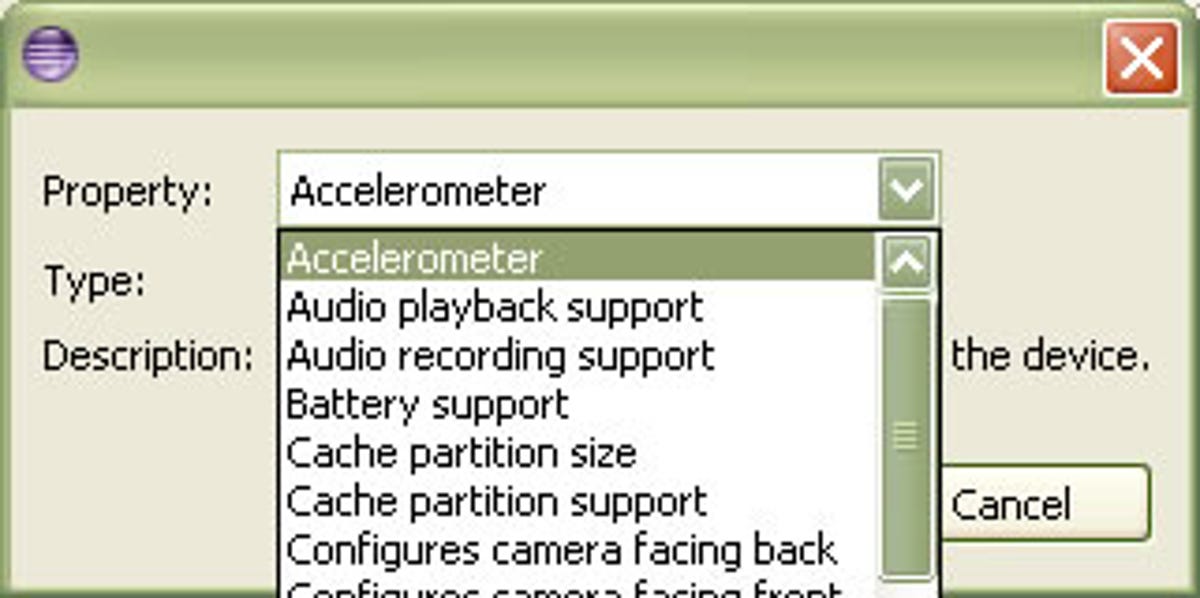
- Hardware: Since there's a massive variety in the hardware on physical devices running Android, you can use this control to add any virtual hardware features you need your app to use.
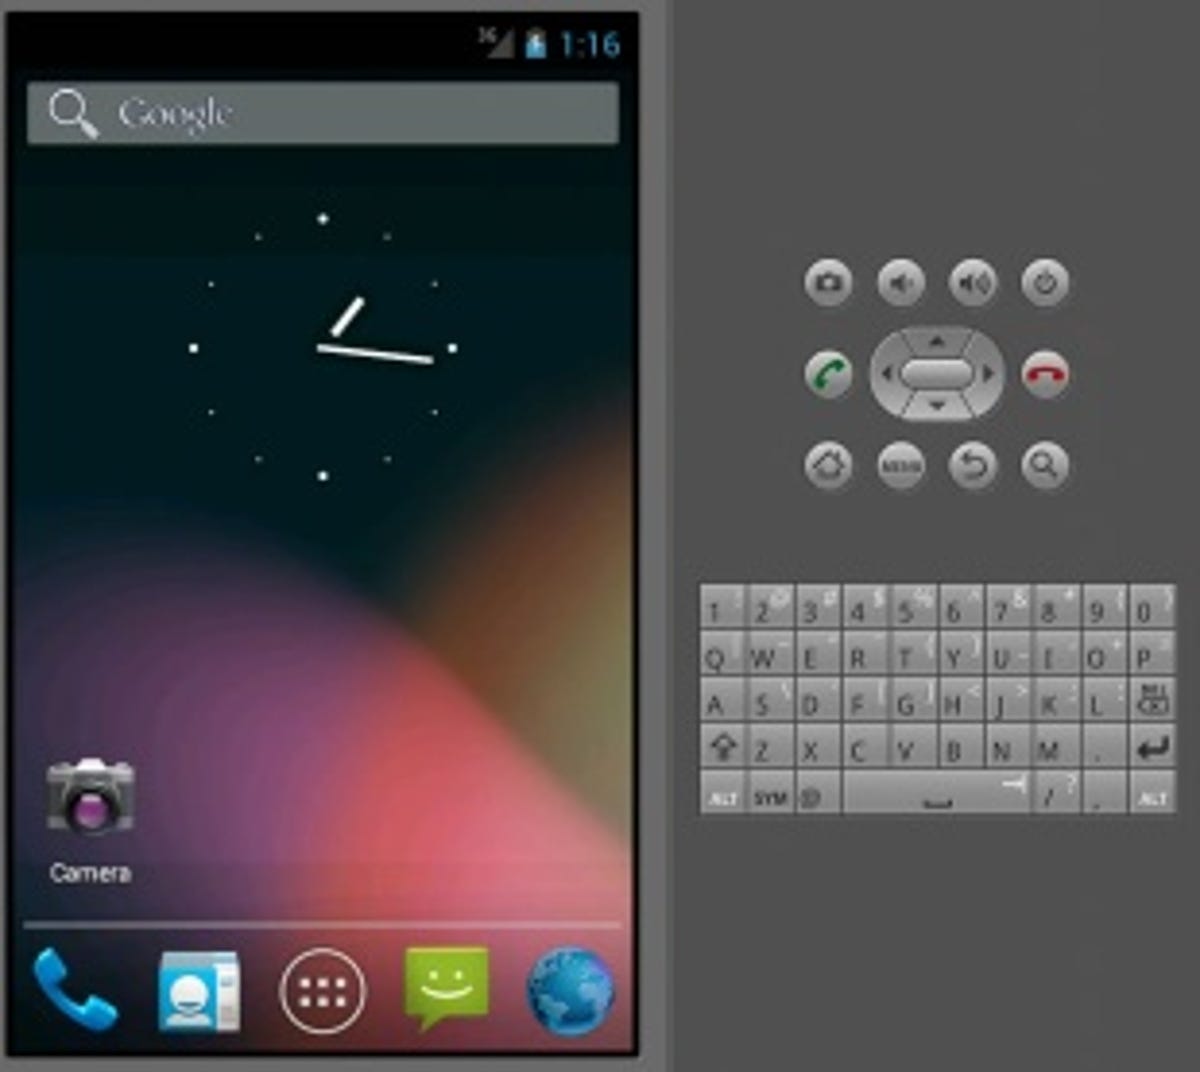
When complete, the AVD Manager window should now list your newly created device. You can click 'Start' to run this device, though be aware that the first boot can take rather a long time.

Your first Android project
Now that you've weighed down your computer with all these applications and plugins, you're ready to get started with the actual coding. But first we need to set up the project files.
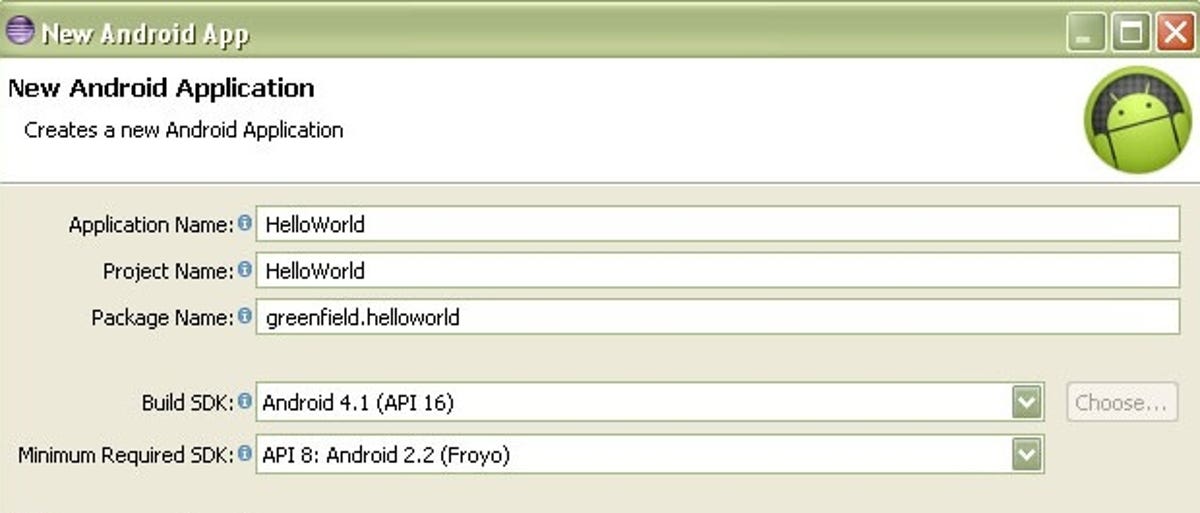
To get started, go to 'File', 'New', 'Project' and expand the Android tab. Select 'Android Application Project' and you'll be presented with this screen:

You can use the rollover icons next to each field for tips on what each value pertains to. The most important to bear in mind is 'Application Name', which will form the name of the application when installed, and the 'Minimum Required SDK', with which you specify the earliest Android version you want to support your app. If you need a refresher on the multitudinous versions of Android, check out this guide.
Click 'Next' to continue and specify a launcher icon that will represent your app. On the next menu you'll be asked to create an 'Activity' for your app.
An activity is effectively an action or view that the user will interact with, so a logical way to divide up your program is by activity in terms of what windows the user will see and the functionality available on each. So if, for example, you're doing a simple "Hello World" program, you only need one activity, which will be the view showing the text, while all the interface settings are pulled down from the resource files that the SDK creates.
When you've decided on your activities, click 'Finish'. Eclipse will cobble together all the files you'll need for your app, in which you will write code and/or change settings to specify the parameters of your program.
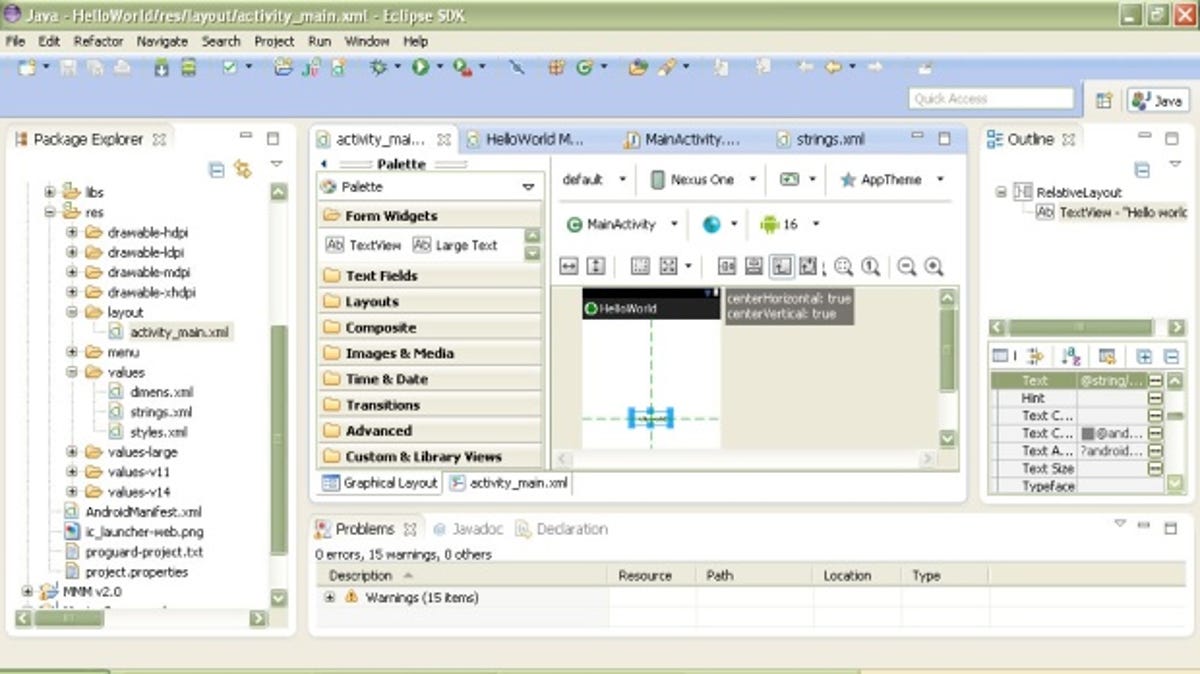
There you have it. Everything's ready for you to start putting together your app. The good chaps at Google have a detailed set of tutorials for getting to grips with developing Android apps (for those with programming experience), on the Android website. Anyone wanting to get started with Java programming first should seek out tutorials such as the ones provided by Oracle.