How to change your iPhone's e-mail alert tone
Unless you are using a beta version of iOS 5, there isn't an easy way to change the e-mail alert tone on your iPhone. I found a way that doesn't cost anything or require you to jailbreak your phone.


My wife's office recently ditched its BlackBerrys for iPhones. Now, when one of our iPhones chirps with the arrival of a new e-mail, we look at one another, wondering who just got an e-mail and who can continue uninterrupted with his or her evening. Unless you have been using a prerelease version of iOS 5, which lets you change the tone for any alert, you're stuck with the default tone. (On my iPhone running iOS 4.3.5, I can change my ringtone and my text tone but not the tone for e-mails.) I wanted to find a way to change the tone for new e-mails without (a) paying any money, and (b) jailbreaking my phone. After an intensive search, I found iPriorityMail 2, a free app that does the trick
iPriorityMail may not be the prettiest app, but it's fairly easy to set up an alert with a custom tone for all new e-mails. You can also set up alerts for specific contacts or groups, and you can also set up alerts for Facebook and Twitter and other apps. For this tutorial, I'll show you how to set up an alert for all incoming e-mails, how to create a different tone for a specific contact, and then how to disable the default tone in iOS so you don't get two tones when a new e-mail arrives.
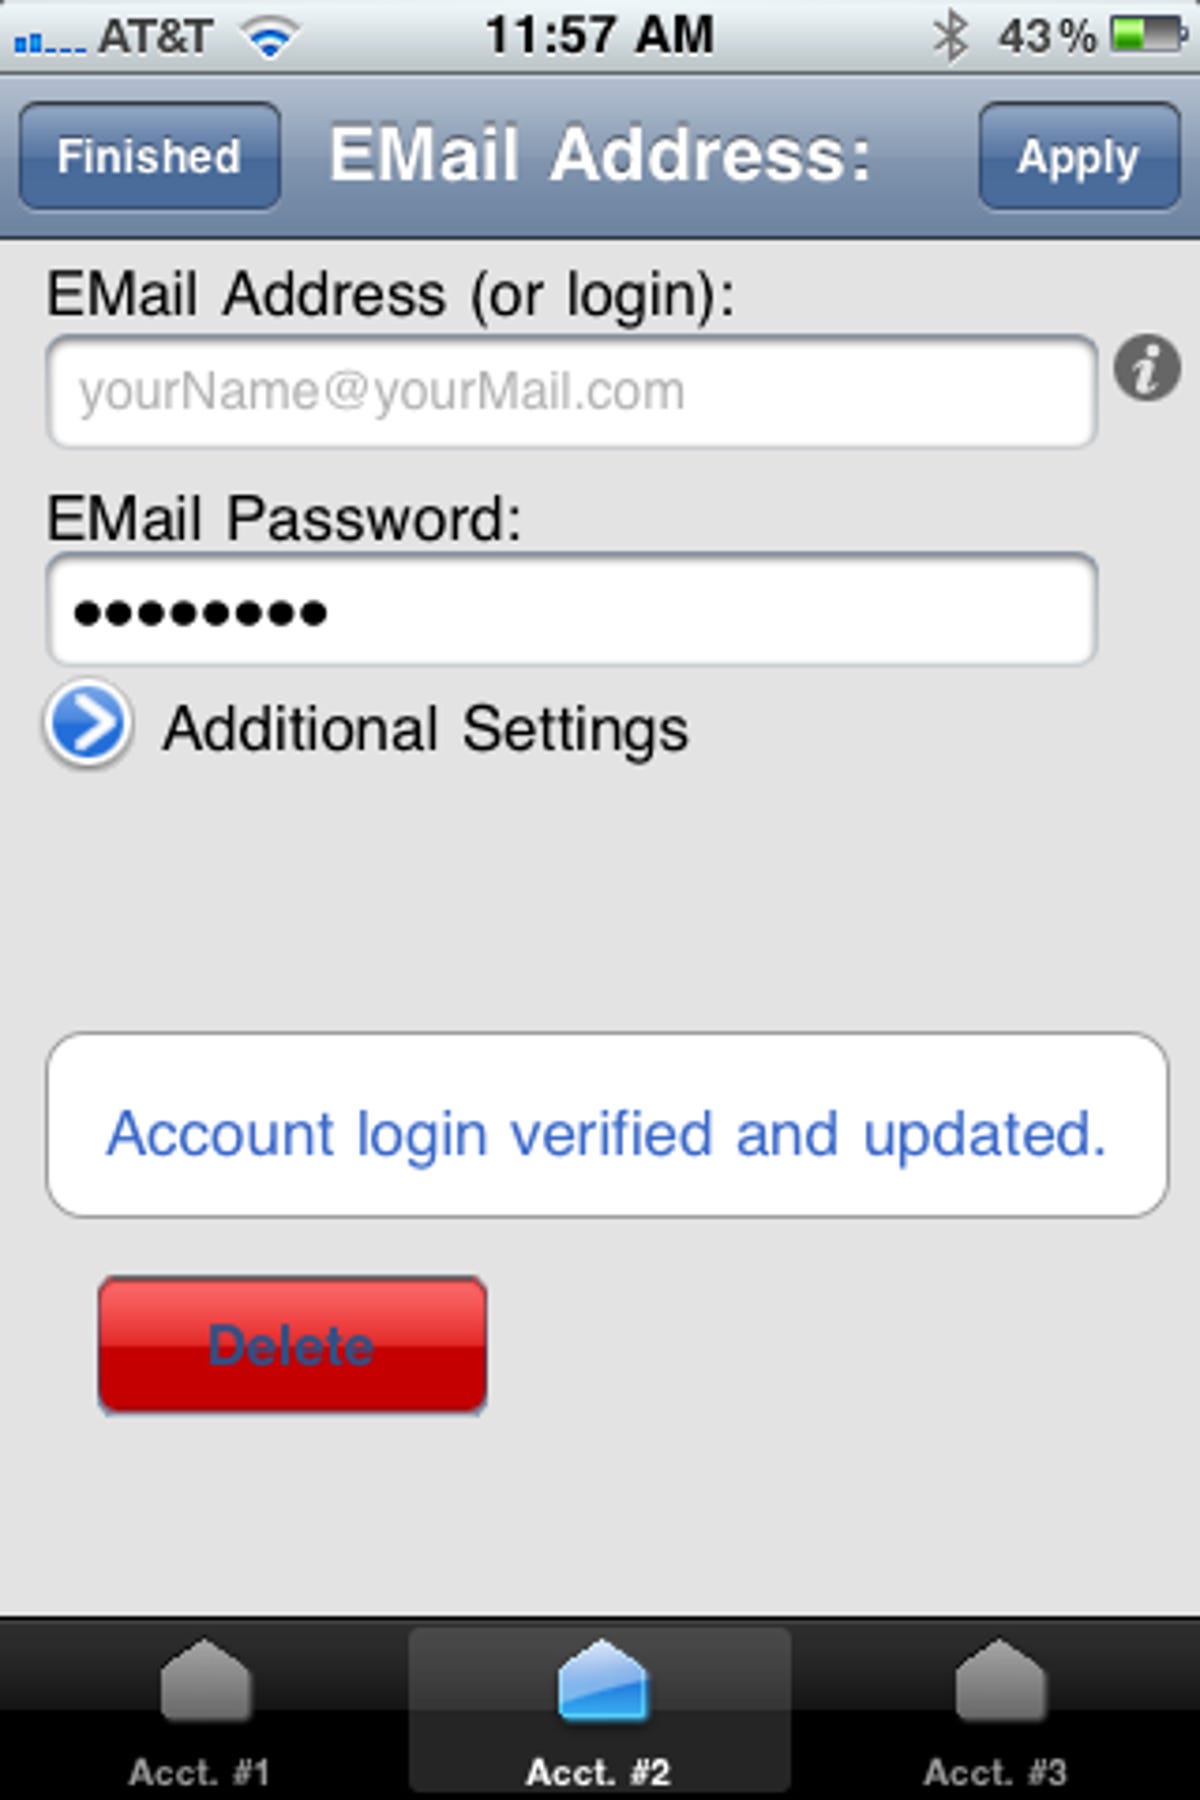
After launching the app, you'll first need to connect your e-mail accounts(s) with iPriorityMail. Tap the Menu button in the lower-left corner and choose Manage Email Accounts. On the next screen, enter your e-mail address and password and tap Apply. The app doesn't give you a pop-up to confirm that your e-mail account has been accepted, but you can tell it took if the text in the middle of the screen changes from "Enter Email login information to activate" to "Account login verified and updated." You can enter up to three e-mail accounts.
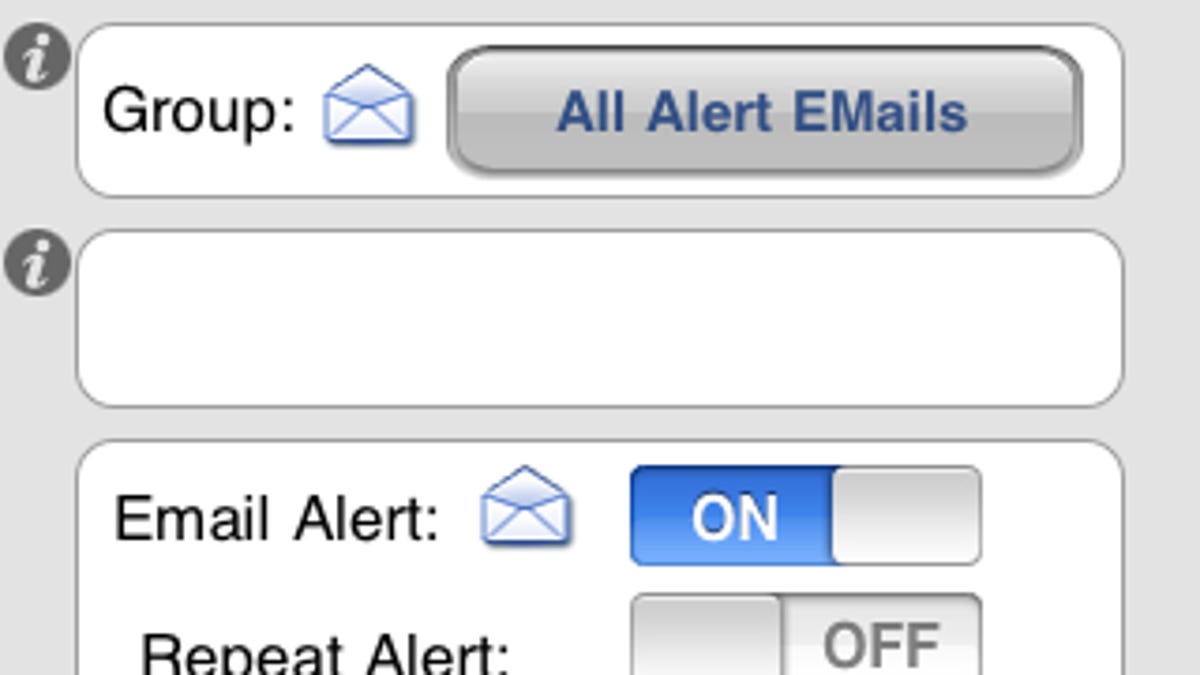
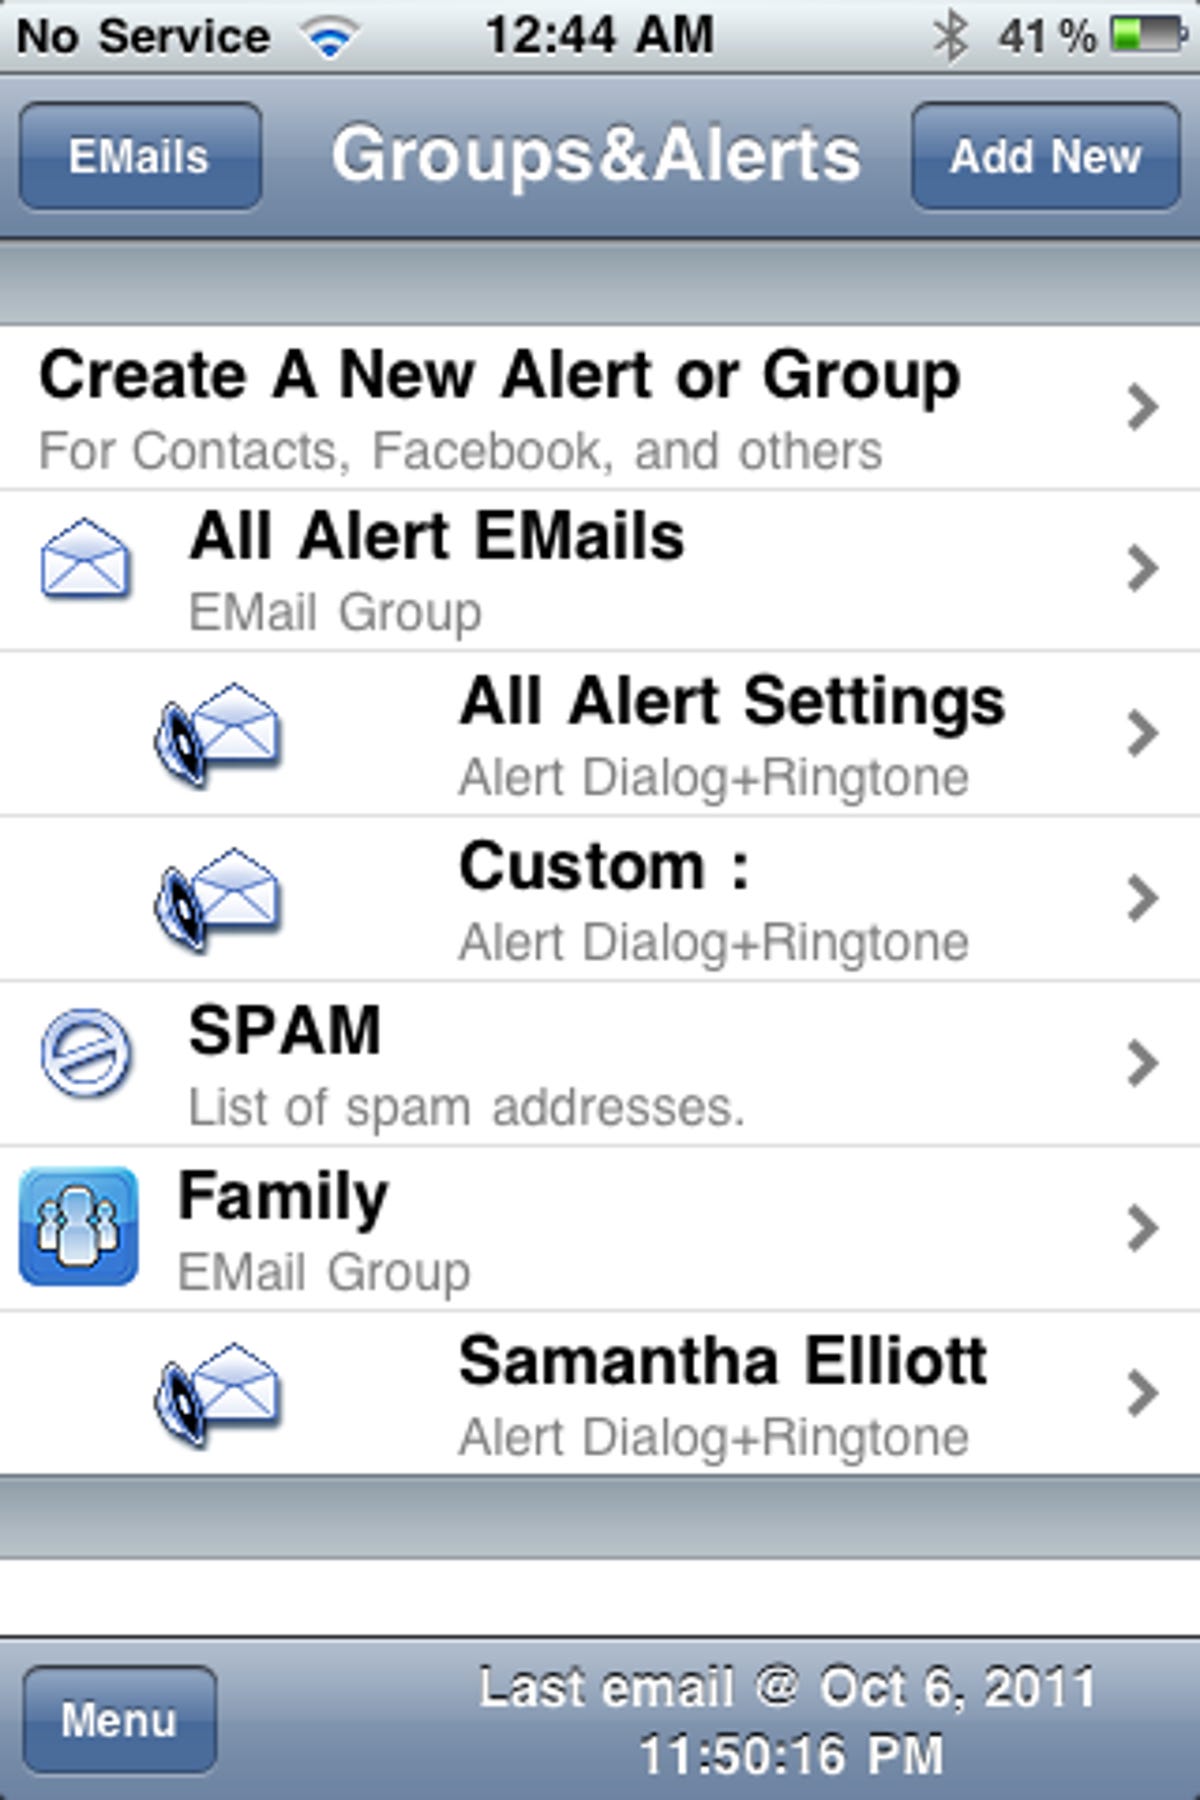
Next, tap Finished and then tap the Edit Alerts button in the upper-right corner. Choose All Alert Settings to pick a tone for all incoming e-mails. From this page, you can also turn this alert on or off and set it to repeat the tone at an interval ranging from 10 seconds to 10 minutes.
To set up a different tone for a specific contact, return to the Groups & Alerts screen and tap the Add New button in the upper-right corner. Choose a group from the menu and it gets added to the Groups & Alerts list. Tap on the group you just created, choose Add Alert to Group, and then choose Add a contact to the alert. Your address book will open, letting you select a contact. Then from the Groups & Alerts screen, tap on this contact and choose a tone from the options listed next to the Ring header at the bottom. There are a few choices where the alert is a word instead of a sound. For example, my iPhone now says "Wife" when I get an e-mail from my lovely wife.
In addition to emitting a custom tone for e-mails, iPriorityMail also delivers a push notification with a truncated portion of the e-mail message. These truncated messages are saved in the app, and there is also a Reply to Email button that takes you to your e-mail app.
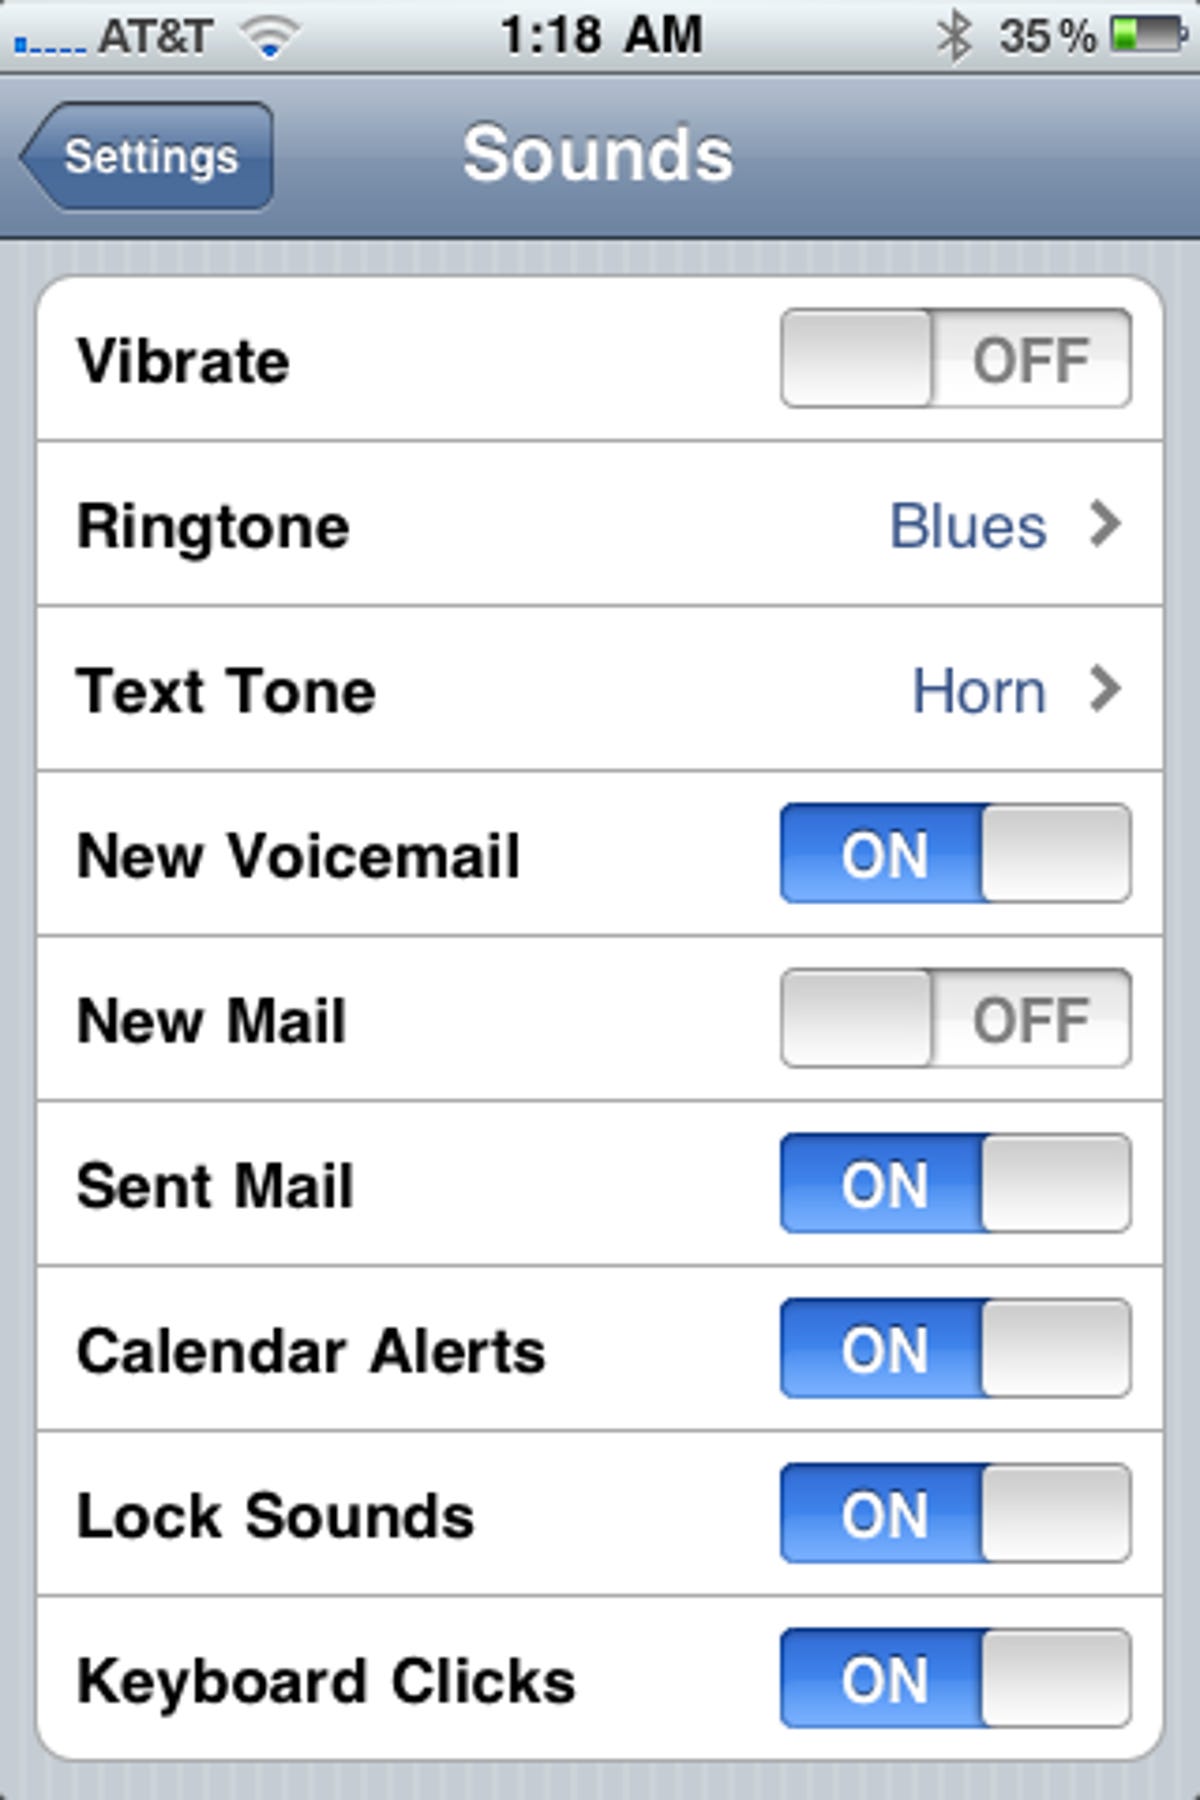
Now we have created a tone for all incoming e-mails that differs from the default tone in iOS, and we have created a separate tone for an individual contact. But we're not done. At this point, when a new e-mail arrives, you'll hear two tones--the custom tone from iPriorityMail and then the default iOS mail alert tone. To disable the default iOS tone, head to Settings > Sounds and scroll down to New Mail and turn it off.