How to change your computer's name in Windows 10
Want to make your PC more recognizable on your network? Follow these steps to rename it.


There are plenty of reasons to change your computer's name -- especially if you bought it directly from a manufacturer and it's named something generic like "windows-user-pc" or "TUF000445811EE". If you want to connect computers through a homegroup, or just be able to recognize which computers are on your network, changing your computer's name to something more descriptive is definitely helpful.
Or maybe you just want to name your computer something cool -- add a personal touch. I name all my computers after figures from Greek mythology. I also name my cars.
Before Windows 10, changing your computer's name was complicated. Well, not so much complicated as hidden inside the Control Panel in the System Properties windows. While you can still change your computer's name in System Properties (we'll show you how), Windows 10 has made it much simpler by putting it in the new Settings menu.
Here's the easy way to change your computer's name:
1. Open Settings and go to System > About.
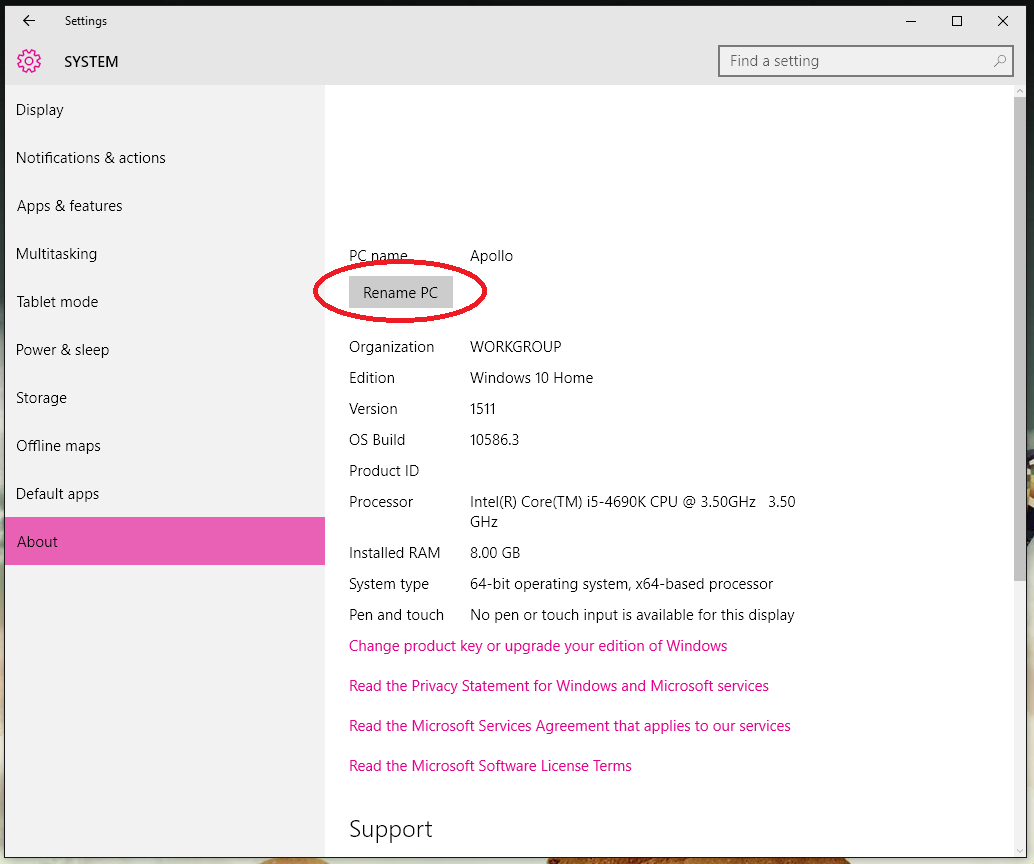
2. In the About menu, you should see the name of your computer next to PC name and a button that says Rename PC. Click this button.
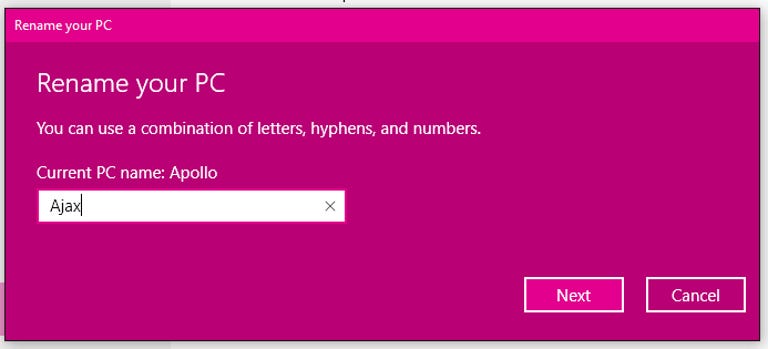
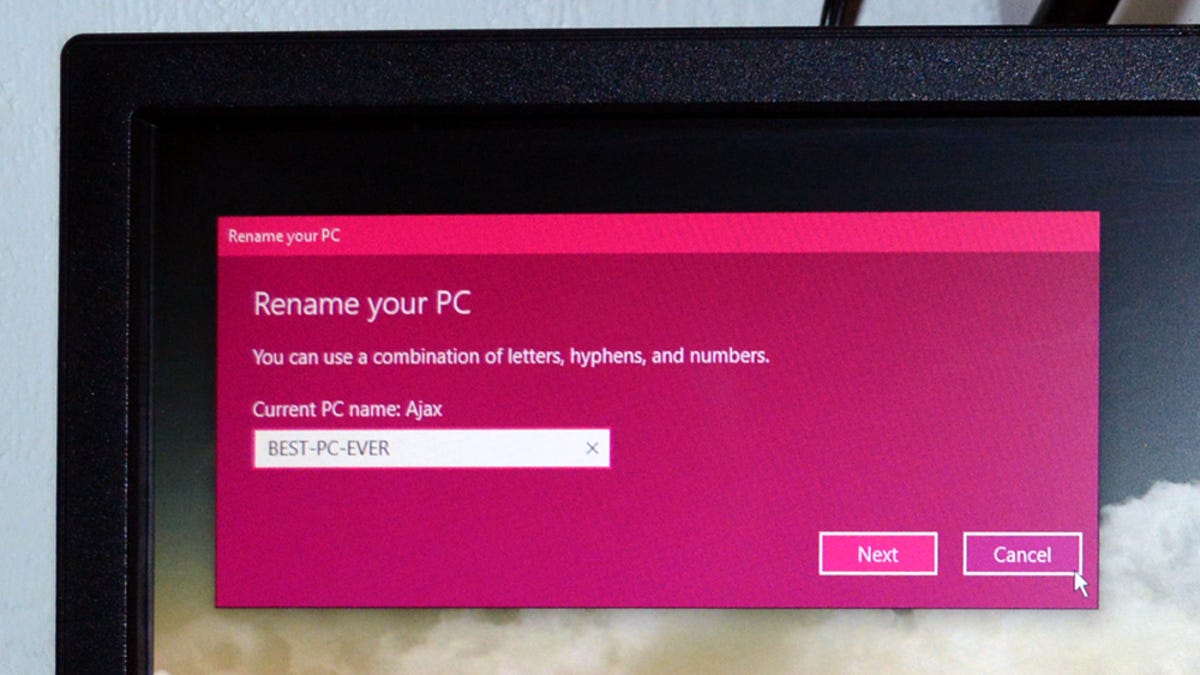
3. Type the new name for your computer. You can use letters, numbers and hyphens -- no spaces. Then click Next.
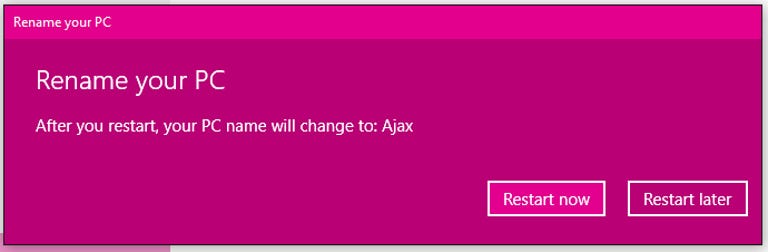
4. A window will pop up asking if you want to restart your computer now or later. If you want to change to the new name immediately, click Restart now to restart your computer. If you don't want to restart your computer right this second, click Restart later. Your computer's name will be updated the next time you restart it.
If you'd rather change your computer's name in the Control Panel, or if you're running an older version of Windows, here's how to do that:
1. Right-click on the Start button and click Control Panel.
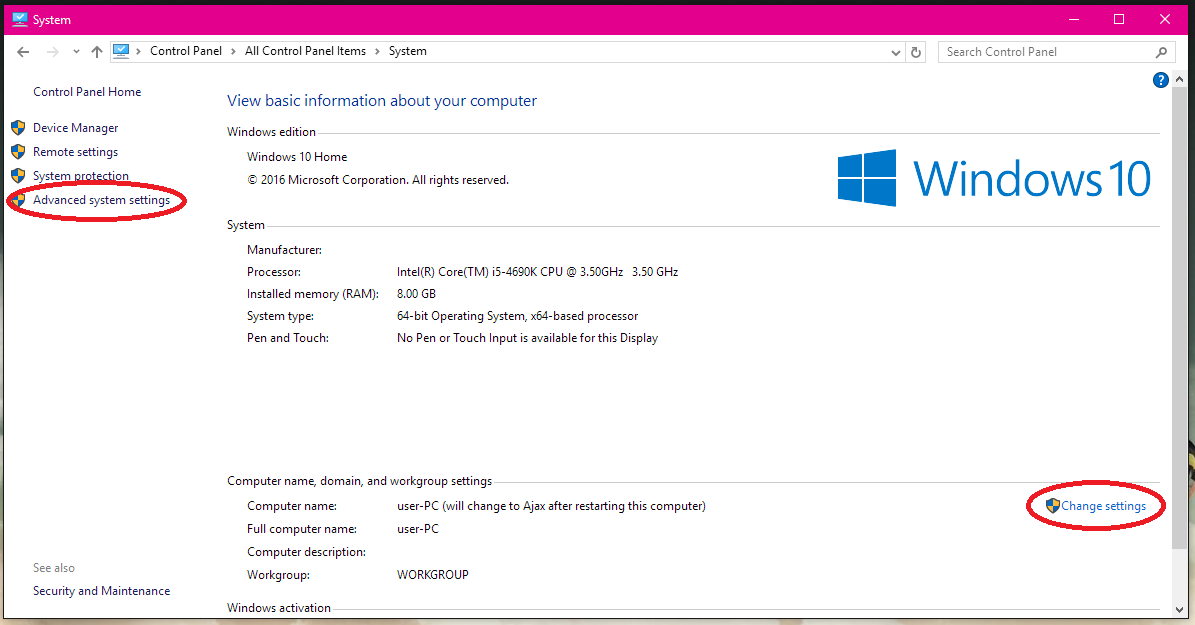
2. Navigate to System and either click Advanced system settings in the left-hand menu or click Change settings under Computer name, domain, and workgroup settings. This will open the System Properties window.
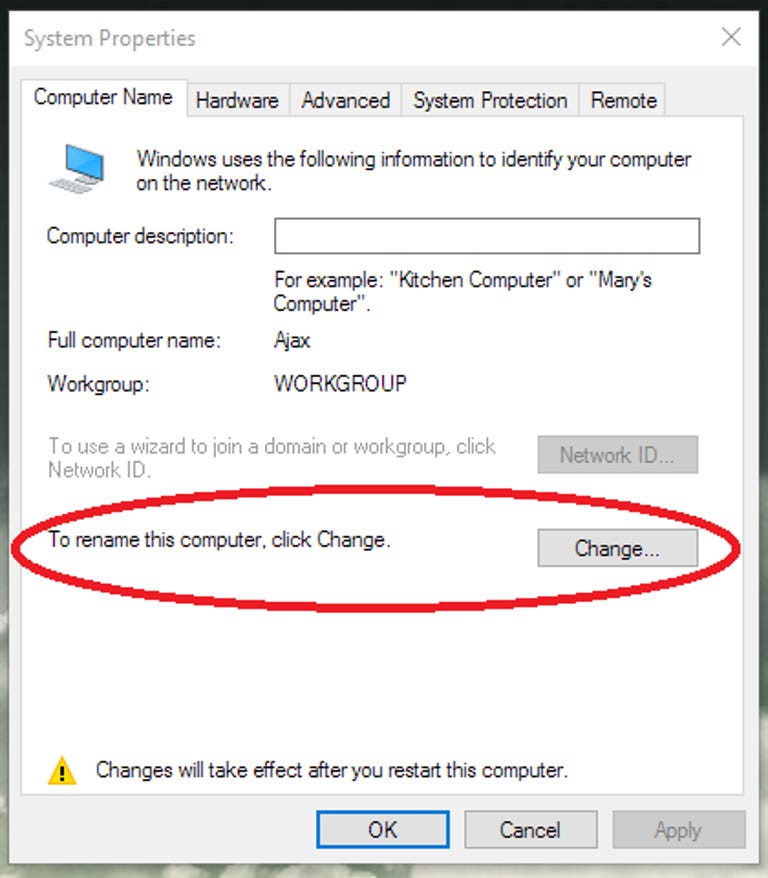
3. In the System Properties window, click the Computer Name tab. You'll see the message, "To rename this computer, click Change." Click Change...
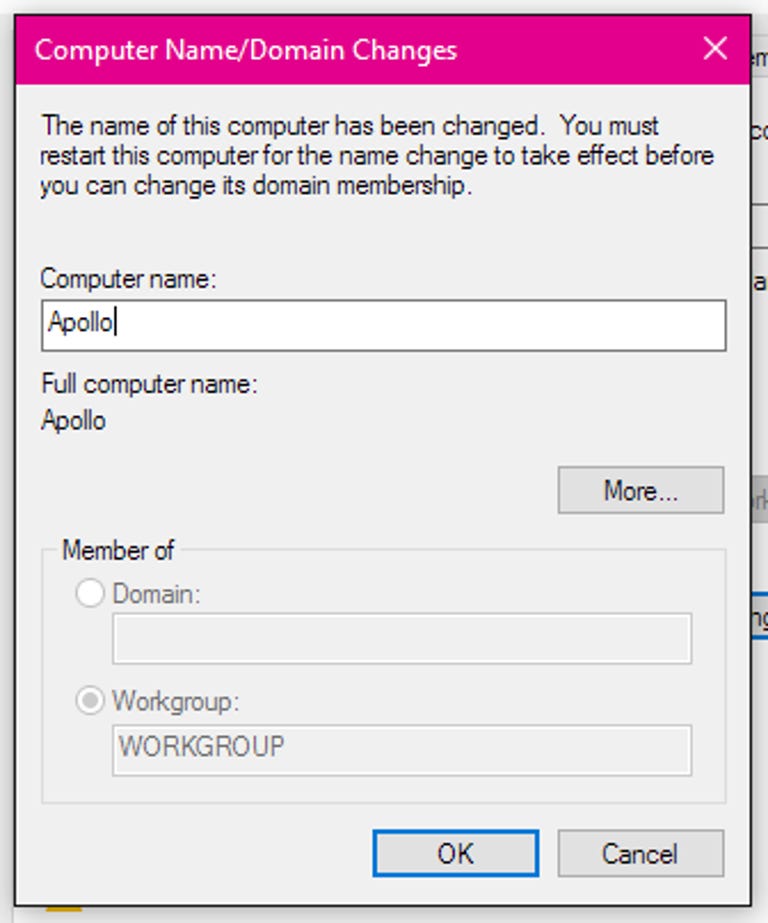
4. Type the new name for your computer and click OK. A window will pop up telling you that you must restart your computer before the changes can be applied. Click OK. This will not restart your computer.

5. A new window will pop up asking if you would like to restart your computer now or later. Click Restart Now to restart your computer immediately. If you're not ready to restart, click Restart Later to do it later, at your leisure.