How to build your own flood sensor for under five bucks
Not only will it save money, but a single homemade device can monitor your whole basement.


Flood sensors are handy gadgets to have around the house, especially if you live in a floodplain or find your basement leaking every spring. The problem is, despite their relatively simple design, smart flood sensors can set you back between $35 and $60. And even the cheaper $15 dumb ones will add up if you want to monitor every problem spot in your house. So CNET's Associate Technical Editor Steve Conaway and I decided to build a flood sensor that could cover a whole room, and we figured out you can do it for under five bucks.

What we knew already
Most flood sensors work using the same logic: when two (or three) disconnected probes contact water (which conducts electricity), a circuit is completed and an alarm activated. This mechanic is pretty simple. And while building a device that sends push notifications isn't easy, we knew we could achieve a similar effect with a simple alarm.
What to purchase

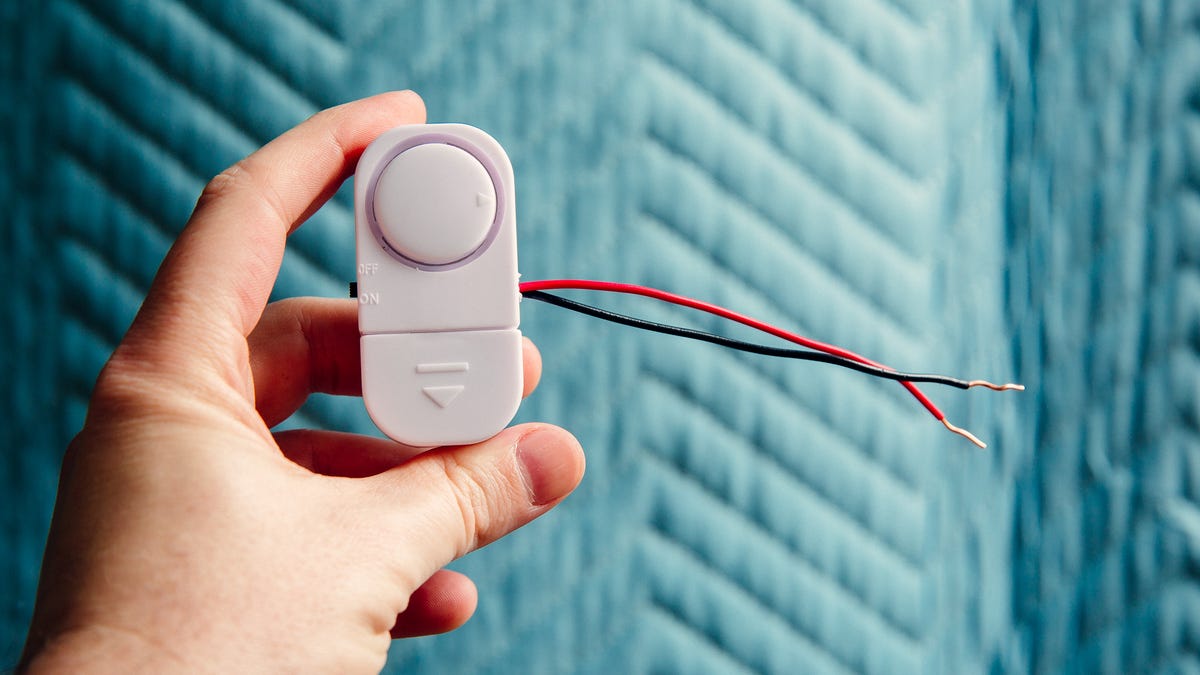
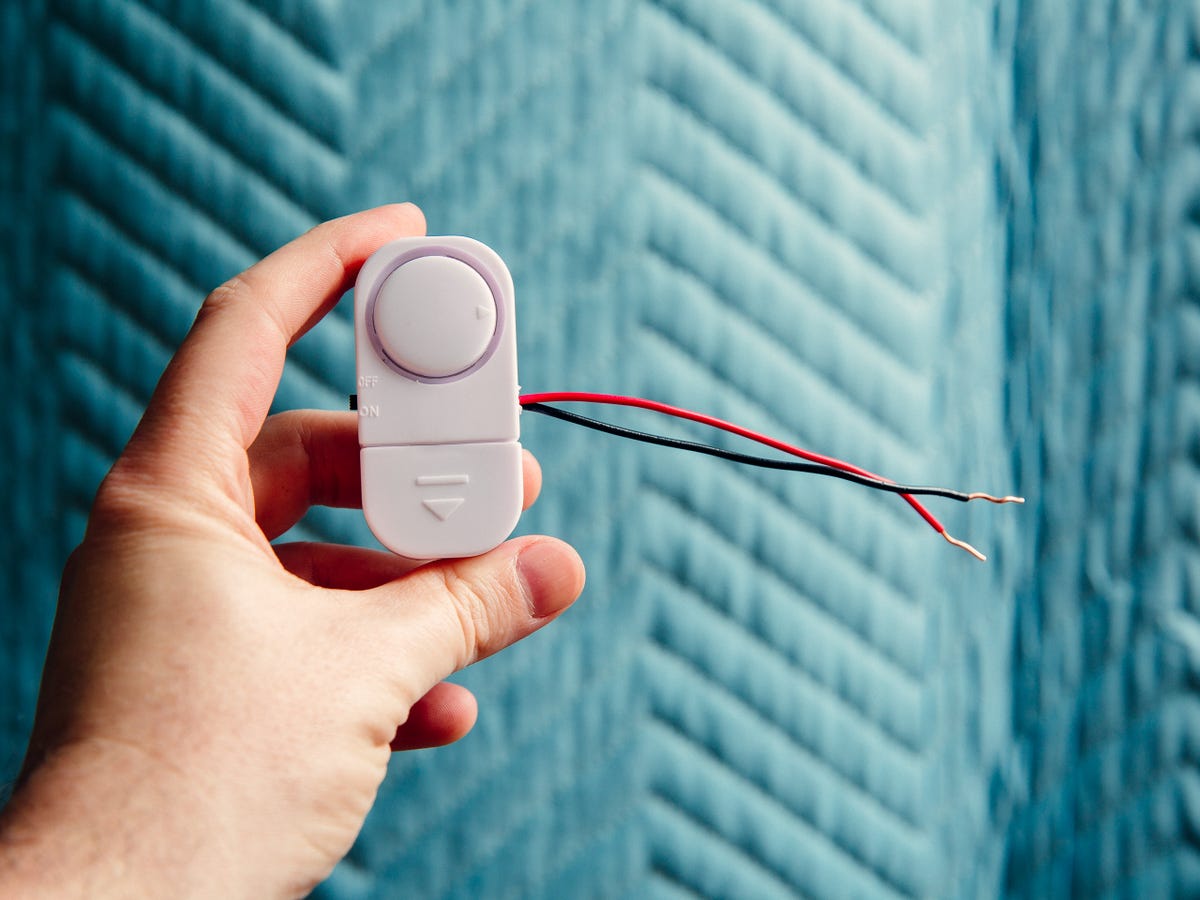
We bought this device for $1, and it contains most of the circuitry you need to build what costs at least $15 off the shelf.
If you worked with circuits in high school physics, you might recognize some of the basic supplies we'll be using. Even if you didn't, though, everything you need can be purchased online, and most of it is available at your local hardware or dollar store. Here's what we bought, where we bought it, and how much we paid for it:
- A window/door sensor with a simple on/off switch, purchased at The Dollar Tree ($1)
- BS170 N-Channel MOSFET, from eBay ($4 for five, or 80 cents each)
- 3.3M ohm resistors, from eBay ($4 for 25, or 17 cents each)
- A roll of electrical tape, from eBay ($1)
- Copper wire, from eBay ($2)
Many of the supplies are so small it's tough to buy them individually, so if you purchase them in bulk, like we did, the price might be closer to $10. But you'll end up being able to make four or five flood sensors out of them.
How to make it
We wanted our sensor to stay compact, so we used a soldering iron and sheathed wire for some of the internal circuitry. But the circuit will work just as well if you use wires with alligator clips, or just carefully apply electrical tape and twist your wires together. No matter how you do it, the basic steps will be the same:
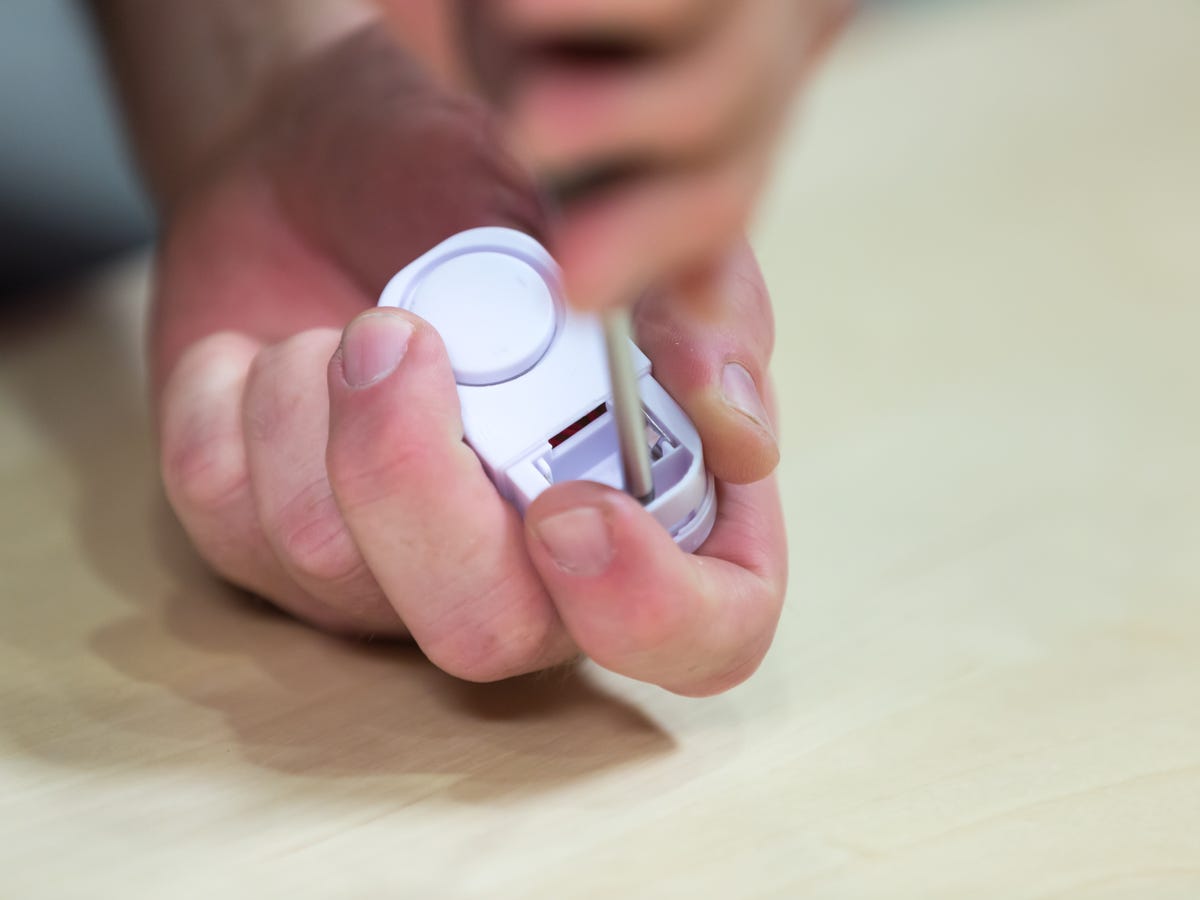
Our case had only one small screw that needed to be removed in order to open it.
Step 1: Open the plastic case of the window/door sensor.
Step 2: Disconnect the wire attached to the negative battery terminal.
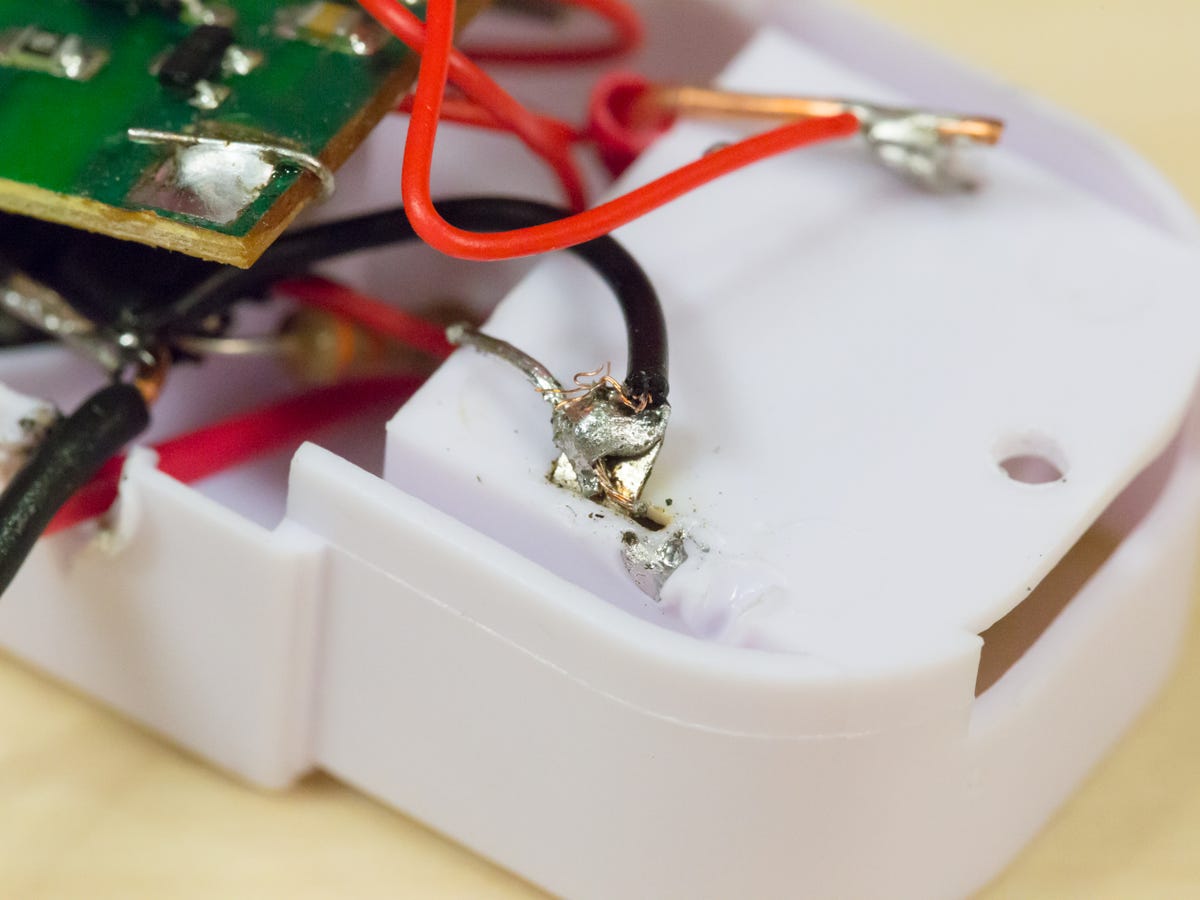
You can tell which of the battery terminals is negative (center) by flipping the sensor over and checking which direction the batteries are oriented.
Step 3: Connect that wire instead to the "Drain" terminal on the MOSFET, indicated by a small letter "D."
Step 4: Connect a new wire to the "Source" terminal on the MOSFET, indicated by a small letter "S."
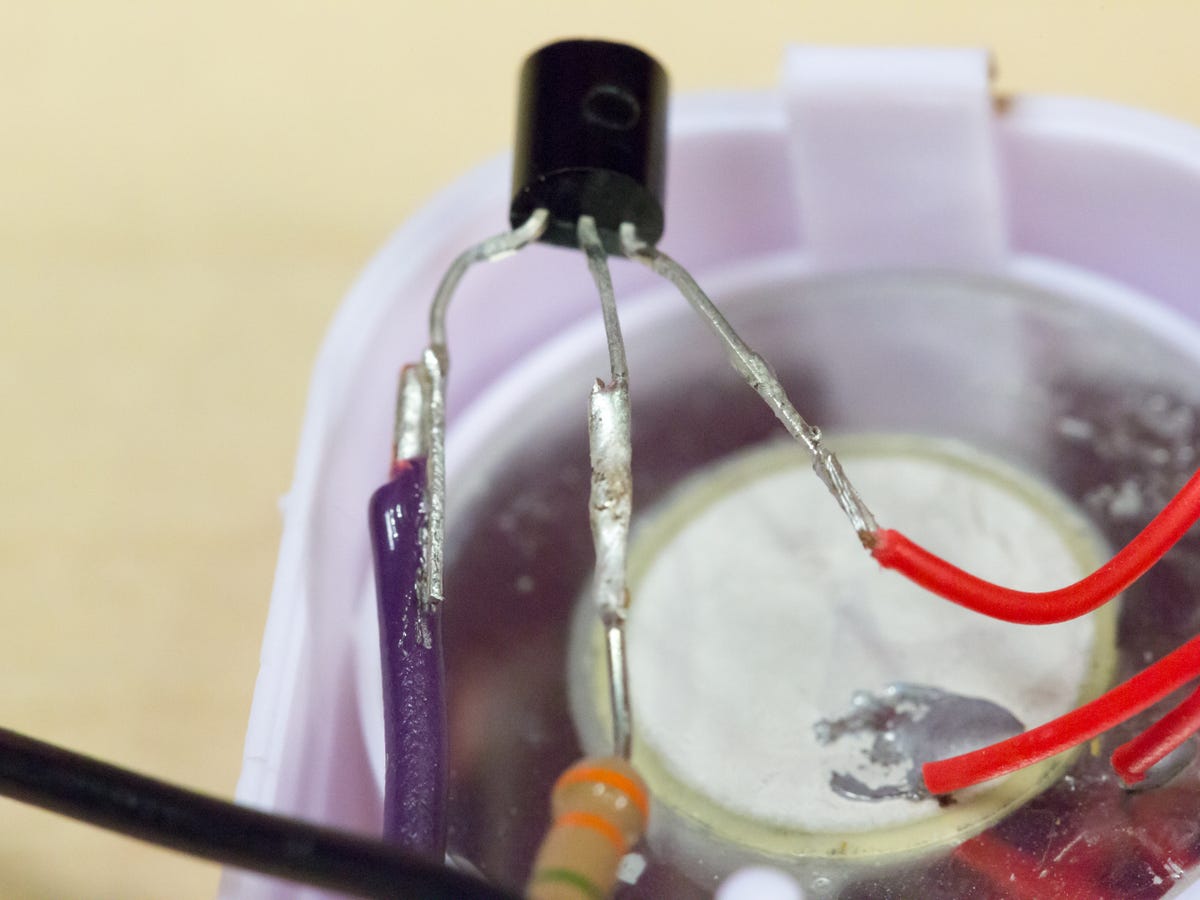
The MOSFET features three terminals: Source, Gate and Drain. To identify which is which, the underside of the MOSFET body will label each terminal with a small-print letter: S, G or D.
Step 5: Connect the other end of that wire to the negative battery terminal.
Step 6: Connect a resistor to the "Gate" terminal on the MOSFET, indicated by a small letter "G."
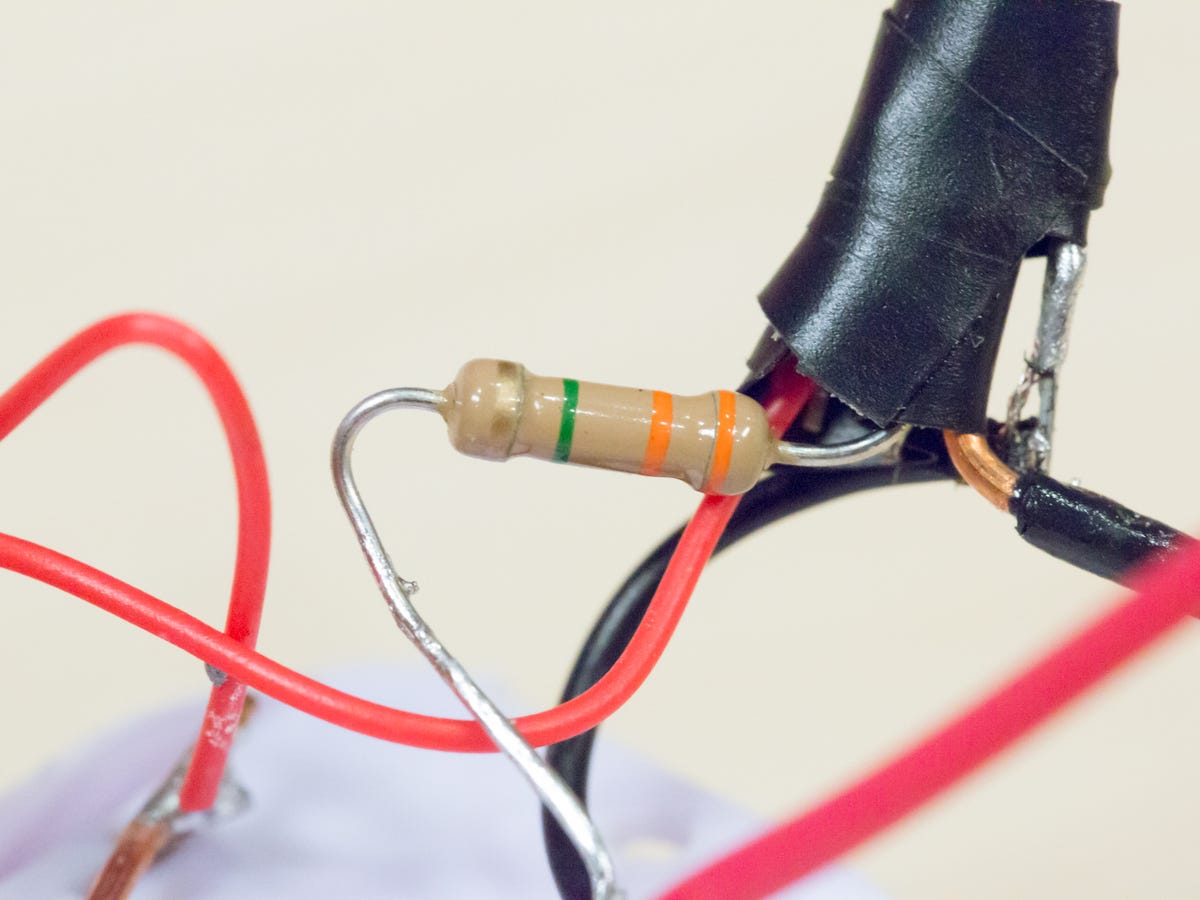
This is the resistor we used, after we used electrical tape to tape each MOSFET terminal separately.
Step 7: Use a new wire to connect the resistor to the negative battery terminal.
Step 8: Connect a new wire (which we'll call "Lead no. 1") to the positive battery terminal.
Step 9: Connect a new wire (which we'll call "Lead no. 2") to the wire between the resistor and the negative battery terminal.

This is a basic schematic showing what the circuit will look like once you've completed it.
Step 10: Test the sensor by touching Lead no. 1 and Lead no. 2 together. If the alarm sounds, move to Step 11. If the alarm doesn't sound, check that the alarm is switched on, and that all of the connections are in place. Each connection and both leads should be properly covered with electrical tape to avoid false alarms.
Step 11: Create a hole in the side of the plastic case, and thread both Lead no. 1 and Lead no. 2 through that hole.
Step 12: Arrange all the components so you can close the plastic case once more. You now have a functional flood sensor!
Once you close the plastic casing, you should feel pretty proud of this accomplishment.
At this point, you can test your flood sensor by putting both leads in a cup of water. This device, the components of which cost less than five bucks, is basically what you'd get for $15 off the shelf. But what makes it even more efficient is lengthening the leads.
Essentially, by lengthening the leads with bare copper wire, and running those extensions in parallel, you can cover whole rooms of your home. All you have to do is use adhesive, like duct tape, to tape the leads down so they aren't intersecting at any point. Then, it won't matter if water contacts the leads 1 foot or 10 feet from the device itself -- the alarm will still sound.
I especially like this setup for monitoring multiple hard-to-reach spots, like spaces under your fridge, dishwasher and sink. But it also works to monitor a whole basement -- you just run the parallel leads along the edge of the room, under your water heater and by your sump pump, and you've got a cheap alarm system that will monitor all of your problem-spots.
If you want to see the device we made, or what the final setup can look like, check out the video.