How to automatically back up your personal files in Windows 8
The new File History feature in Windows 8 can automatically back up your documents, music, pictures, and other personal files.


Windows 8 offers several features designed to secure your files, but one of the most useful ones is File History.
The new File History feature can back up all your documents, browser favorites, desktop icons, and other personal files. Once set, File History runs automatically at specific times, though you can always trigger it manually.
You can also set the backup destination to a USB or network drive so your files are recoverable even if your hard drive crashes or gets corrupted. If one of your personal files gets lost or damaged, you can simply restore its most recent copy from the File History.
Here's how File History works in the Windows 8 Release Preview:
- Plug in a blank USB drive. Make sure the drive has enough space to house all of your documents and other personal files.
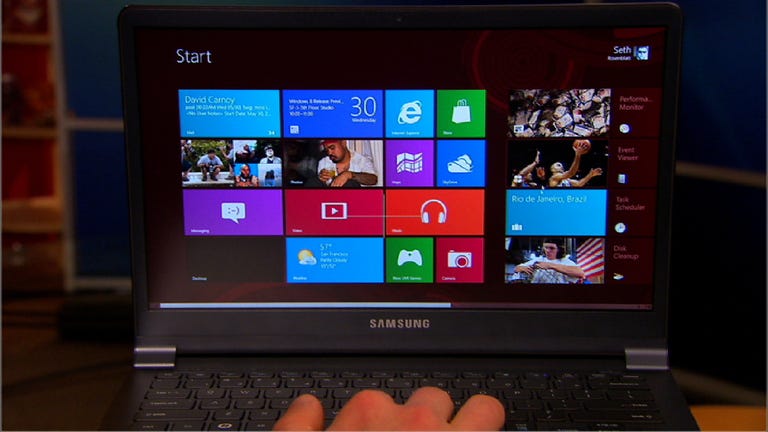
- At the Metro Start screen, type the phrase file history. Under the search field, click on the Settings category. From the search results on the left pane, click on the result for File History.
- File History should detect and display the USB drive. Click the Turn on button to enable File History. You'll see a message that "File History is saving copies of your files for the first time." After the backup completes, File History displays a message telling you when the files were last copied.
- If you want to use a network drive instead of a USB drive, click the Turn off button. Remove the USB drive. In the left pane, click on the select drive option. Then click the Add network location button. Windows displays the names of your networked PCs and drives. Click the network drive you wish to use.
- Select a specific network share or folder where you want to save the File History. You can also click on the New folder button to create a new folder to store the File History. Then click the Select Folder button. You should see the network drive and folder listed as the File History drive. Click OK. Windows asks if you want to move your existing files to the new location. Answer No.
- The network drive now appears as the new backup location. File History copies your files to the network drive. After the backup completes, File History displays a message telling you when the files were last copied.
- You can exclude certain folders from being part of the File History. In the left pane, click on the Exclude folders option. In the Exclude from File History screen, click Add. Choose any folder you wish to exclude from the history. Click Add again to exclude another folder if you wish. Click Save changes when you're done.
- You can tweak other settings as well. In the left pane, click on the Advanced settings option. In the Save copies of files dropdown box, select how often you want the files to be saved. Every hour is the default. In the size of offline cache dropdown box, select how much space you want to devote to the File History on the backup location. Five percent is the default. And in the Keep saved versions dropdown box, select how long you want to keep the saved version. Forever is the default. Click Save changes when done.
- Finally, to restore a file or files, click on the Restore personal files option in the left pane. Double-click the folder or category of files you wish to restore, for example, Documents. Select the file or files you wish to restore. Click the button to Restore to original location. A Windows Explorer window pops up showing the restored files in their original location. Close the File History window when you're done.