How to add more RAM to your MacBook Pro
One of the easiest ways to upgrade your 2012-or-earlier MacBook is by adding more RAM.


- Webby Award ("How To, Explainer, and DIY Video"); Folio Changemaker Award, 2020
Welcome to Mac Mondays! Each Monday, the team at CNET How To will go in-depth on ways you can improve your Mac. We'll talk performance upgrades (for old and new models), hardware hacks and workflow tips. This is where you'll go to find out how to release your Mac's potential and make the most of your purchase.
If you follow Mac Mondays, you know that I recently upgraded my mid-2009 MacBook Pro with an SSD drive. Since then, my computer went from completely useless to like new.
I was still a little disappointed, however, when it came to running a few demanding tasks at once, like when I was editing in Photoshop, playing music on Spotify and left a bunch of browser tabs open.
The best way to deal with this is by adding more RAM, and, like installing an SSD, it's really simple.
Before you begin, find out if your MacBook Pro (or even iMac -- the process is similar) can handle a RAM upgrade. If you have a MacBook Air or Retina MacBook Pro, for instance, the RAM is not upgradable. Refer to this Apple help page to find out about the model you own.
In my case, I have a mid-2009 MacBook Pro, which allows for RAM upgrades.

Step 1: Find out what kind of RAM you need
Once you determine that your MacBook can be upgraded, you'll need to find out how much RAM it can handle, and what type. To do that, go to this Apple help page and make note of:
- The number of memory slots (usually 2)
- Maximum memory (such as 8GB)
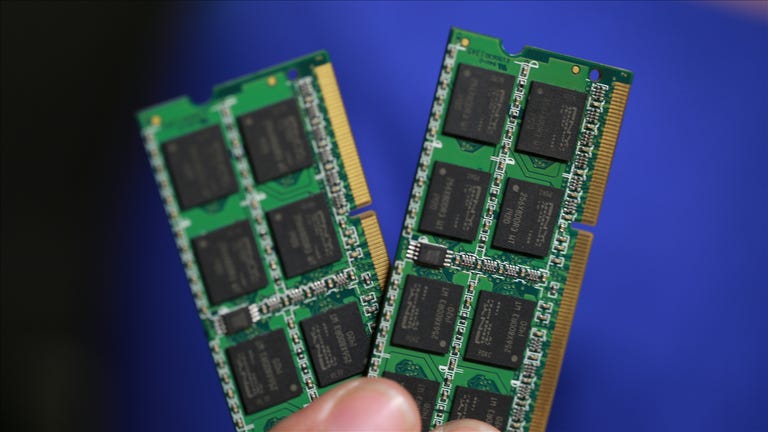
- Memory card type (such as 1,600 MHz and DDR2 or DDR3)
You can also get these details by going to the Apple menu > About This Mac > Memory.
With that info, you can head out and buy your RAM. If your computer can handle 8GB of RAM total and has two slots, for example, you'll buy two 4GB memory cards.
Step 2: Install the new RAM
Installing RAM is simple -- even someone who's not tech-savvy can complete the task. To install the RAM, do the following:
- Shut down your computer.
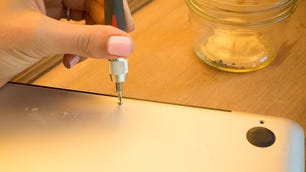
- Flip your laptop over so that the bottom cover is facing up. Using a Phillips-head screwdriver, unscrew the 11 screws that keep the cover fastened.
- Set the cover aside. Touch a metal part on the inside of your laptop to release any static electricity.
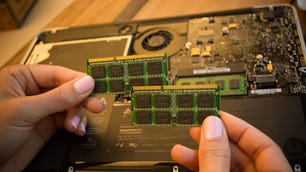
- Locate the RAM slots (see photo gallery). One at a time, push the levers in an outward direction to release the card, then gently remove it.
- Install the new RAM by inserting them into the slots, with the gold contact strip facing in. To secure the RAM in place, push down and listen for a click.
- Replace the bottom cover and power up your computer.
Step 3: Test the RAM
Before you pat yourself on the back, you'll need to make sure the new RAM is healthy. In some cases, bad RAM can negatively affect your system and even result in data loss. Topher Kessler has a very helpful guide to ensuring that your RAM is working properly.