Guide to the Windows Store: Managing and protecting your account
Here's how to make sure your kids aren't buying a bunch of games from the Windows Store.


If you want to buy anything from the Windows Store, you'll need a Microsoft account with a linked credit card (or debit card, or PayPal). Here are some tips for keeping your account save and tracking the purchases you make.
Require a password for purchases
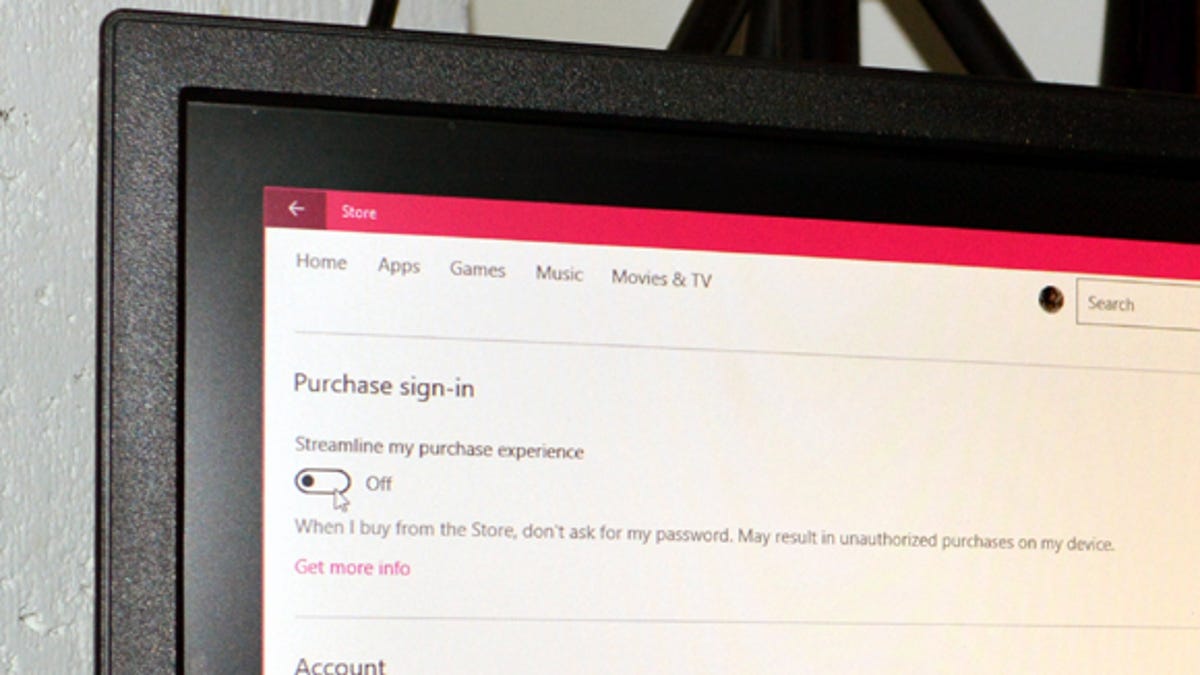
The Windows Store is set up by default to require a password any time you make a purchase (an actual transaction; you won't be prompted for a password if you download a free app or a free trial). But you can turn this off, though we don't recommend it.
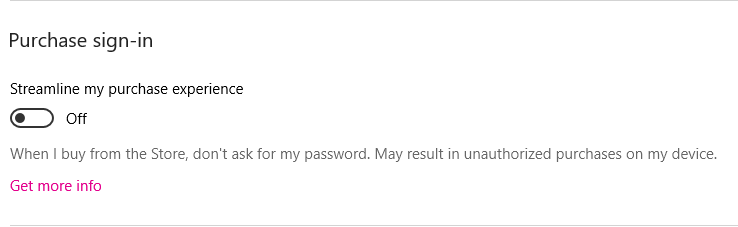
In order to turn this feature off, or to turn it back on, open the Windows Store and go to your account (click the small icon with your account picture in the upper toolbar) and then hit Settings. Under Purchase sign-in, turn "Streamline my purchase experience" off to require a password for every purchase, or turn it on to not require a password for every purchase. If you choose to turn it on, you will need to enter you Microsoft account password to verify.
Find past purchases
It's a good idea to check your Windows Store purchase history every so often, just to make sure that everything is as it should be. To do this, open the Windows Store, go to your account, and hit Purchased from the drop-down menu. This will take you to Microsoft's Web portal, where you'll need to log in to your Microsoft account before you can see your transaction history.
Your purchase history will show all of your past purchases (including free transactions), organized by year, made on your Microsoft account. This includes Windows Store purchases, Microsoft Store purchases and Xbox store purchases.
Manage your devices
When you buy an app on the Windows Store, you can install it on up to 10 devices (computers, tablets, and phones). If you hit your device limit, you'll need to remove a device before you can install apps on a new device. To do this -- or to just see what devices have been authorized on your account -- open the Windows Store, go to your account, and click Settings. Under Account, click Manage your devices. This will take you to Microsoft's Web portal, where you'll need to log in to your Microsoft account before you can see your authorized devices.
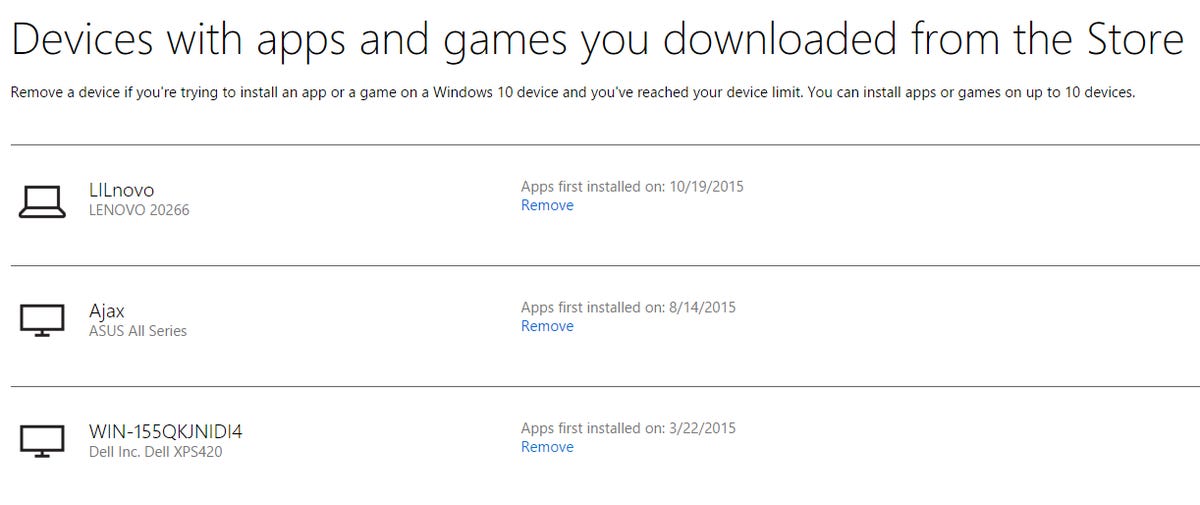
To remove an authorized device from your account, find the device and click Remove. You will need to check a box to verify that you actually want to remove the device on the next screen.
To add a device, just sign in to the Windows Store on that device with your Microsoft account.
Turn off automatic updates
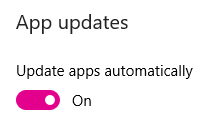
You can't turn off automatic updates for Windows 10, but you can turn off automatic updates for apps and games purchased in the Windows Store. To do this, open the Windows Store, go to your account, and click Settings. Under App updates, turn "Update apps automatically" to off.