Getting started with the Google Camera app for Android
Google has put a Camera app of its own in the Play store for nearly all Android users to install.


On Wednesday, Google released its standalone Camera app through the Play store. The release not only makes updating the app through the Play store possible for Nexus owners, but those running Android KitKat 4.4 now have the option to use Google's app.
The update refines the user interface, makes the settings menu easier to navigate (love you for this, Google), and adds a few new features. Let's take a look at it, shall we?
General navigation
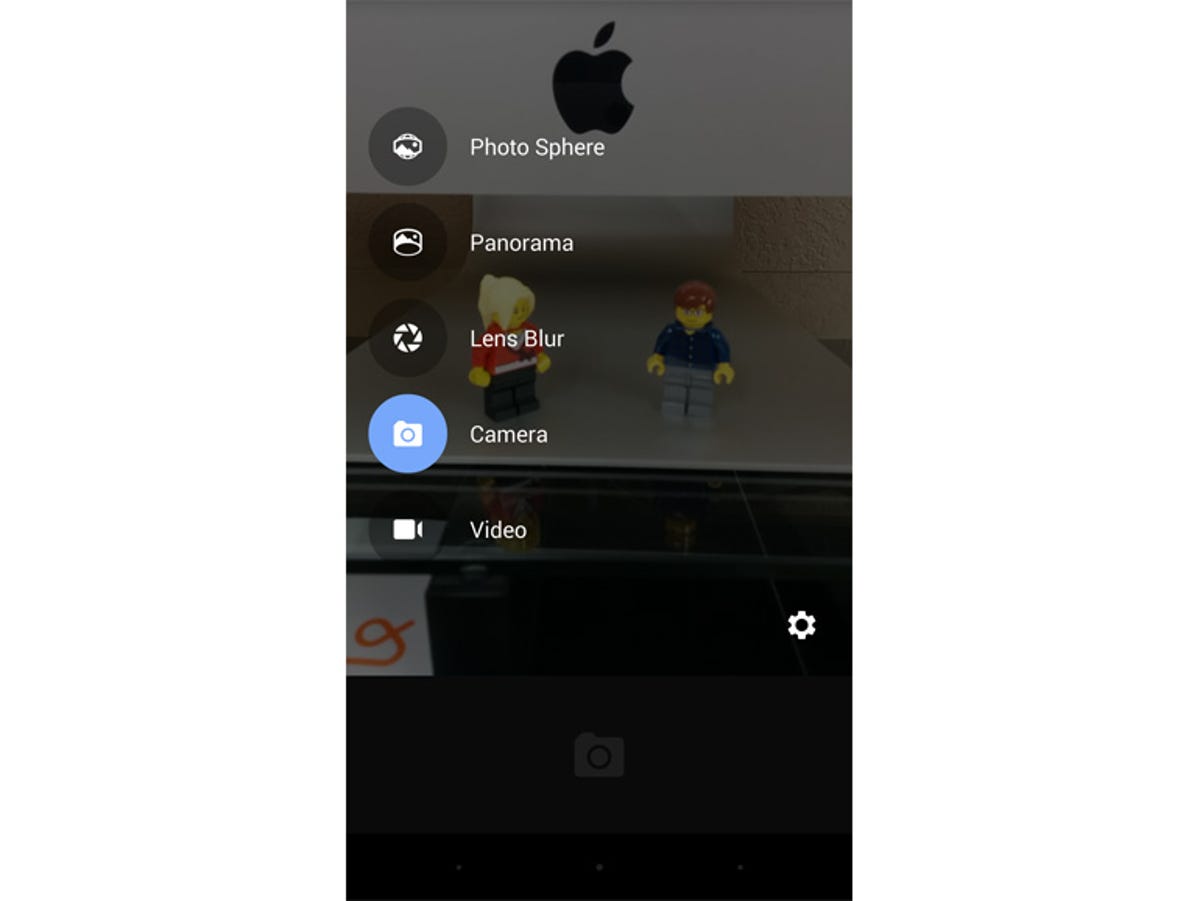
Navigating through Google's Camera app is done through a couple of gestures; all originating from the edge of your smartphone's screen. Swiping in from the right-edge will take you to the Photos app. Conversely, swiping in from the left edge will display the available camera modes. The shutter button is centered on the bottom of your device, with a settings icon just above it and to the right.
Most of the shooting modes are self-explanatory, as they've been around for some time, but the new Lens Blur mode warrants an explanation.
Lens Blur
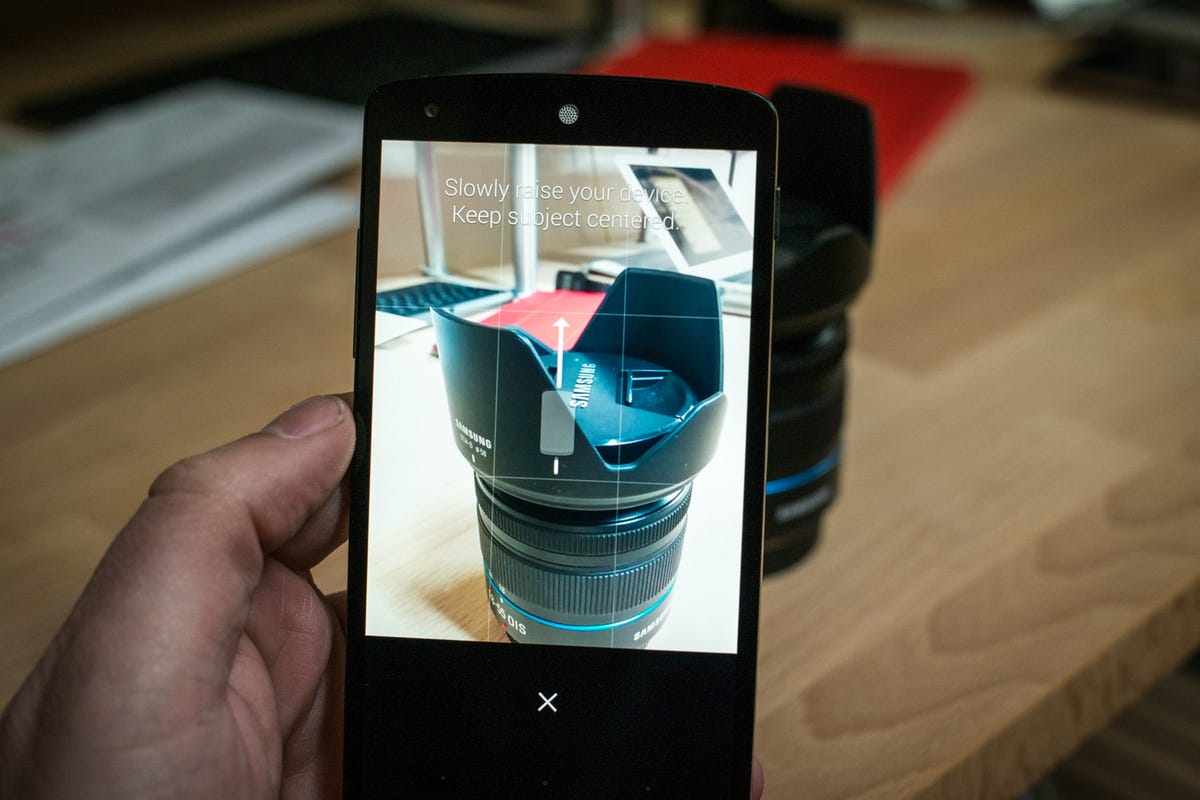
What's amounting to be the feature for smartphone cameras in 2014, Google's Camera app now has a Lens Blur mode. By enabling this mode, you can take a normal photo of an object that's within a suggested range of 5 feet from your phone, and add a blur or "bokeh" effect to it afterwards. The process isn't all that complicated, and surprisingly offers up some decent results.
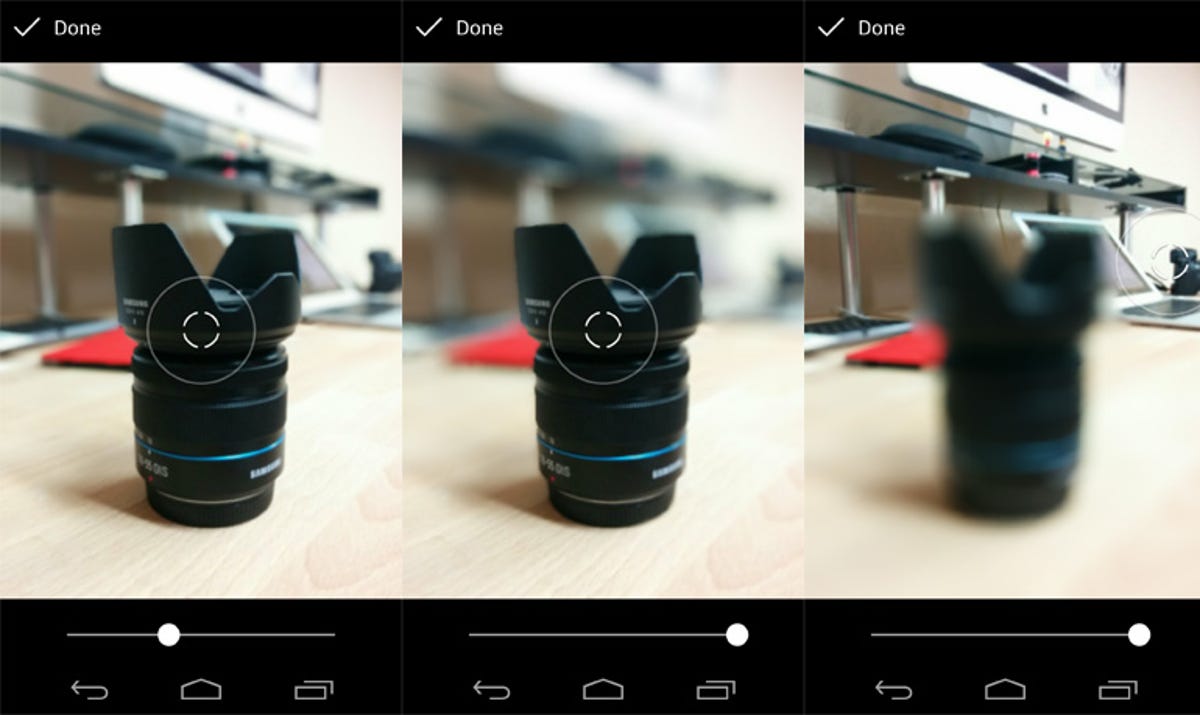
Shortly after pressing the shutter button, you're prompted to slowly move your device upwards. Doing so allows your phone to capture some depth-of-field information, which it will use when you edit the photo. The photo is then saved, allowing you to swipe over to your photos and view the in-focus picture. The first time you view the photo, the app will display a processing dialogue for a brief moment and then apply a mild blur effect. If you want more or less blur, tap on the Lens Blur icon (looks like a shutter button) to bring up the editing menu. As you'll see, there's not a whole lot to the editing options. You're able to adjust the focal point by tapping on the part of the photo you want in focus, and adjust the amount of blur through the slider. That's it.
In some instances, the effect adds a lot of drama and makes the photo better. While in other instances, it's probably a good idea to stay away from the feature.
Goodbye, Vertical Video Syndrome
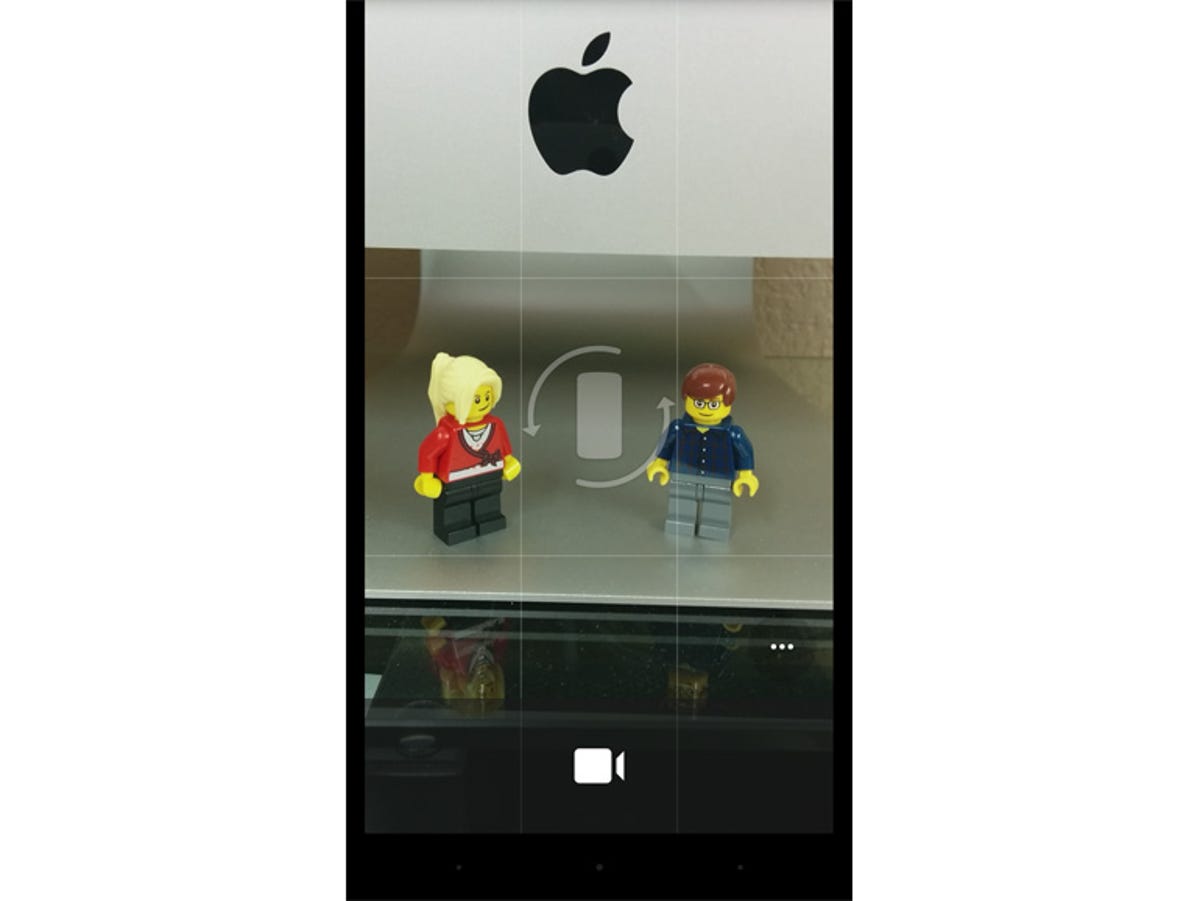
In an effort to eradicate Vertical Video Syndrome, Google has added a simple (yet powerful) animation when a user activates video mode while the device is being held vertically. Sure, this isn't groundbreaking news or an innovative feature, but I have to applaud the effort.
I have the app running on a Nexus 5, an HTC One (M8), and a Galaxy S5, all of which are Android 4.4 KitKat devices. Unfortunately (if not obviously) the features and editing tools aren't carried over to the stock camera apps on the likes of the One or theS5.